Master Velocity Edits in Filmora 13
Velocity edits let you manipulate clip speed to create dramatic slow‑motion and fast‑forward effects. This tutorial walks you through every stage—from import to final polish—so you can produce professional‑looking videos with confidence.
Preparation
- Computer (Windows or macOS)
- Video footage
- Filmora 13 installed
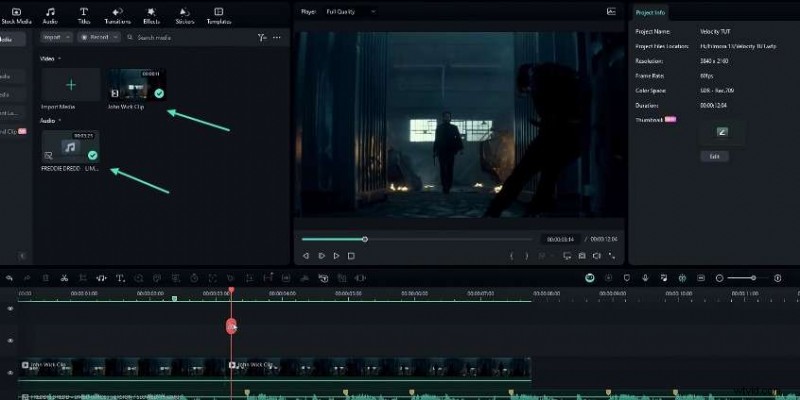
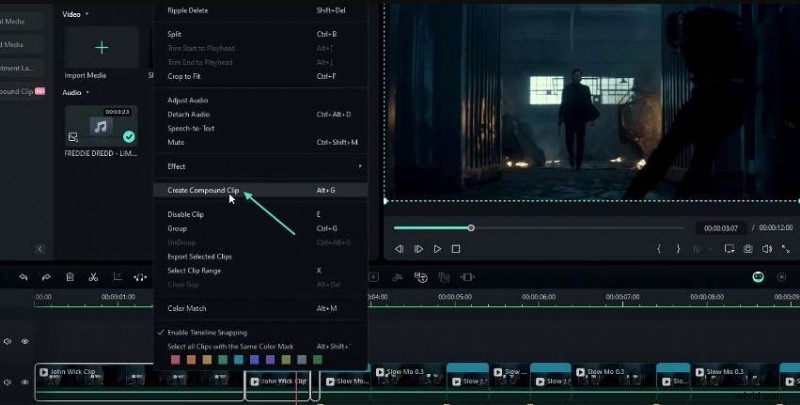
Step 1 – Import Footage and Audio
Launch Filmora and drag your video and audio files onto the timeline. Add markers to the audio track to sync with beats, then split the audio into two sections. Apply a velocity edit to the section you want to slow down.
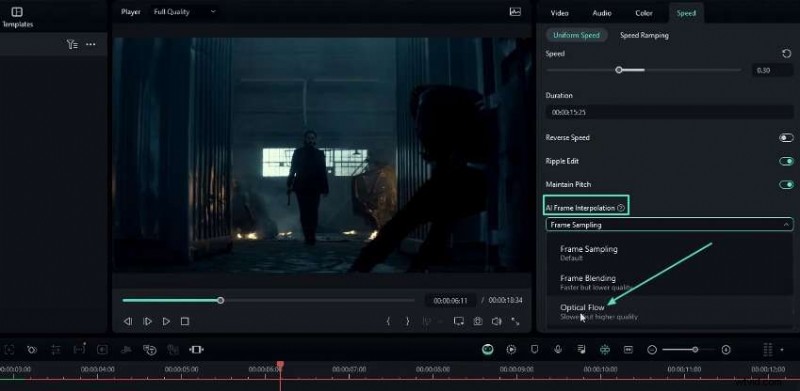
Step 2 – Adjust Speed and Apply Optical Flow
Set the clip speed to a low value (e.g., 0.3x) and enable AI Frame Interpolation → Optical Flow. Position the clip at the start, press I to select the area, and render. Export only the slowed portion and delete the temporary layer.
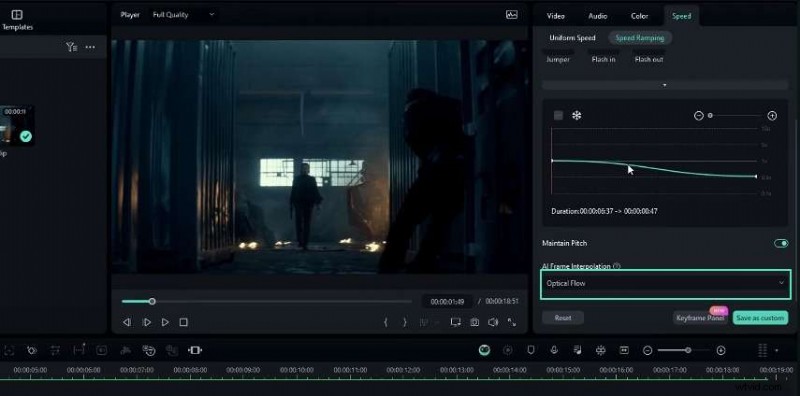
Step 3 – Re‑import Slow‑Motion Clip
Drag the exported slow‑motion clip back into the timeline. Use the Speed Graph tool alongside Optical Flow to create a smooth transition from normal speed to slow‑motion.
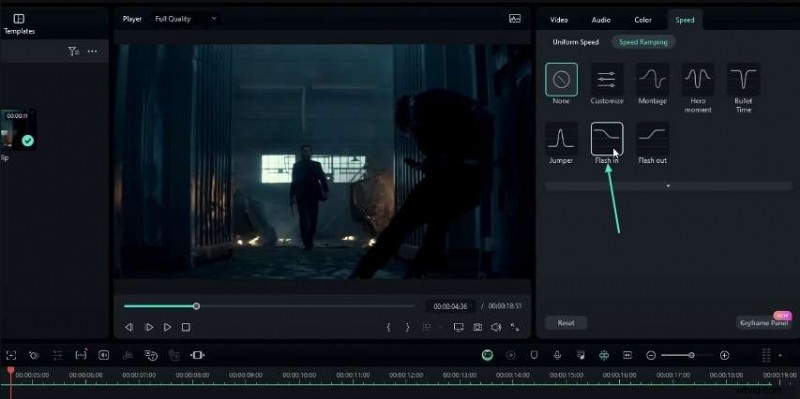
Step 4 – Build the Velocity Effect
For each beat, split the clip, select the range to accelerate, and apply a Flash In speed graph. Adjust keyframes to line up the accelerated segment with the beat.
Step 5 – Create Rolling Animation (Vertical Text)
Select all text layers, create a position keyframe, and stagger the Y‑position to achieve a rolling effect. Use the Change Aspect Ratio setting to switch to portrait if desired.
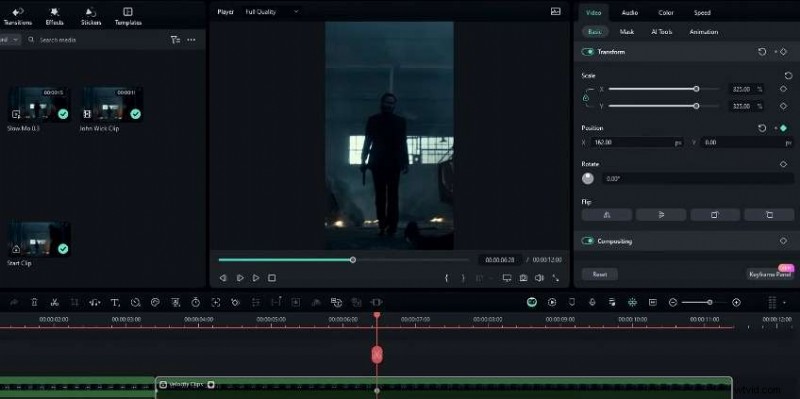
Step 6 – Scale and Position Adjustments
After converting to portrait, adjust each clip’s scale (e.g., 325%) and reposition. Add keyframes for any motion‑rich clips to maintain smooth framing.
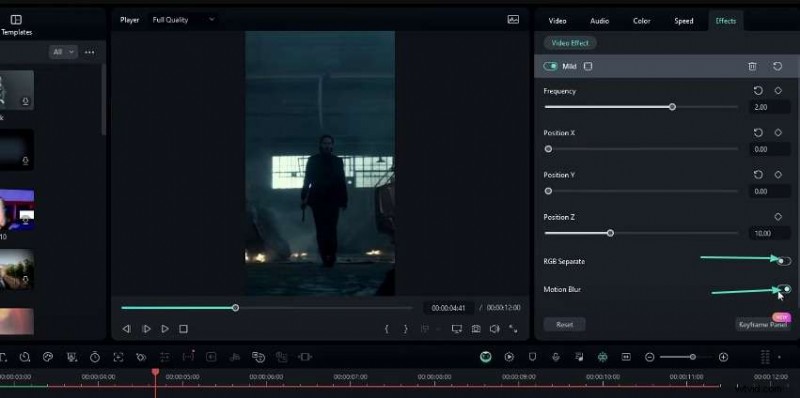
Step 7 – Add Mild Effect
Apply the Mild Effect to your layers: set frequency to 2, X/Y to 0, Z to 10, disable RGB Separate, and enable motion blur for a subtle motion overlay.
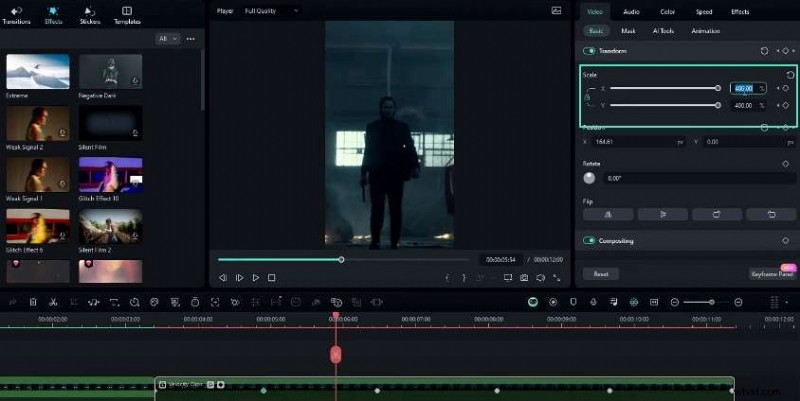
Step 8 – Zoom In/Out Movements
Insert scale keyframes at the start of each beat and increase the scale (e.g., to 400%) for a dynamic zoom. Optionally tweak the keyframe graph for smoother easing.
Step 9 – Flash Effect
Place an adjustment layer over the clip, adjust the Exposure from +35 to –15 with keyframes, and apply an Ease Out preset. Duplicate this layer for other segments.
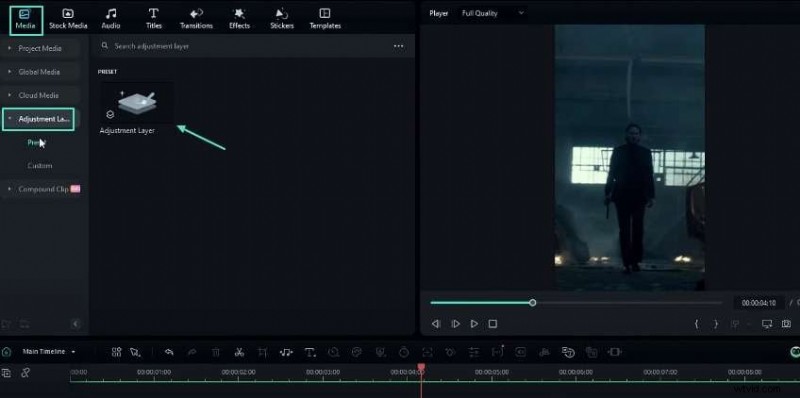
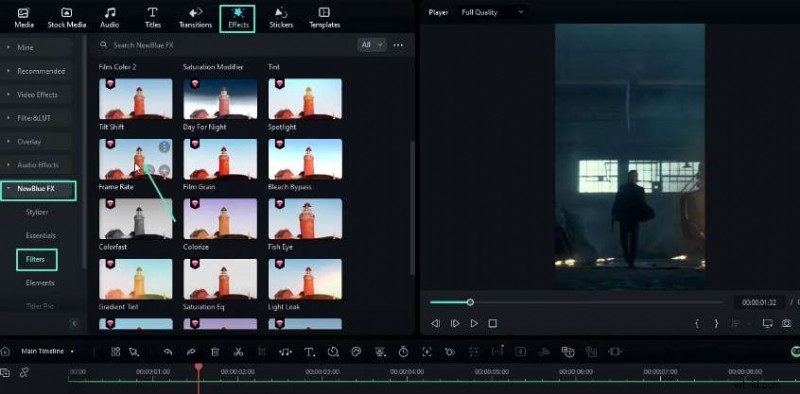
Step 10 – Low‑Quality Intro (Frame Rate)
For a gritty opening, apply the Frame Rate effect (12 FPS preset) and layer a Mild Effect for a shatter look.
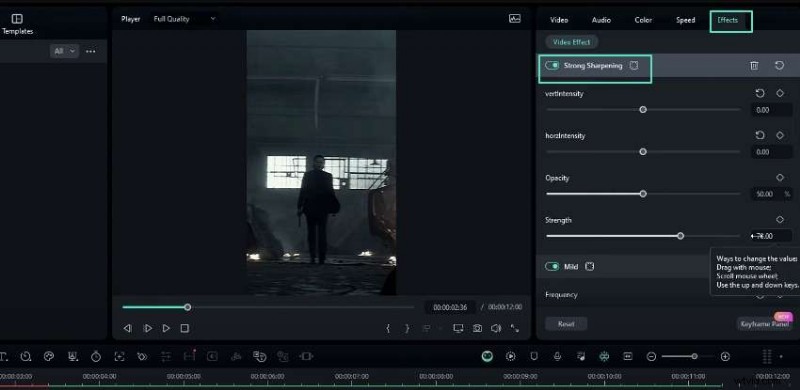
Step 11 – Sharpening
Use the Strong Sharpening effect: set both intensities to 0, opacity to 50%, and strength to 15 for a crisp finish.
Step 12 – Flicker Effect
Add an adjustment layer and apply the Flash Black effect from the Shake filter. Set frequency to 20, blend mode to Soft Light, and opacity to 20%.

Final Thoughts
Velocity edits blend speed manipulation with layered visual effects to transform ordinary footage into engaging motion art. With practice, you’ll master this technique and elevate every project.