Ever wonder if you can use your Canon EOS R for live streaming?
Well, the answer is yes!
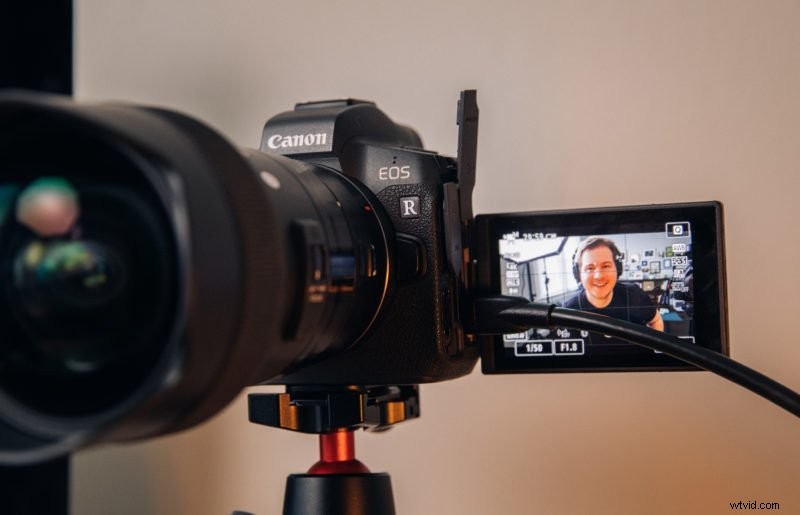
The Canon EOS R outputs a clean HDMI feed so you can use the HDMI output to live stream with your camera. HDMI capture devices turn your camera’s HDMI feed into a webcam for your computer to use.
In this guide, I’ll show you how to use a Canon EOS R for livestreaming.
Things You’ll Need to Livestream with an EOS R
Here’s a quick breakdown of what you’ll need to livestream with a Canon EOS R.
- Canon EOS R (of course)
- HDMI capture device (I’ll be using an Elgato Camlink)
- HDMI mini to HDMI cable
- Tripod (Full size or Tabletop)
- Canon AC-E6N AC power kit (optional, to plug EOS R into power)
- USB Microphone (recommended)
Step #1: Setup Your Camera for Live Streaming
Now in addition to the equipment above you’ll need to change a few settings on your camera. This includes disabling auto power-off, setting a clean HDMI output, and turning on face tracking.
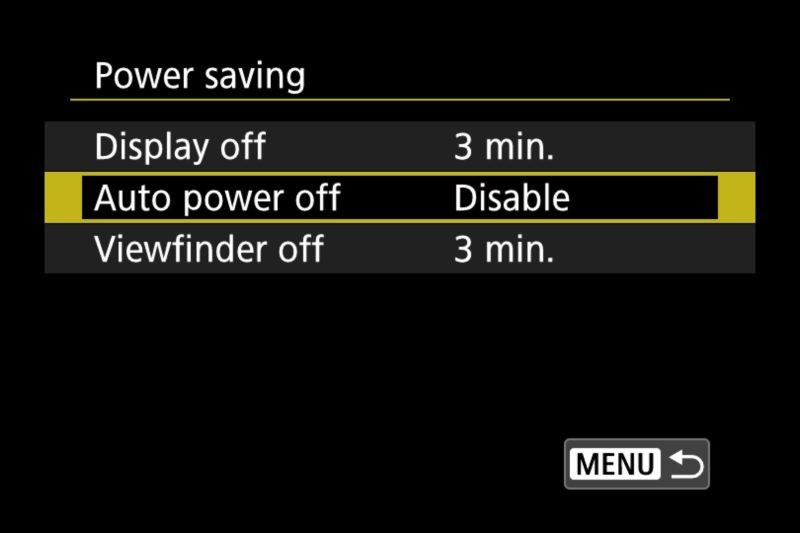
5. Disable Auto Power Off

You don’t want your camera shutting off while streaming so it’s important to disable the auto power-off function.
Additionally make sure Eco mode is set to “Off” as pictured above.
6. Set Clean HDMI Output
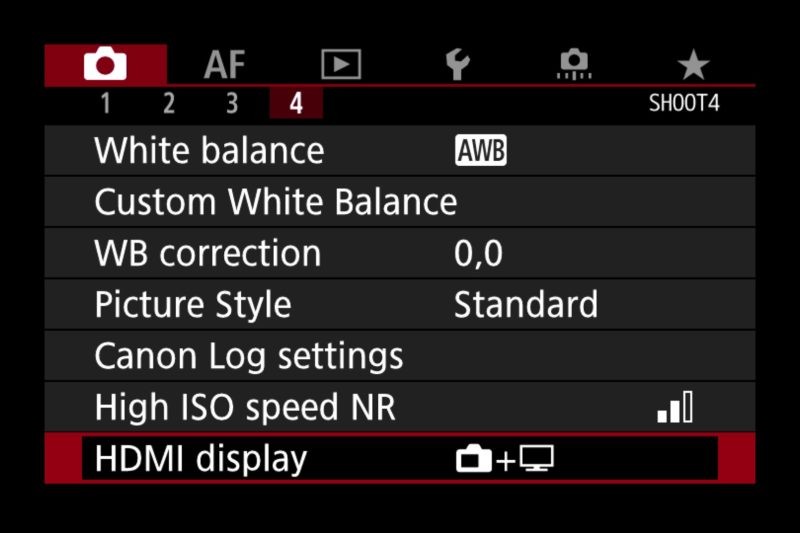
On the Canon EOS R, you can make the camera output all of the camera overlays or a clean feed. You don’t want your overlays displayed since it’ll overlay your camera feed with focus point, settings, etc. So changing this option will allow your EOS R to only display the camera feed.
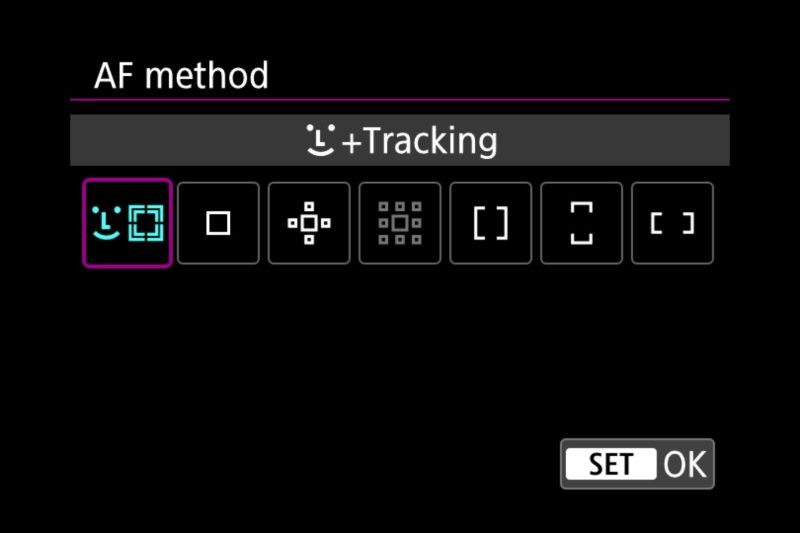
7. Enable Face Tracking Autofocus
Since you can’t fiddle with focus you’ll most likely want to turn on face tracking for autofocus.
8. Using Direct Power in Your EOS R (Optional)
If you are planning on streaming longer than an hour it’s recommended you plug your camera into direct power rather than using the battery. Since the battery dying during a live stream can result in unexpected downtime.
If you plan to use the battery you can expect an hour or two of battery life while outputting HDMI from your EOS R.
It’s important to know that the Canon EOS R doesn’t charge via USB C while in use so you’ll need to use a power adapter to power the camera directly.
This is where the Canon AC-E6N AC power kit comes in. There are plenty of dummy battery kits for EOS R but this is Canon’s official accessory.
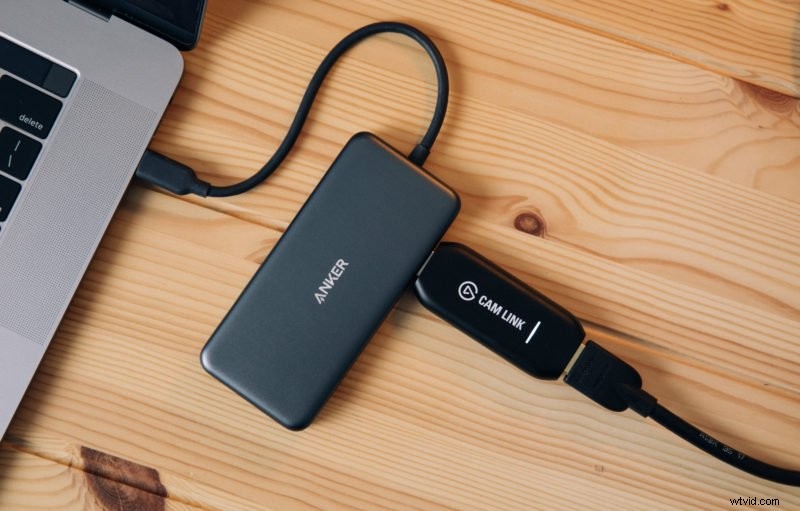
Step #2: Hook Up HDMI Capture Device
The most important device in this setup is an HDMI capture device. This will allow your computer to use your camera as a webcam.
New for 2020: if you do not want to get a capture device you can use Canon’s EOS Webcam utility to use your Canon EOS R as a webcam. You will achieve higher quality using a capture card but the EOS Webcam utility makes it easy since all you need to do is hook your EOS R up via USB-C cable. Now available on Mac and Windows.
Here are a few HDMI capture devices to use:
- Elgato Camlink (This is the one I’ll be using in the guide)
- Elgato Game Capture Card HD60
- BlueAVS Capture Card
- Mirabox
- Pengo 4K
- Blackmagic Design Web Presenter (users have reported issues using this with EOS R)
Different HDMI capture devices will vary by resolution, framerate, audio options, and overall stability.
Once you have your HDMI capture device simply use your HDMI wire and plug in your capture device.
Make sure to get the drivers for your capture device, for example, Elgato Camlink will appear choppy without installing Game Capture. You don’t need to use the program but installing it will make the Camlink work optimally.
If your camera is on and you have all of the correct settings you should see your EOS R listed as a webcam in all programs that use webcams on your computer. Note that it won’t actually say EOS R, most likely the brand of HDMI capture device such as “Camlink”.

After selecting the webcam in your favorite live streaming software like OBS or Ecamm Live you should see the direct feed from your EOS R. This will also work in your web browser to stream on sites like YouTube, Facebook Live, or Twitch as well. It will also work with any conferencing apps that let you select a webcam like Zoom calls, FaceTime (on Mac), or Google Hangouts.
If you need to change any settings on the camera simply hit a button on the camera and the screen will turn on. This will allow you to change camera settings all without viewers seeing the menu.
For audio, not all HDMI capture devices will transfer the camera’s audio to your computer. For this reason I recommend picking up a USB microphone like a Blue Yeti or Rode NT-USB Mini. Then you won’t have to worry about batteries or the HDMI device’s audio capabilities.
You should now be able to successfully use your Canon EOS as a webcam in any live streaming application. You should see your HDMI capture device listed in software when selecting the webcam.
If you have any issues or questions about using the EOS R as a webcam feel free to ask me in the comments below.