One important concept to grasp when entering photography is RAW photography. Shooting in RAW benefits both beginners and professionals alike.
So, what exactly is RAW photography, and why does it matter? In this post, we’ll cover everything you need to know about RAW files and how they can improve your photos.
RAW gives you better image quality and more flexibility in post-processing. If you want more control over your photos, shooting RAW is the way to get it.
Table of contents
- What is RAW Photography?
- Advantages of RAW Photography
- Disadvantages of RAW Photography
- How to Shoot in RAW Format
- Editing RAW Images
- Frequently Asked Questions about RAW Photos
- Conclusion
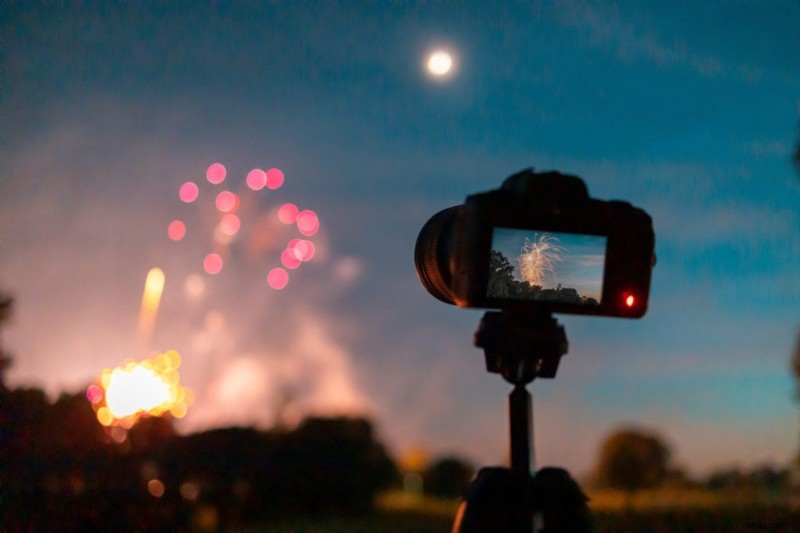 Camera capturing fireworks
As a photographer, shooting in RAW format gives you the highest quality images and the most editing flexibility. Many newer photographers skip RAW without realizing what they are missing.
Think of the RAW format like a digital negative; retaining the maximum amount of detail for your photos.
Here’s what the RAW format actually is and how it compares to JPEG.
Definition of RAW Format
The RAW format refers to the unprocessed and uncompressed image data captured by a digital camera’s sensor. Unlike JPEG (aka JPG), which compresses and discards some of the image data, RAW files retain all of the raw data captured in each pixel of the shot.
This means that the photographer has greater control over the final image during post-processing. RAW files are typically larger than JPEG files, but the increased flexibility in editing makes the larger file size worth it for professional photographers.
It’s also good to know that the RAW format comes in many file types depending on your camera manufacturers. So someone shooting Canon might shoot in .CR3 file format while a Sony user will shoot in .ARW, both of these are RAW formats. Other popular formats like TIFF and PNG may appear high quality but do not retain uncompressed data like RAW formats.
RAW vs JPEG
One of the main advantages of shooting in RAW is the ability to adjust the exposure, white balance, and other settings after the photo has been taken. With a JPEG image file, these adjustments are limited by the compression and processing that has already taken place.
Since RAW files retain all of the image data, they are less likely to produce artifacts, such as banding or noise, in high-contrast areas. JPEG files, on the other hand, are more prone to these types of issues due to their compressed format.
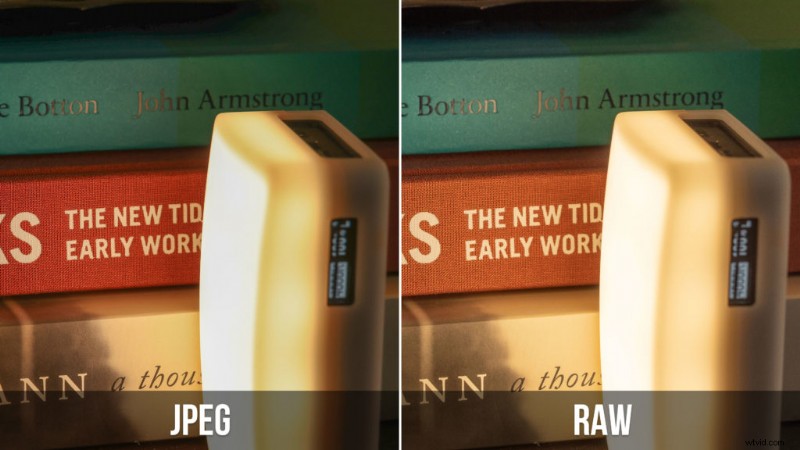 JPEG vs RAW example with similar edit (note the artifacts in the shadows near the top)
Another advantage of RAW files is that they offer greater flexibility when it comes to color correction. With a JPEG file, colors can appear washed out or over-saturated. RAW files, however, allow for greater control over the color balance and saturation during post-processing. This can help photographers achieve a more accurate representation of the scene as they saw it.
Shooting in RAW does require more storage space and processing power than JPEG. However, for photographers who require the highest quality images and greater control over the final product, shooting in RAW is the way to go.
RAW vs JPEG at a Glance
| RAW | JPEG | |
|---|---|---|
| File size | Large (20-80 MB per photo) | Small (3-10 MB per photo) |
| Bit depth | 12-14 bit (4,096-16,384 tones per channel) | 8-bit (256 tones per channel) |
| Editing flexibility | Full control over exposure, white balance, colors | Limited, degrades with heavy edits |
| Dynamic range | Wide, recoverable highlights and shadows | Compressed, limited recovery |
| Sharpening | You control it in post | Applied in-camera (can’t undo) |
| Color banding | Minimal (more tones per channel) | Visible in gradients like skies |
| Sharing | Requires processing first | Ready to share immediately |
| Burst speed | Fills buffer faster | More frames per burst |
| Best for | Serious editing, tricky lighting, printing | Quick sharing, casual shots, burst shooting |
Advantages of RAW Photography
Now that we’ve covered the basics, here are the key advantages of RAW.
Greater Detail and Dynamic Range
When you shoot in RAW, you capture all the data recorded by your camera’s sensor, resulting in a higher dynamic range and level of detail. In other words, your photos will have more information to work with, allowing you to capture more of the scene’s highlights and shadows. This is especially useful in situations where the lighting is challenging, like in high-contrast scenes. You can even pull an HDR-style look from a single RAW file by recovering both the shadows and highlights, something that would require multiple bracketed exposures with JPEG.
One common situation this can be beneficial is when shooting portraits with your subject backlit. Everyone knows the feeling when you can’t see your subject or the in contrast the background is blown out. When shooting RAW you can retain more details in the highlights and shadows of the image.
RAW files also reduce color banding, the visible stepping you sometimes see in smooth gradients like blue skies or studio backdrops. This happens because JPEG is limited to 8 bits per color channel (256 tones), while RAW captures 12-14 bits (4,096 to 16,384 tones). More tones means smoother gradients, especially when you push colors in post.
Enhanced Color Control
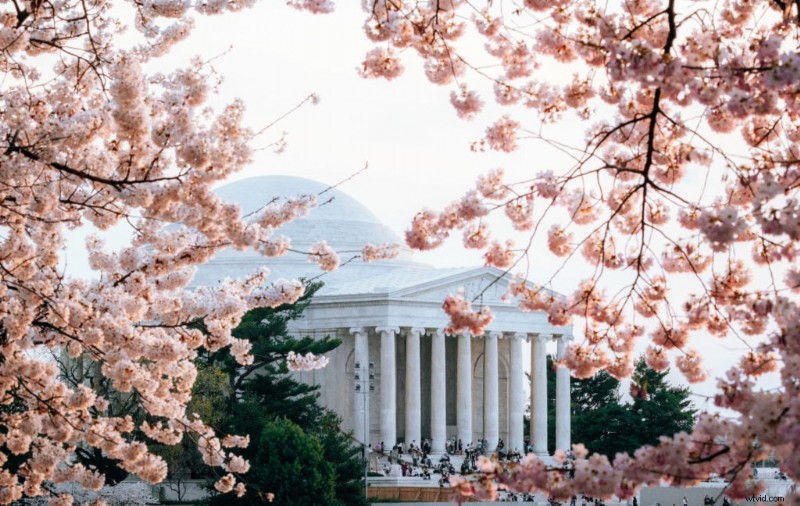 Cherry Blossoms around the Jefferson Memorial
RAW files provide more flexibility in post-processing, specifically when it comes to color adjustments. With RAW files, you can adjust the white balance, saturation, contrast, and other color-related settings without negatively impacting the image quality. This is because the changes are made to the original data, rather than compressing and losing information in a JPEG file.
Non-Destructive Editing
When you edit a RAW file, you’re not actually changing the original data. Instead, you’re creating a set of instructions that tell the software how to display the image. This means that you can make as many edits as you want without worrying about permanently damaging the image. You can always go back to the original RAW file if you need to start over.
Overall, shooting in RAW format provides several advantages over shooting in JPEG. By capturing more information and allowing for more flexibility in post-processing, RAW files produce higher quality images with more editing headroom. This is especially noticeable when printing large (16×20 and above), where the extra detail and color depth in RAW files makes a visible difference compared to JPEG.
Disadvantages of RAW Photography
While shooting RAW might sound great there are a few downsides. Nowadays shooting RAW can be overkill for many especially if you’re just sharing on social media.
Here are the main disadvantages of RAW images.
Larger File Sizes
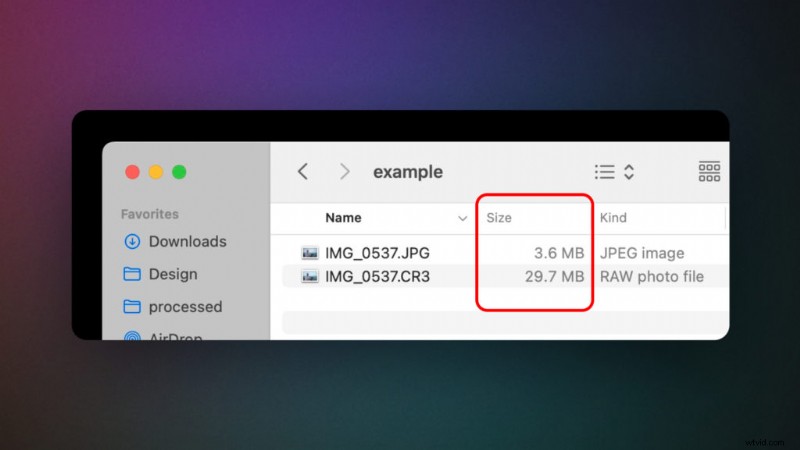 File size comparison of RAW vs compressed JPEG
One of the biggest disadvantages of shooting in RAW format is that it produces larger file sizes than shooting in JPEG. This is because RAW files contain more data and information than JPEG files, which results in larger files. This can take up a lot of storage space on your memory cards and hard drives. Typically the RAW file format can take up 2-3 times more than JPEG but can take up to 7 times the amount of storage. Of course this depends on your camera brand and camera’s megapixel count.
Slower Processing Speed
Another disadvantage of RAW photography is that it can slow down your processing speed. Because RAW files contain more information and data than JPEG files, it takes longer for your computer or camera to process the images. This can be frustrating if you’re working on a tight deadline or need to quickly sort through a large batch of photos. RAW also fills your camera’s buffer faster during burst shooting. If you shoot sports or wildlife and need long continuous bursts, you’ll get fewer frames per burst in RAW before the camera pauses to write data. Additionally JPEG images straight from the camera will appear more “ready to post” while RAW images will require editing, slowing down your workflow if you’re just looking to post photos quickly.
Software Compatibility Issues
Not all RAW image files are compatible with all types of software. Some older versions of software may not be able to read RAW files from newer cameras, which can cause compatibility issues. This means that you may need to upgrade your software or purchase new software in order to work with RAW files. This can be costly and time-consuming (granted I highly recommend getting all of your photo editing software updated).
When to Use JPEG Instead of RAW
RAW isn’t always the right choice. Here are situations where JPEG makes more sense:
- Burst/sports shooting: RAW files fill your camera’s buffer faster, limiting how many continuous frames you can fire. If you’re shooting fast action and need long bursts, JPEG lets you keep shooting without the buffer locking up.
- Casual snapshots: If you’re taking photos you won’t edit (family gatherings, quick snapshots for social media), JPEG saves you time and storage.
- Immediate sharing: JPEG files are ready to send, post, or print straight from the camera. RAW files need to be processed first.
- Limited storage on a trip: If you’re traveling light with limited memory cards and no laptop to offload, JPEG’s smaller files (2-7x smaller than RAW) let you fit more shots on each card.
- You’ve nailed the exposure: If you’re shooting in consistent, controlled lighting and your exposure is dialed in, the editing flexibility of RAW matters less.
Many cameras also let you shoot RAW+JPEG simultaneously, giving you a ready-to-share JPEG and a RAW file for editing later. The tradeoff is even larger storage requirements per shot.
How to Shoot in RAW Format
Here’s how to enable RAW shooting on your camera.
Camera Settings for RAW Photography
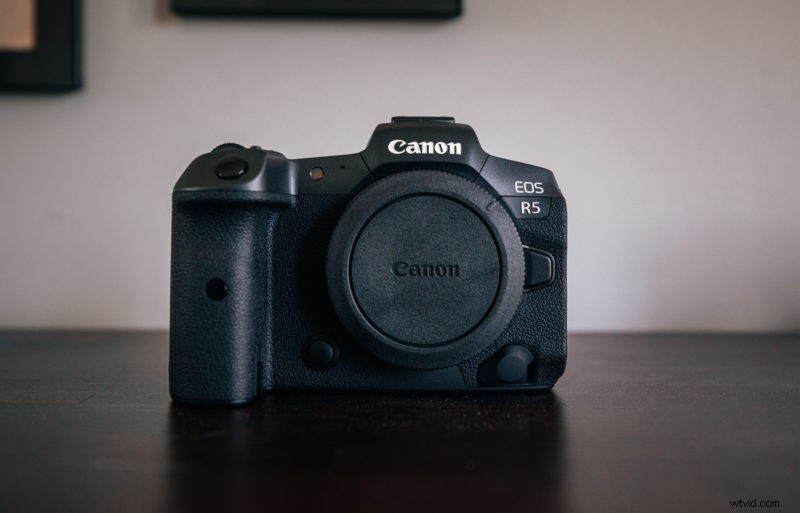
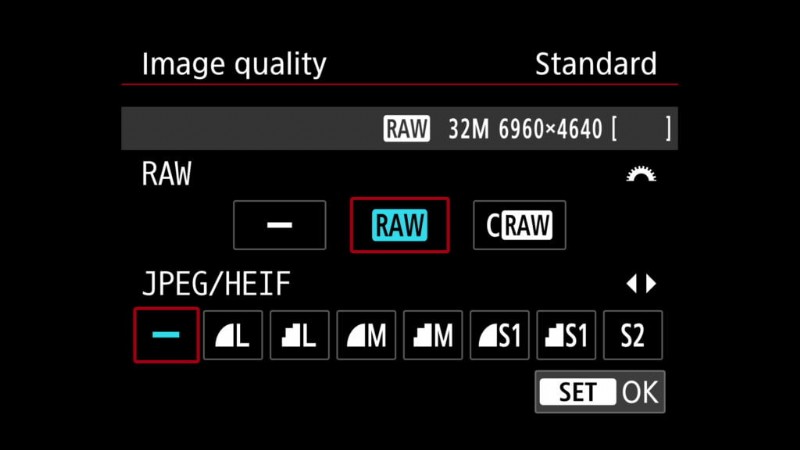 Setting camera to shoot RAW
No matter if you have a Mirrorless or DSLR from Canon, Sony, or Nikon; most popular camera brands will allow you to shoot RAW images. Even iPhones let you shoot RAW photos (granted not all RAW images are created equally).
How to shoot in RAW format on popular camera brands (note that not all cameras from one camera manufacturer will have the same way to enable RAW):
- Canon: Open the menu and the first option in the first shooting menu is “quality”. Using this menu you can enable RAW while disabling JPEG. Note that some Canon cameras offer “CRAW” which is a compressed version that can help with saving storage. Canon RAW format: CR2/CR3.
- Nikon: In the photo shooting menu you’ll see “Image quality” option that will allow you to shoot RAW images on Nikon cameras. Nikon RAW format: NEF.
- Sony: In the Sony shooting menu you’ll find “Quality” which will allow you to select RAW image format. Sony RAW format: ARW.
- iPhone: Pro models of the iPhone will allow you to enable Apple ProRAW. If you have a compatible phone you’ll find the setting in Settings > Camera > Formats > Apple ProRAW. iPhone RAW format: DNG.
While more forgiving it’s important to remember that shooting RAW won’t automatically make all of your images perfect. It’s still important to adjust your camera settings with proper exposure to get the best possible image.
Storage Considerations
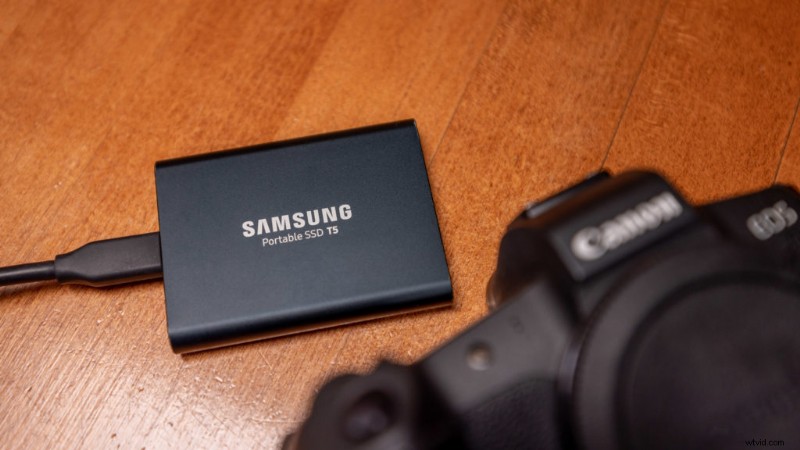
RAW files are much larger than JPEGs, so it’s important to have enough storage space on your memory card and hard drive. Invest in a high-capacity memory card and external hard drive to ensure you have enough space to store all of your RAW files. It’s also important to have a backup system in place to prevent data loss.
When shooting in RAW format, it’s important to remember that the image may look flat and unprocessed compared to JPEG format. However, this allows for greater flexibility when editing and processing the image later on. With the right camera settings and storage considerations, shooting in RAW format can greatly enhance the quality of your photos.
Editing RAW Images
Popular RAW Image Editing Software
When it comes to editing RAW images, there are a few popular software options available. Adobe Lightroom and Photoshop are the most popular among professional photographers. Lightroom offers easy-to-use sliders for basic adjustments, while Adobe Photoshop offers more advanced editing capabilities such as manipulating the content of images. All of Adobe’s programs use Adobe Camera Raw which is regularly updated to support the latest camera’s RAW files.
Personally I use Adobe Lightroom Classic to edit the majority of my travel photography. It offers a great range of options plus AI features like automatic subject detect and sky detection for faster workflows.
Capture One is another great option that offers advanced color grading tools and tethered shooting capabilities.
All software options I mentioned offer free trials, so it’s worth taking the time to test them out and see which one suits your editing needs.
If you’re looking for a free alternative you can even use the default photos app on iOS devices or try the open source Lightroom alternative Darktable.
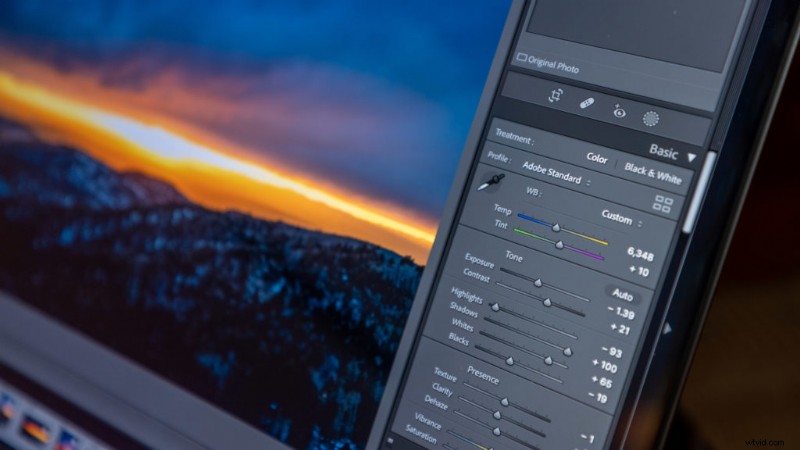
Basic Adjustments in RAW Editing
When editing RAW images, there are a few basic adjustments that you should consider tweaking. First, adjust the exposure to ensure proper brightness and contrast. Next, adjust the white balance to ensure accurate colors. Then, sharpen the image to enhance detail. Typically your camera will add sharpening when shooting JPEG so you’ll need to add it when editing RAW. Finally, adjust the noise reduction to remove any unwanted grain in the image.
There are plenty of tutorials about editing RAW photos, I highly recommend watching this one by Todd Dominey if you’re new to editing.
While RAW gives you more room to fix mistakes, you should still aim to get the exposure and white balance right in-camera. This will save time and ensure that the final image is of the highest quality.
Once you get comfortable with these basic adjustments, you can start experimenting with color grading, tone curves, and local adjustments to develop your own editing style.
Frequently Asked Questions about RAW Photos
Here are FAQ about RAW images, if I missed anything let me know in the comments below!
What are RAW photos?
RAW photos are uncompressed, unprocessed image files straight from your camera’s sensor. They retain all the detail, color, and tonal information from the original capture, giving you far more flexibility during editing than a JPEG. The tradeoff is larger file sizes and the need to process them in editing software before sharing.
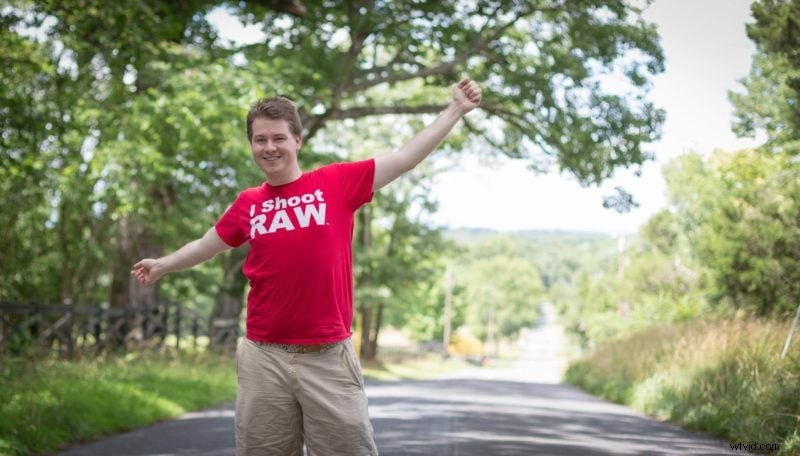
Should beginners shoot in RAW?
Yes. Beginners actually benefit from RAW more than experienced photographers because beginners make more exposure and white balance mistakes. RAW lets you fix those errors in post without losing quality. The only extra step is importing your photos into editing software (like Lightroom) before sharing them. If you’re willing to add that step, shoot RAW from day one.
Why is RAW capitalized?
RAW is capitalized to distinguish the file format from the everyday word “raw.” It refers to a specific type of unprocessed image file that has become the standard for professional photography. Unlike an acronym, RAW doesn’t stand for specific words in this context (though the format name traces back to the idea of “raw” unprocessed data).
Why do RAW files look washed out?
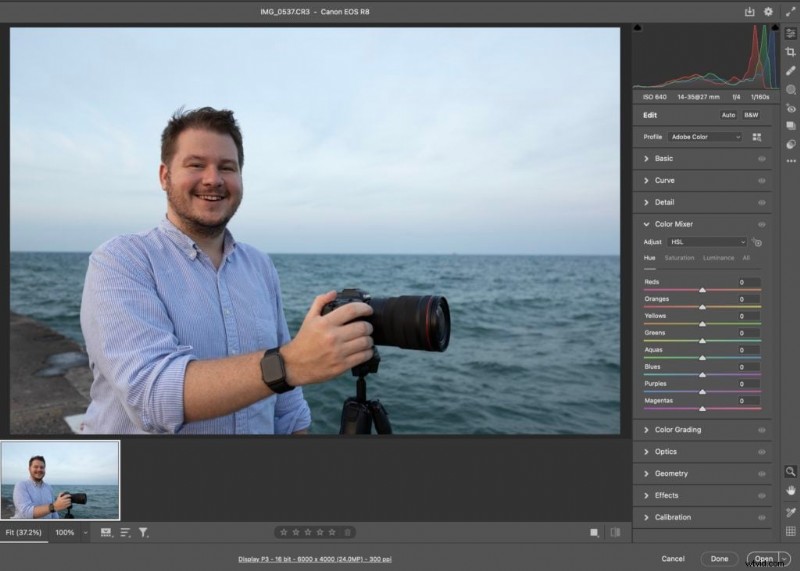 Un-edited RAW photo in Photoshop
When you first view a RAW file, it might look washed out compared to a JPEG image. This can lead to confusion and frustration for photographers, but it’s actually a good thing.
RAW files contain all the information captured by your camera’s sensor, while JPEG images are compressed and processed by your camera’s software. This means that RAW files have a wider dynamic range and more detail, but they also require some processing to look their best.
When you open a RAW file in editing software like Lightroom or Photoshop, you have complete control over the processing. You can adjust the exposure, contrast, white balance, and other settings to create the look you want. This level of control is simply not possible with a JPEG image.
So, while RAW files may initially look washed out, they actually contain all the information needed to produce sharp, detailed images after editing. If you’re serious about photography, shooting in RAW is a must.
Can I convert a RAW file to JPEG?
Yes, you can convert a RAW file to JPEG using software like Adobe Lightroom or Photoshop. You can also use an online RAW file converter to change RAW files to JPEG. However, it’s important to note that once you convert a RAW file to JPEG, you lose some of the flexibility and control over the final image that shooting in RAW provides. Ideally you want to edit your RAW files and share JPEG images.
Does shooting in RAW affect the speed or performance of my camera?
Shooting in RAW can slow down your camera’s performance, as RAW files are larger and require more processing power and memory than JPEG files. However, most modern cameras are equipped to handle RAW shooting without significant slowdowns.
Do all cameras support RAW shooting?
No, not all cameras support RAW shooting. However, most mirrorless and DSLR cameras do support RAW shooting, as do many high-end point-and-shoot cameras, and smartphones.
Can I shoot in both RAW and JPEG at the same time?
Yes, many cameras allow you to shoot in both RAW and JPEG simultaneously. This can be useful if you need to quickly share images or want a backup in case something goes wrong with the RAW files.
Do I need a special memory card to shoot in RAW?
No, you don’t need a special memory card to shoot in RAW. However, RAW files are larger than JPEG files, so it’s important to make sure you have enough storage space on your memory card and computer to handle the larger file sizes. Additionally shooting RAW affects your “buffer” since the files are larger the camera can only write so many in a row. This means if you’re shooting action sports or something where you need large bursts of photos per second make sure to read the specs of your camera to see how many RAW photos it can write in its buffer.
Conclusion
RAW files give you more detail, more dynamic range, and more editing flexibility than JPEG. The tradeoff is larger files and an extra step in your workflow. If you edit your photos at all, RAW is worth the storage space. If you just want to share photos straight from the camera, JPEG is fine.
Try shooting RAW on your next outing and compare the editing flexibility to JPEG. Enable it in your camera’s image quality settings, shoot a few scenes, then open both versions in Lightroom or your editor of choice. The difference is clear.