Summary: New to Snapchat? This guide walks you through editing your local photos and videos to make them eye‑catching and shows how to upload them to Snapchat.
Snapchat lets you share images and videos as private snaps or public stories. All content auto‑deletes after a set time, making it ideal for instant, secure communication.
Part 1: Uploading Local Photos to Snapchat
Step 1 – Access Memory: Open the Snapchat app, tap the  icon or swipe up to open Memory. Here you’ll see both snaps you’ve taken and photos from your device’s Camera Roll.
Step 2 – Select and Edit: Swipe left to the Camera Roll, tap the  icon to bring up the editor.
Step 3 – Enhance Your Photo: Add text, stickers, crop, or apply filters. Use the  button to set a self‑delete timer.
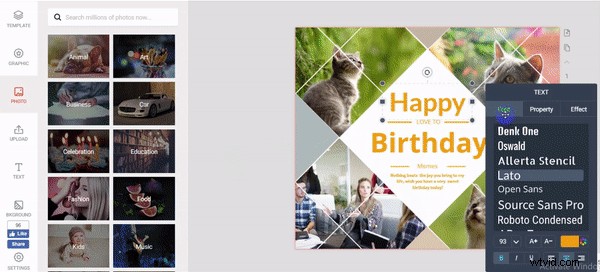
If you need more creative options, try DesignCap – a graphic‑design tool with templates for infographics, thumbnails, covers, and more.
Step 4 – Share: Tap the  send button. Choose to add the photo to My Story (visible for 24 hours) or send it directly to friends.
Part 2: Editing and Uploading Videos
Uploading a video follows the same process as a photo.
Step 1 – Locate Your Video: Open Memory or swipe up to the Camera Roll and find the video.
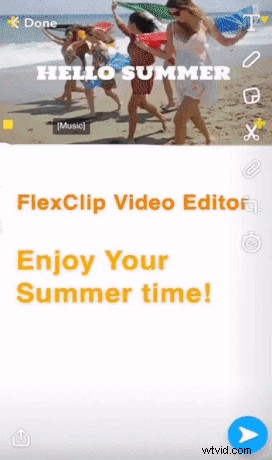
Step 2 – Edit: Add text or stickers. Unlike photos, you can’t set a self‑delete timer, but you can use the Bounce option to loop a chosen segment forwards and backwards.
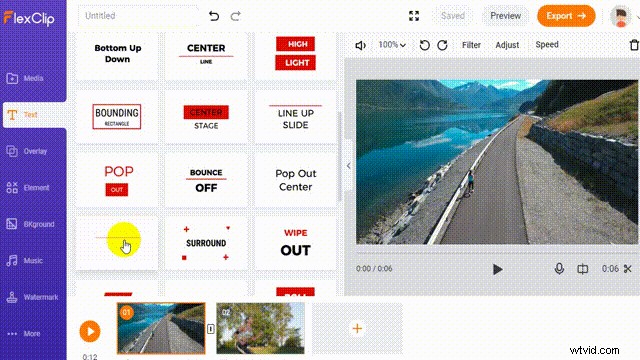
If your video is too long, trim it with FlexClip, which also lets you add animated text and background music.
Step 3 – Send: Review the edited clip and tap the share button. You can post it to My Story or send it to friends.
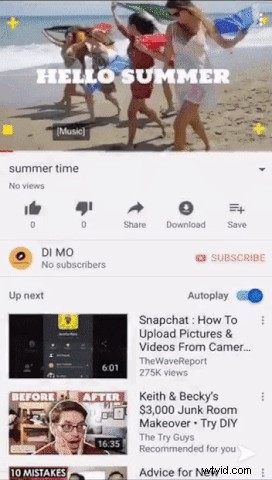
Part 3: Linking a YouTube Video
Snapchat also supports attaching YouTube links to your posts.
Step 1 – Open Camera Roll: Tap the icon.
Step 2 – Paste Link: In the editor, tap the  icon, copy your YouTube URL, and paste it as an attachment.
Step 3 – Share to My Story: Finalise the post and send it.
Bottom Line: Follow these steps to share polished photos and videos on Snapchat. If you’re looking for extra editing power, FlexClip and DesignCap offer thousands of templates and intuitive tools to elevate your content.
