Wondering how to record GoToMeetings as an attendee?
Not sure about how to edit your GoToMeeting recordings to create webinars, screencasts or tutorials?
Don’t worry. In today's post, we will teach you how to record and edit GoToMeetings in a simple five-step process.
Though GoToMeeting comes with a built-in recorder that helps users record meetings easily, it lacks a few basic functionalities that make it less desirable amongst content creators. Let’s take a look at some common problems they face.
- The GoToMeeting recorder doesn't have a built-in video editor. So, people recording webinars, screencasts, and tutorial videos require an additional editing software to edit their recordings.
- It comes with a 100 MB recording limit. Therefore, it becomes difficult to record meetings that exceed the limit.
- The number of output formats are also limited.
Now that we have an idea about the problems users face, let's see how we can come up with a solution.
Instead of using separate software for recording and editing, you can try purchasing a single screen recording software like Vmaker that comes with a built-in video editor. This way, you'd be able to record and edit your video recordings easily in one go.
With Vmaker, you also get access to a ton of impressive features that helps you customize and enhance your recordings according to your own preferences.
Here is a list of things you could do when you record GoToMeetings with Vmaker:
- Add custom branding to your recording
- Directly upload your recording to various social media platforms like YouTube, Facebook, etc
- Access the built-in video editor
- Export your recorded meetings in various file formats
- Navigate across various tabs and windows during the recording
- Cancel the background noises on your recording
- Measure and track video analytics
- Record both the system audio and microphone audio seamlessly
Without further ado, let's go ahead and learn how to record GoTomeetings using a simple screen recording and video editing software like Vmaker.
1. How to Record GoToMeeting using Vmaker's Chrome Extension
Vmaker can easily be downloaded in two formats - as a Chrome extension and as a Mac application. The chrome extension can be downloaded from the 'Chrome Web Store' and the Mac application can be downloaded from Vmaker's home page.
Firstly, let's learn how to use Vmaker's chrome extension to record GoToMeetings.
Step 1: Sign up and download Vmaker
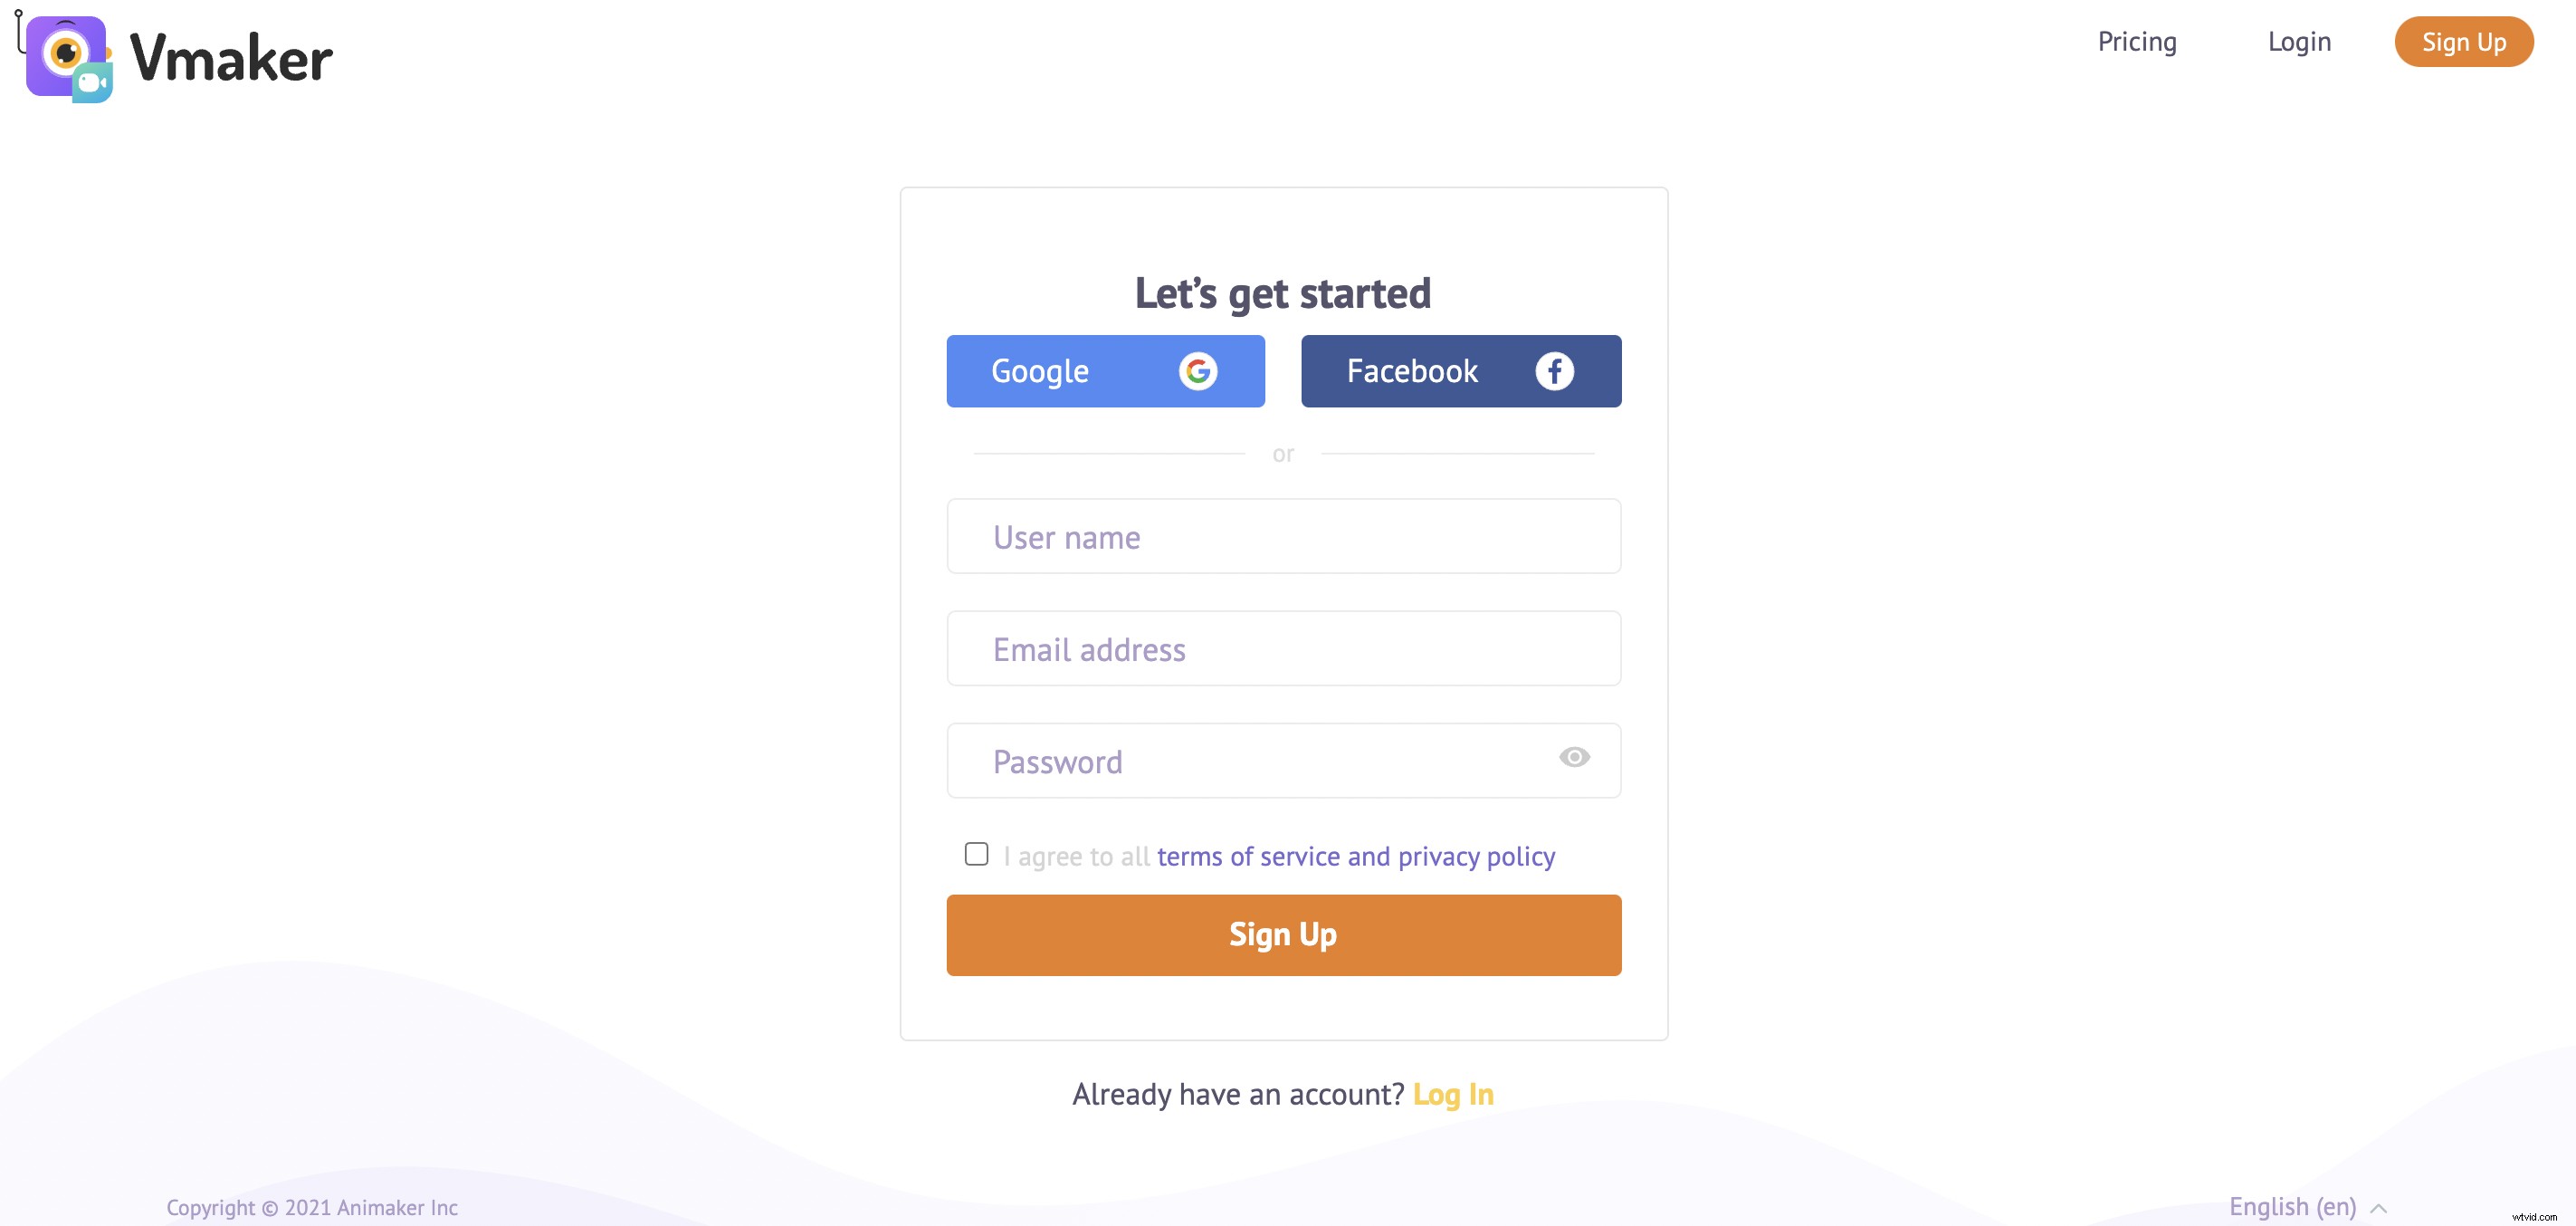
- Head over to Vmaker's home page and sign up for Vmaker.
- Once you create an account, you can easily log in and download the Chrome extension by clicking on the 'Download' button on your dashboard.
- As soon as you click on 'Download', you will be directed to the 'Chrome Web Store', from where you can add the extension to your browser.
Step 2: Pin the extension to your browser
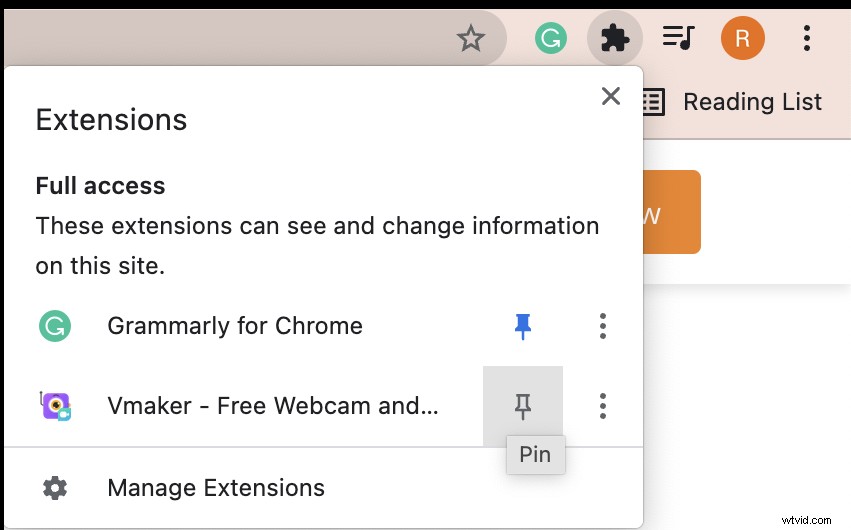
To make sure you have easy access to Vmaker, you can pin the chrome extension to your browser.
- If you'd like to give a test run and see how the recording works, you can do so by simply clicking on the chrome plug-in.
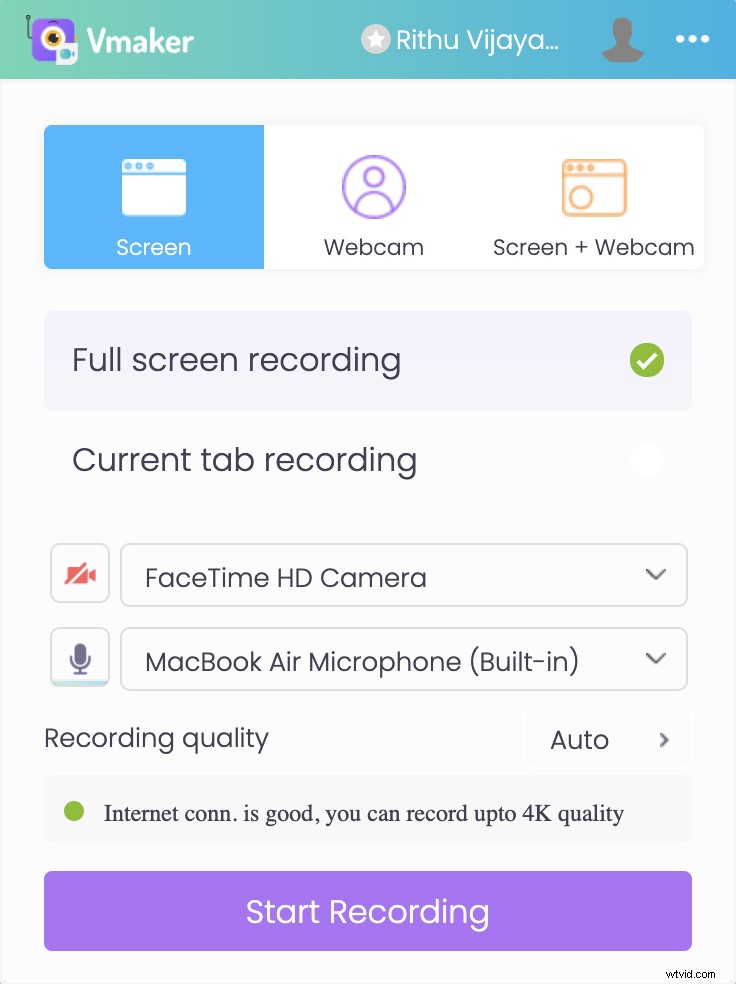
- Once you click on the plug-in, you'd be presented with a small drop-down box asking you to select basic recording features such as recording mode, video quality, etc. These are the basic customization features you need to select to start recording.
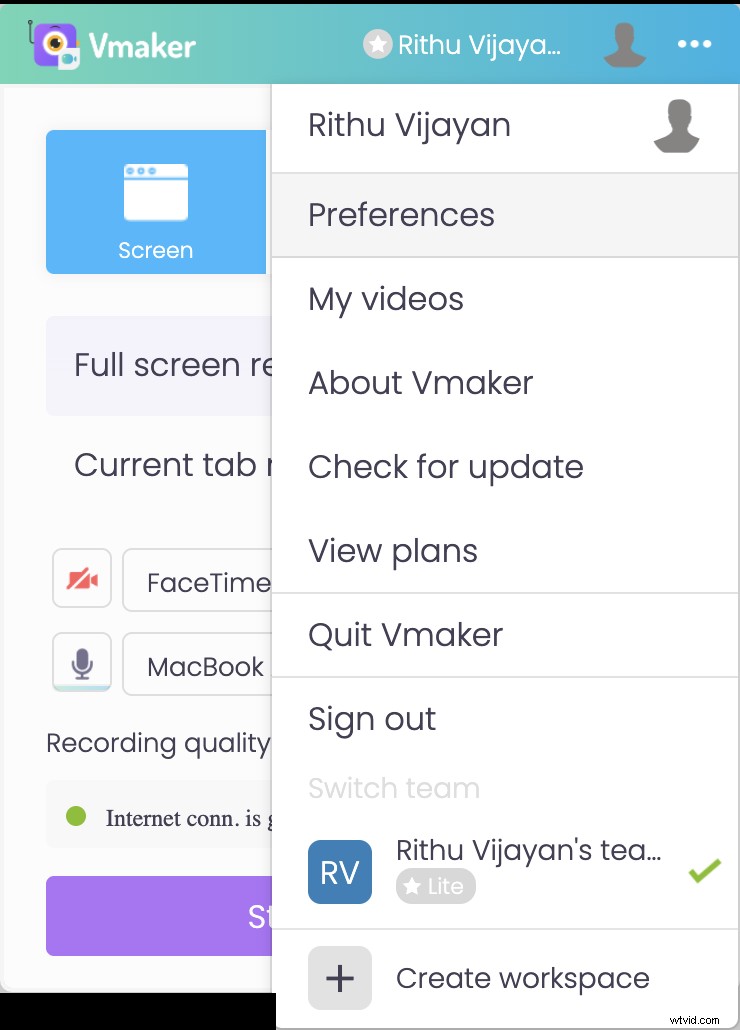
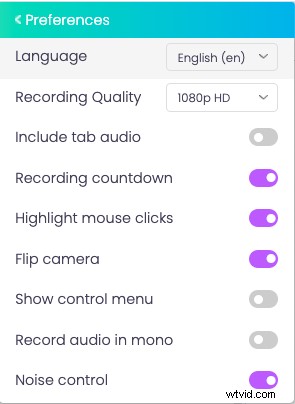
- To customize your recording with advanced features, simply click on the horizontal dot-matrix icon next to your profile and choose 'Preferences'. Now, you can enable features that would help enhance your recording. For example, you can enable the 'Record Internal Audio' feature if you prefer recording both the internal and external audio.
Step 3: Join the meeting and start recording
If you're doing a test run, you can click on the 'Start Recording' button to practice. But, if you're skipping the test run and wish to record GoToMeeting directly, you can join the meeting as you usually do.
As soon as you join the meeting, click on Vmaker's chrome plug-in and select 'Start Recording'.
- You will be directed to a screen that will prompt you to select the screen, tab, or window you'd like to record from. Select your preferred option and click on 'Share'.
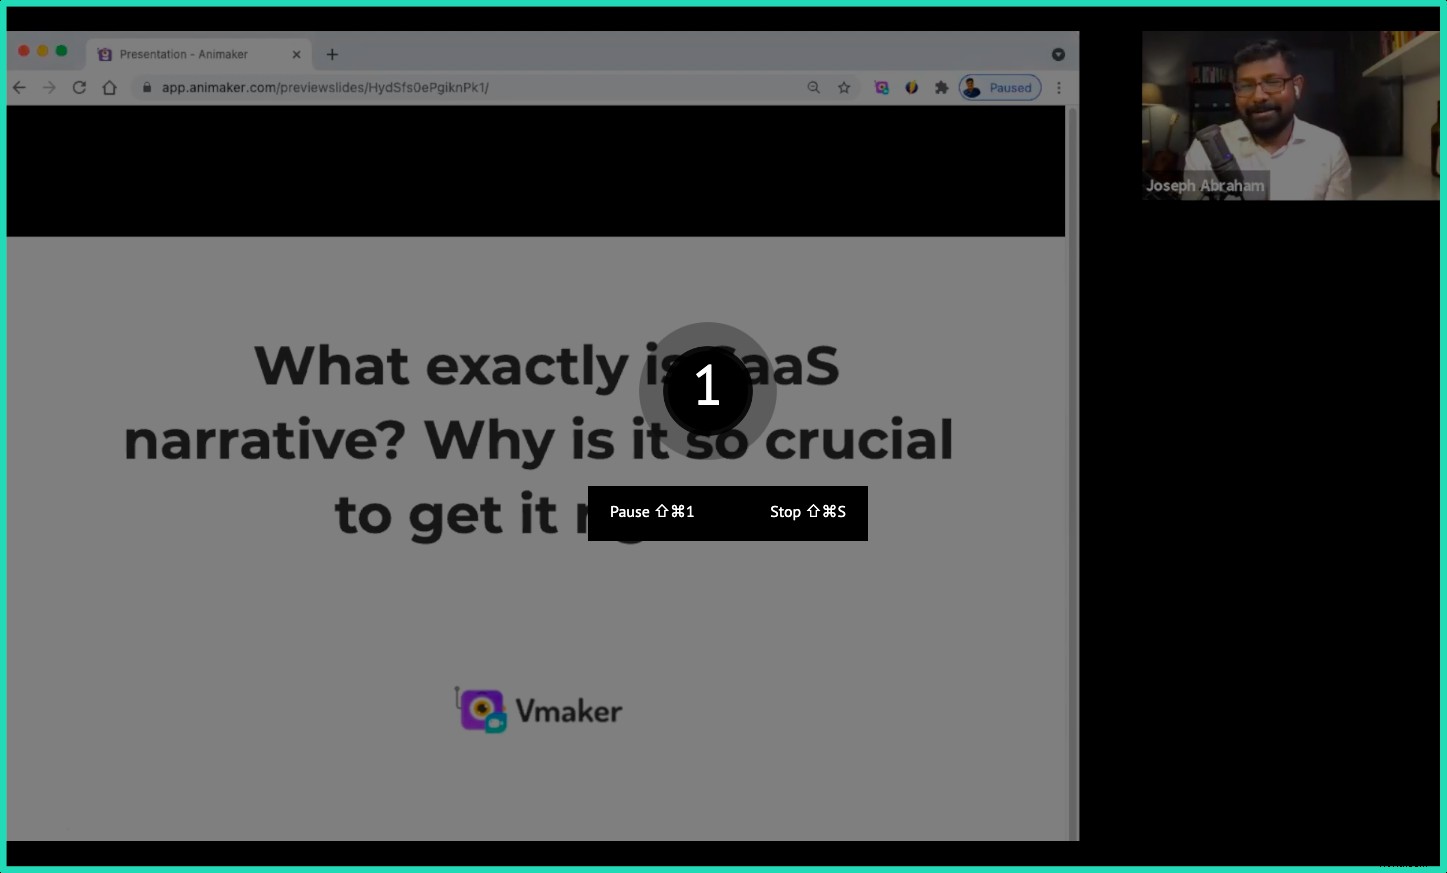
- A timer starts, notifying that the recording is about to start. And, as soon as the timer stops, the recording starts.
- Once you're done with the recording, you can stop the recording by clicking on Vmaker's chrome extension, or by clicking on 'Stop Sharing'. The recorded file will now be available on your dashboard.
Step 4: Edit your recording
This step is totally optional. You can make use of Vmaker's online video editor and add some finishing touches to your recording. This feature will be hugely beneficial for you if you're recording webinars, tutorials or screencasts.
Pro tip: We always recommend you 'Duplicate' your recording before you start your editing process. This is just to ensure that you have a copy of your original file as a backup.
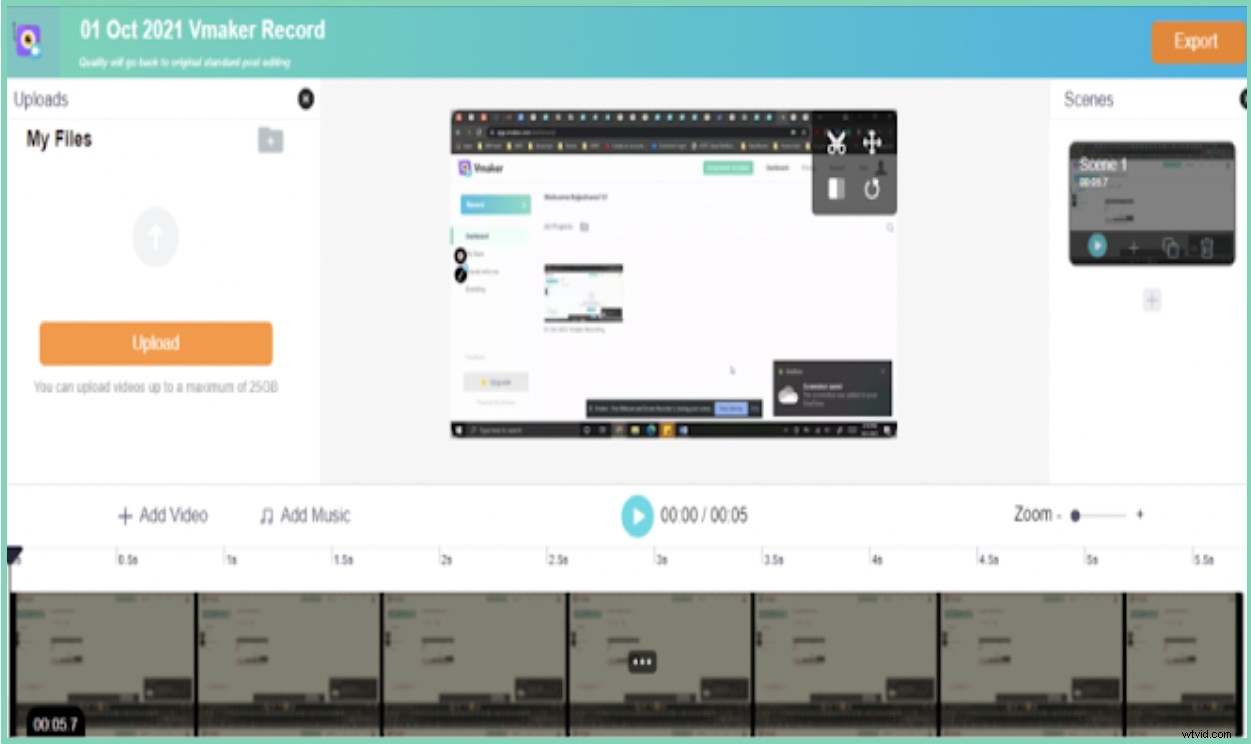
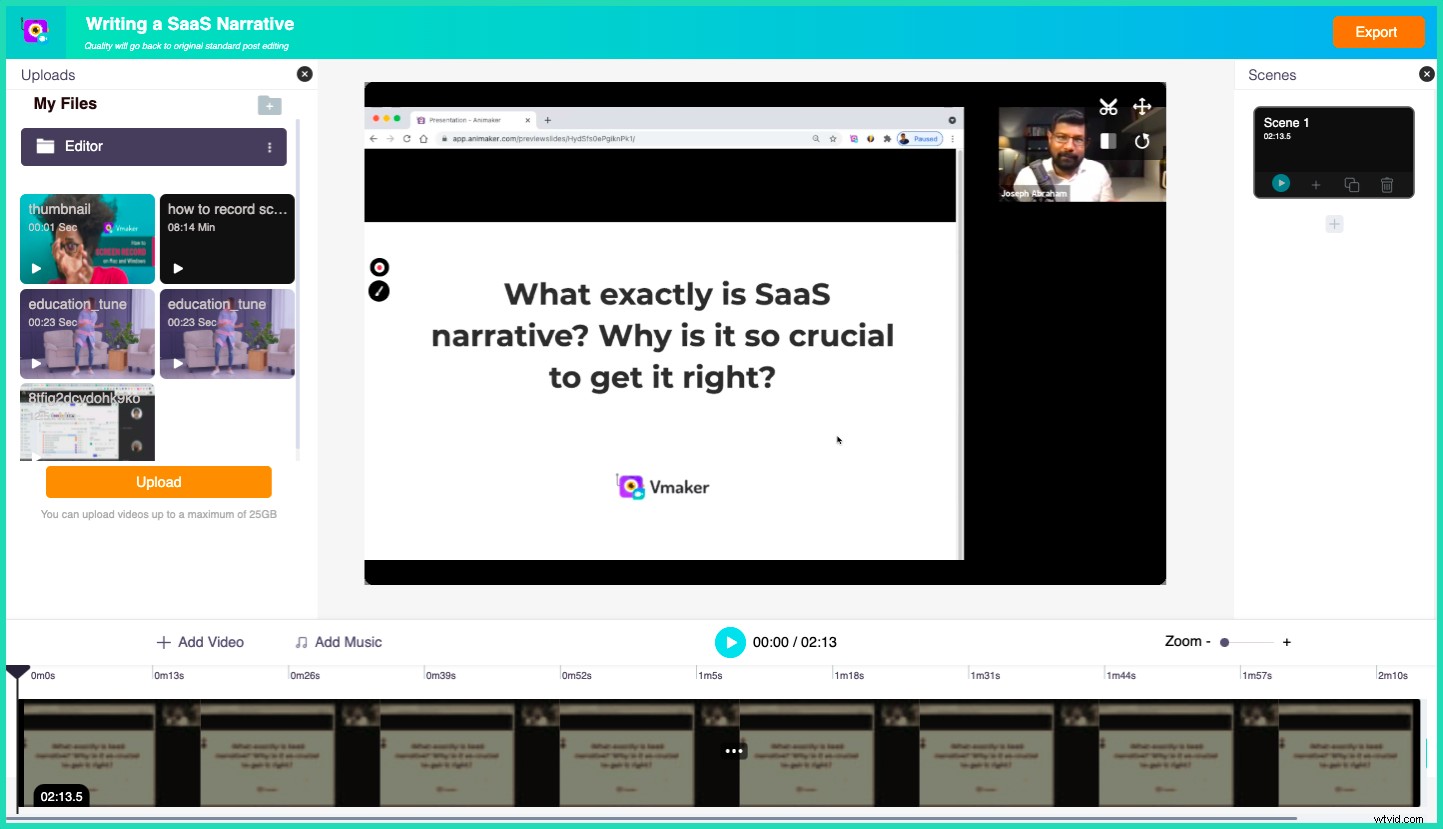
- Make good use of Vmaker's editing suite as it provides a wide variety of editing features. It allows you to trim, crop, flip, rotate, swap, add music, subtitles and custom background to your recordings. The interface is very user-friendly and makes the overall editing process easier.
- Once you are done editing, you can choose your preferred file format and export your recording by clicking on the 'Export' tab.
- The edited file will now be exported to your dashboard.
Step 5: Share your recording
Now, you can easily download, share or upload your recording to any of your favourite social media platforms like Facebook, YouTube, etc. You can also share the recording as a link via email.

2. How to Record GoToMeetings on Mac using Vmaker
If you're a Mac user, you can follow these simple steps to record GoToMeetings.
Step 1: Sign up and install Vmaker
- Head over to Vmaker's home page and create an account by signing up for Vmaker. As soon as you log in and land on Vmaker's dashboard, click on 'Download' and download the application.
- Open the downloaded application. Drag and drop the file to the Applications folder.
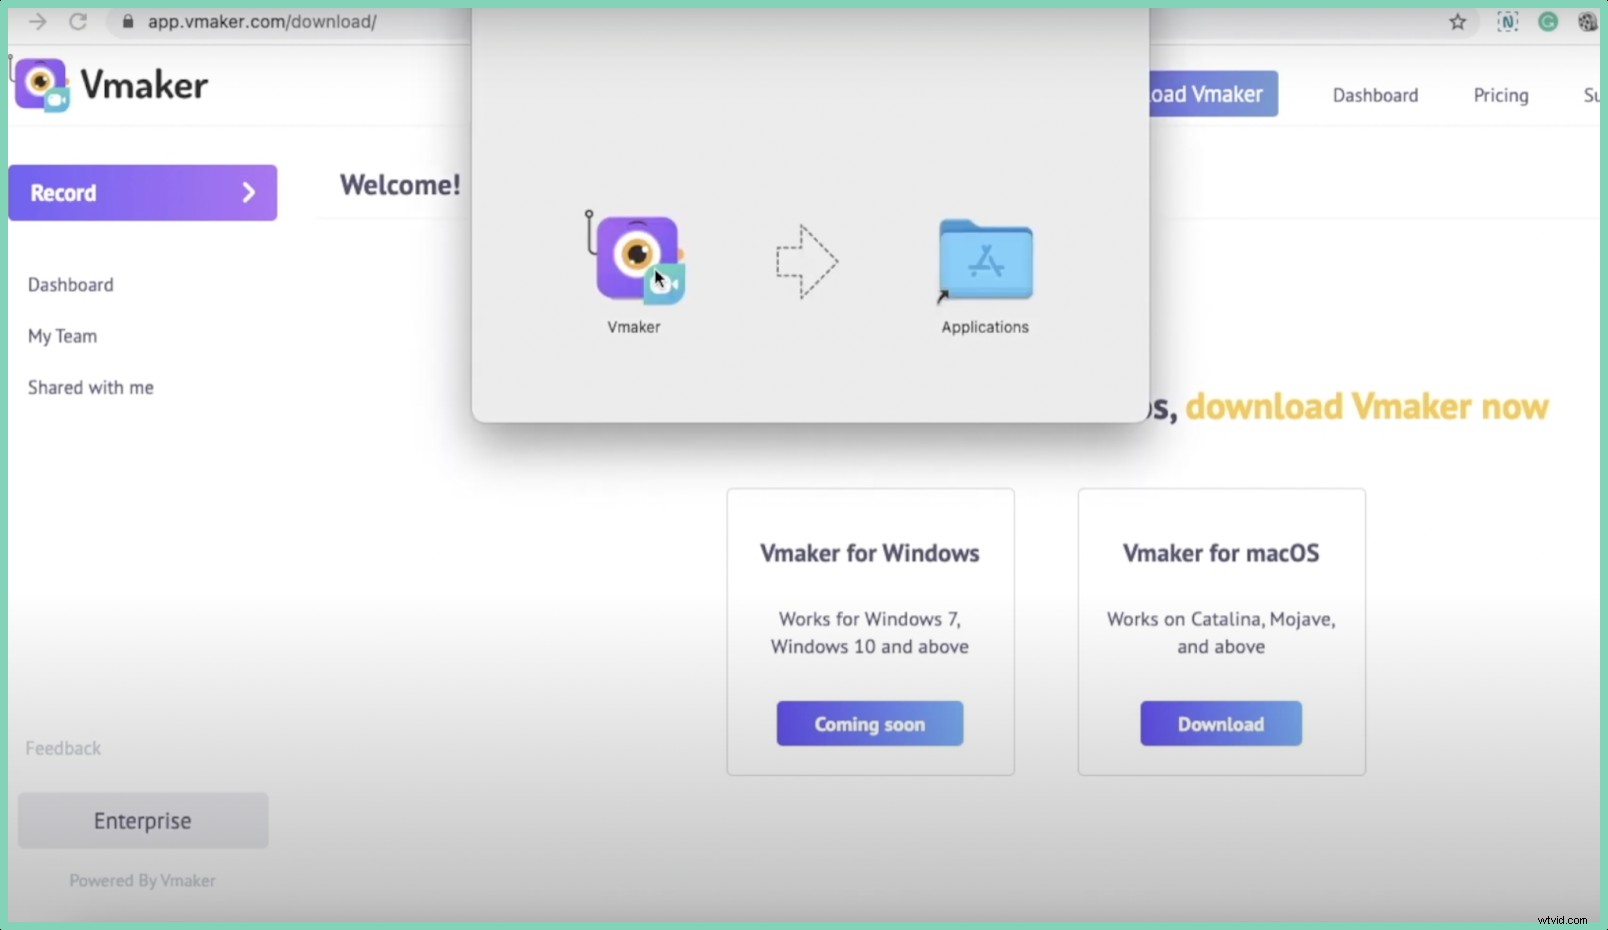
- Change your security and privacy settings and allow Vmaker to access your camera and microphone. Also, enable the screen recording feature.
Step 2: Customize your preferences
- You can now log in to your account, choose your recording mode and customize your preferences according to your personal needs.
Step 3: Join the meeting and start recording
- Once you are ready to record, you can join the meeting and click on the Vmaker icon, and start recording. A timer starts, and within three seconds, you'd be able to record the meeting.
- As soon as you're done with your session, you can stop the recording by clicking on 'Stop Sharing'. The file will now be transported to your dashboard.
Step 4: Edit your recording
- If you feel the need to edit your recordings, you can do so by clicking on the 'Edit' button.
- Once you finish editing, you can easily export the recording to your dashboard in your desired file format.
Step 5: Share the recording
You can now share the recording using any of the following methods.
- Copy the link and share it via email, or
- Upload the recording directly to social media platforms such as YouTube, Facebook, etc.
Now that you've learnt how to record GoTomeetings using both the Mac application and Chrome extension, you can easily record and edit your GoToMeetings in a matter of a few minutes.
Disclaimer: Please be completely aware that it's not an ethical practice to record GoToMeetings, calls or classes without the permission of all participants. In fact, in some countries like California, it is considered illegal to record calls without getting the consent of the people involved. So, we highly recommend you inform all your participants before you start recording your session.
Recommended Reads
- How to Record Teams Meetings (2 Different Ways)
- Top 10 Screen Recorders for Recording Teams Meetings
- Top 10 Screen Recorders for Recording Zoom Meetings
- Top 10 Screen Recorders for Recording Google Meet
- Learn How to Write Minutes of a Meeting with a Screen Recorder