Canva is widely recognized for its intuitive design tools that enable creators to craft striking presentations, social media graphics, logos, and documents. Beyond design, Canva also offers robust video editing capabilities, including the essential function of separating audio from video.
If you’re unsure how to pull audio from a video clip in Canva, this guide walks you through the process in clear, actionable steps and introduces reliable alternatives for more advanced audio editing.
In this article
- Extracting Audio with Canva – Step‑by‑Step Instructions
- Other Powerful Video Editing Features of Canva
- Basic Editing (trim, cut, split)
- Volume Control
- Audio Effects (fade‑in, fade‑out, echo)
- Royalty‑Free Audio Library
- Audio Mixing
- Alternative Tools for Audio Extraction
- Filmora – Advanced Editing Features
- VSDC Free Video Editor – Windows Alternative
- Flixier – Online Solution
- FAQs
Below is the step‑by‑step process for extracting audio in Canva.
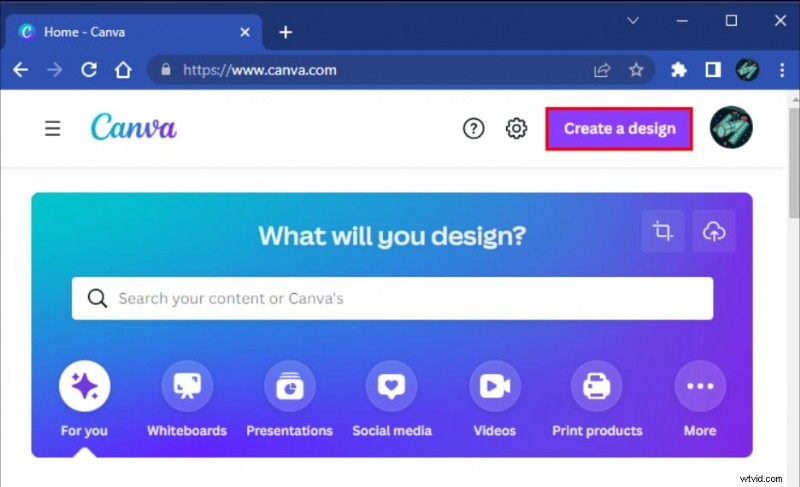
Step 1: Open the Canva online video editor.
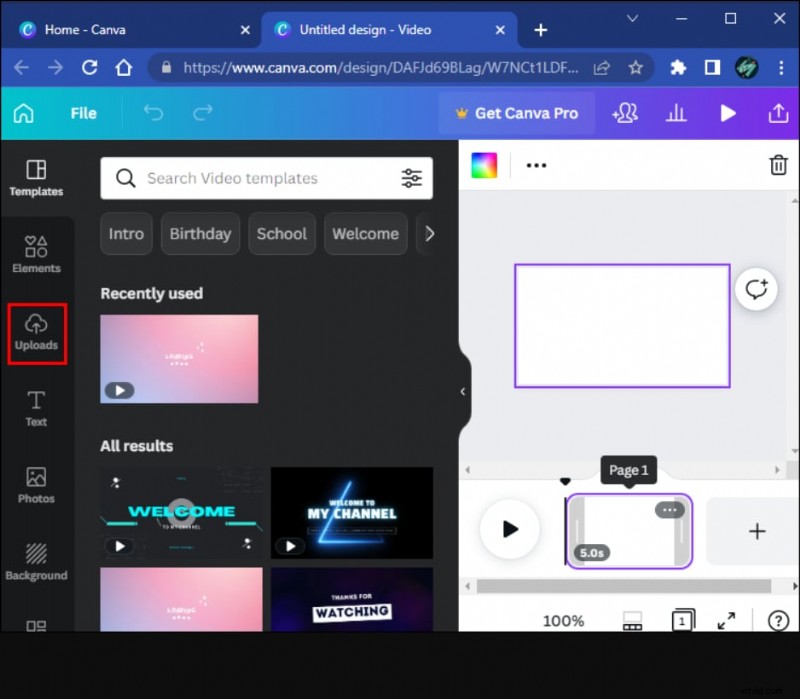
Step 2: From the left‑hand menu, select Uploads. Under the videos tab, click Upload media and choose the video you want to process.
Step 3: Drag the uploaded video onto your canvas. Right‑click the video, choose Edit, then click Extract audio. Canva will automatically separate the audio track and place it below the video on the timeline.

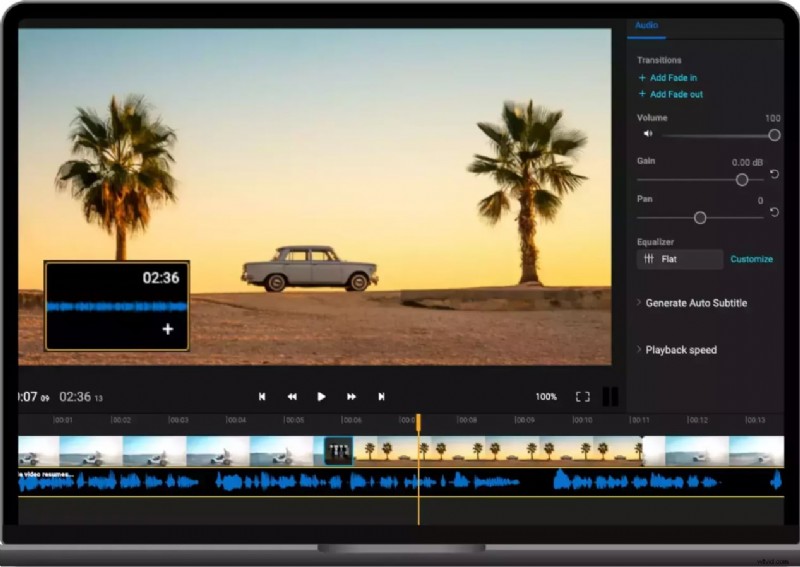
Canva’s Audio Editing Capabilities
- Basic Editing: Trim, cut, and split audio clips.
- Volume Control: Balance audio tracks with other design elements.
- Audio Effects: Apply fade‑in, fade‑out, and echo.
- Audio Library: Access royalty‑free tracks.
- Audio Mixing: Combine multiple tracks for complex soundscapes.
Alternative Ways to Extract Audio from Video
While Canva handles basic extraction well, it lacks deeper audio processing options such as noise removal, voice alteration, or speech‑to‑text conversion. The following tools provide those advanced features.
Filmora – The Leading Alternative for Advanced Audio Editing
Wondershare Filmora excels at detaching audio from video across Windows, macOS, Android, and iOS. It supports a wide range of file formats for both import and export, allowing you to output audio in your preferred format. Filmora also offers a suite of audio tools: trimming, splitting, volume adjustment, fade effects, noise removal, pitch shifts, AI‑generated music, vocal isolation, voice‑changing presets, and speech‑to‑text conversion.


How to Extract Audio in Filmora
- Install and launch Filmora. Click Import to add the video containing the audio you want.
- Drag the video onto the timeline. Right‑click the clip and select Detach Audio. The audio appears beneath the video.
- Delete or edit the audio track as needed. Click Export to save your results.
VSDC Free Video Editor – Windows Alternative
VSDC offers a non‑linear editing experience with a user‑friendly interface. It supports numerous media formats and provides additional features like multi‑cam editing, masking, and motion tracking. Audio extraction is straightforward: add a video to the project, right‑click to detach audio, and export the audio file.

Extracting Audio with VSDC
- Download and install VSDC. Start a new Blank Project.
- Navigate to Editor > Add Object > Audio. Choose the video(s); VSDC will automatically extract the audio.
- Go to the Export tab, right‑click the audio track, and select Export Audio.
Flixier – Online Audio Extraction
Flixier is a cloud‑based editor that supports popular formats like MP4, MOV, AVI, WMV, and MPEG. It integrates with YouTube, TikTok, and other platforms, enabling you to pull audio from online videos. Flixier allows trimming, combining, adding transitions, and converting audio to text.
How to Extract Audio in Flixier
- Visit the Flixier website and click Choose Video to upload.
- Import files from your computer or cloud services, or paste a YouTube/TikTok link.
- Drag the video onto the timeline, select it, and go to Audio > Detach Audio.
- Proceed to edit or download the extracted audio.
Conclusion
Canva’s simple interface makes it easy to pull audio from a video with just a few clicks. However, if you need deeper control—such as noise suppression, voice transformation, or transcription—consider a dedicated editor like Filmora, VSDC, or Flixier. These tools provide comprehensive audio editing workflows while still allowing you to integrate your work back into Canva if desired.
FAQs
-
Can you remove audio from a video on Canva?
Yes. After uploading a video, click Edit > Detach Audio, then delete the audio track or set its volume to zero.
-
How do I extract specific audio from a video?
In Filmora, import the video, drag it to the timeline, detach the audio, then listen and split the track to isolate the desired portion.