Whenever we watch animated movies or cartoons, there’s a crucial factor that never fails to impress us, among countless other things.
It’s the way those cartoon characters walk, of course!
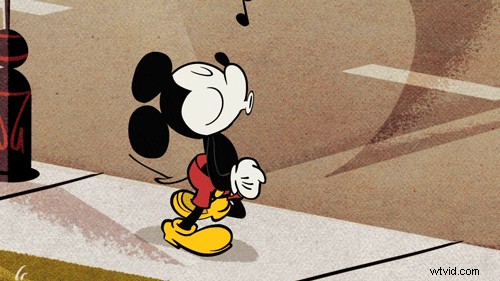
Look at how graceful Mickey walks!
Animating such a walk cycle may be considered a highly complex process even by expert animators. But it needn’t be frowned upon like this!
At the end of the day, moving the characters from point A to point B elegantly is all we need to do. And this article teaches you just that!
- What is a walk cycle animation?
- Four stages of Walk Cycle
- How to create a Walk Cycle?
- Why is Walk Cycle important?
- Best Practices for Seamless Walk Cycle Animation
Read on to learn everything you need to know about walk cycles!
What is a walk cycle animation?
Walk Cycle is a loop animation consisting of a series of frames drawn in a sequential loop to mimic the style of a walking character.
A walk cycle is created when these sequential frames are played in a loop.
Four stages of Walk Cycle
The walk cycle has four different keyframes –
- Forward contact point – The first step on the ground is called the forward contact point. In this position, the character’s back foot is positioned halfway to touch the ground, and the front foot is posed heel down, more like hovering just above the ground.
- First Passing pose – The first passing pose is the expression of the motion when the back leg passes the front leg or vice versa. This is the reverse of the forward contact point, where your character shifts the weight from one leg to another, thereby creating movement.
- Back contact point – The back contact point is the exact opposite of the forward contact point, where the back leg is in the front firmly on the ground, and the front leg is in the back raised on the ground.
- Second Passing pose – The second passing pose is the opposite of the First passing pose, where the character moves to the second step. Here, the front foot moves back, and the character is positioned perpendicular to the ground.
Here’s a picture of these frames to make you understand better –
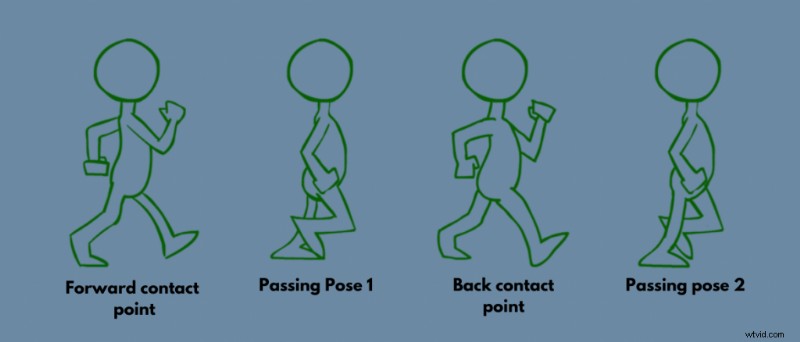
Source: https://bit.ly/3PXiZZe
Without these fundamental frames, a walk cycle cannot be created.
Now, let’s move on to learn how to make a walk-cycle animation.
How to create a Walk Cycle?
Usually, once the fundamentals of the walk cycle are framed out, additional details like animation timing, walking speed, movement of body parts, etc., are added, resulting in a walk cycle like this…
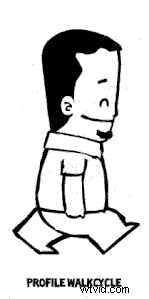
Source – https://commons.wikimedia.org/w/index.php?curid=36977219
The above-shown example is a short walk cycle that consists of 4 frames in total. But an intricately animated walk cycle can range above ten frames by adding more detail to the walking style.
A detailed Walk Cycle Animation is something that cannot be learned in a single day. Instead, it requires a vast learning curve right from the basics of drawing to bringing it to reality with the help of 2D or 3D Animation apps.
Take a look at this video to learn about the intricacies of animating walk cycles.
A bit complicated, wasn’t it?
But, if you want to skip the hard part of learning the basics and dive straight into creating animations, then let me introduce you to Animaker, an Online video-making platform. Follow the steps below to create your own Walk Cycle Animation without prior experience.
Or, If you want to learn how to animate a walk cycle from a video guide, check this out!
Here are the steps to create a walk cycle.
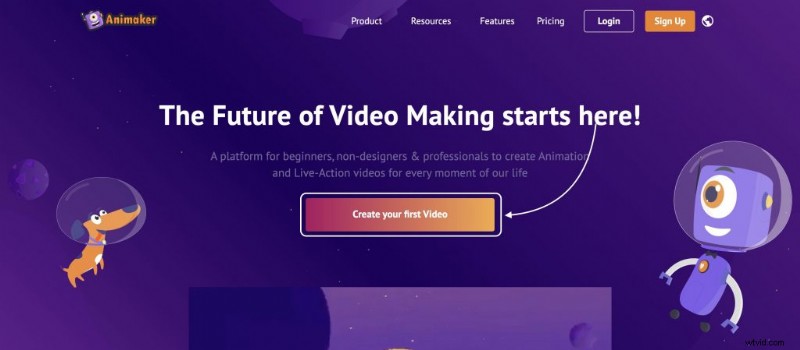
Step 1: Sigunp & Login
To start, head to Animaker and click the “Create Your First Video” button. You will be redirected to the signup/login page, where you can enter your details and create your account. Or, you can simply log in with Google or Facebook.
Step 2: Create a new project
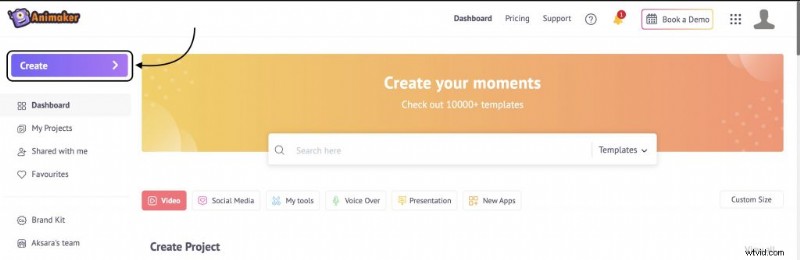
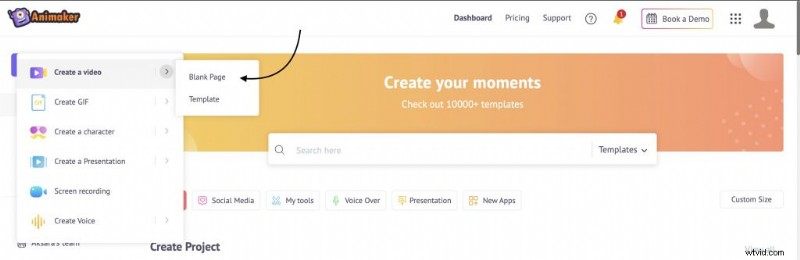
Once logged in, you will be redirected to the Animaker Dashboard. Next, click on the “Create > Create a Video > Blank Project” to create a new blank project.
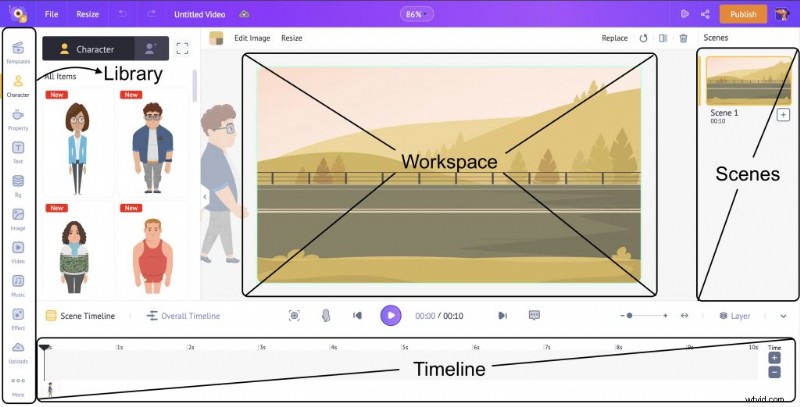
This is how the Animaker app interface looks. On the center is the workspace, On the left is the library, on the right is the scenes section, and on the bottom is the timeline.
Step 3: Add a background
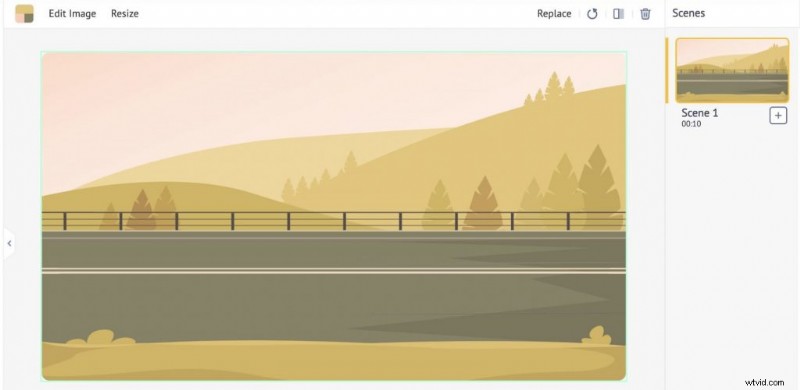
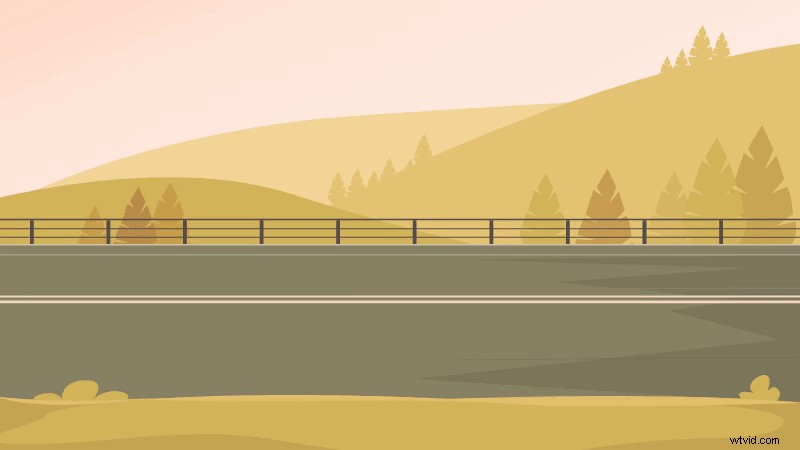
Before we create our walk cycle, let’s add a background to the scene for our character to walk. To add a background, click on the background section and select a background.
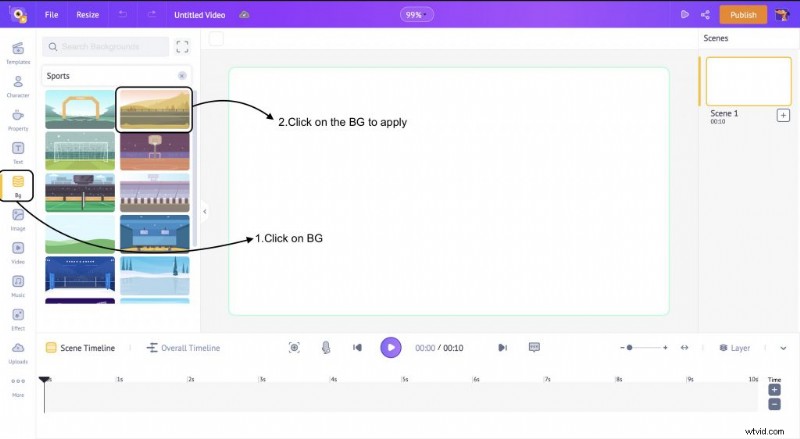
The BG gets applied like this…
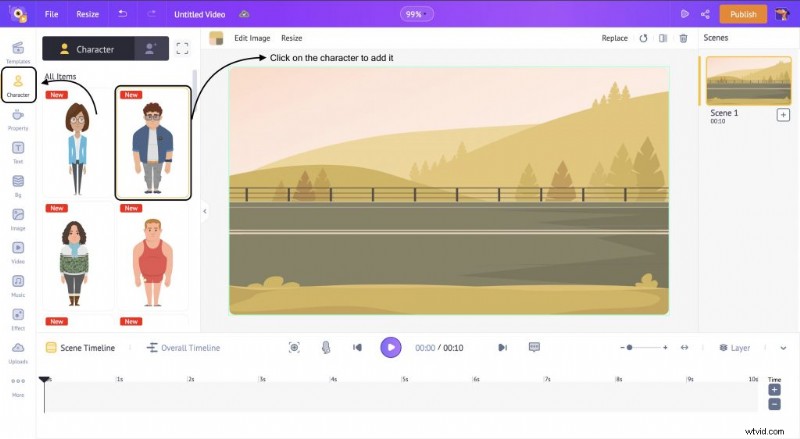
Step 4: Add a Character
To add a character, click on the character tab in the library. You can either use a prebuilt character or create your animated character. Click on a prebuilt character to add it to the workspace.
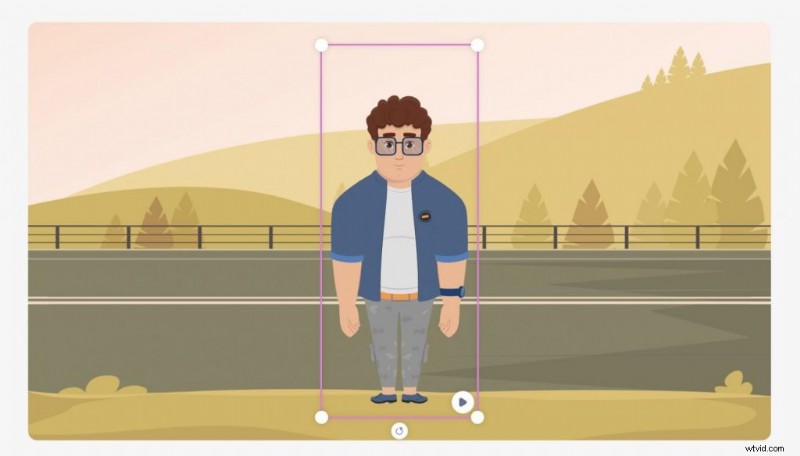
This is how the character gets added to the workspace.
After the character is added to the workspace, click on it. This opens the Actions Tab. Here, search for Walk in the search bar and select the specific walk action that you want to apply to your character.

This is how the action gets applied to the character.
Step 5: Add a walk cycle to your character
You will notice that the character is walking in the same position. Now, it’s time to add the walk cycle and make the character walk across the scene!
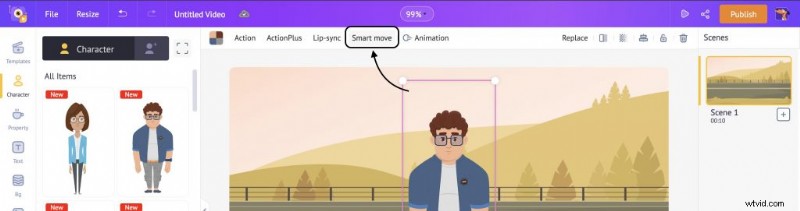
Click on your character and select the Smart Move option from the menu. Using this option, we will make the character walk across the screen.
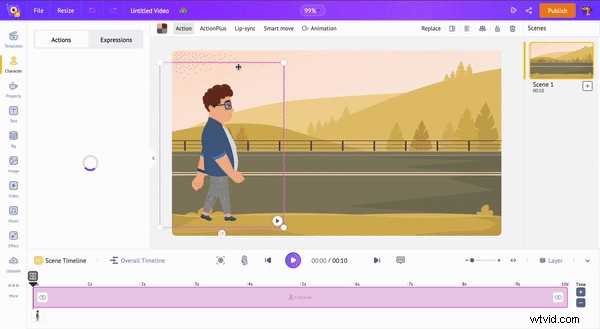
Once you select the smart move option, you will notice two frames of the character appear on the workspace and the timeline. Now, we will place these two frames at two different points to emulate the walk cycle.
Select the first frame and place it outside the left border of the workspace to make the character enter the scene from the left. Similarly, in the timeline, move the frame to the first second.
Here’s a GIF that explains the point.
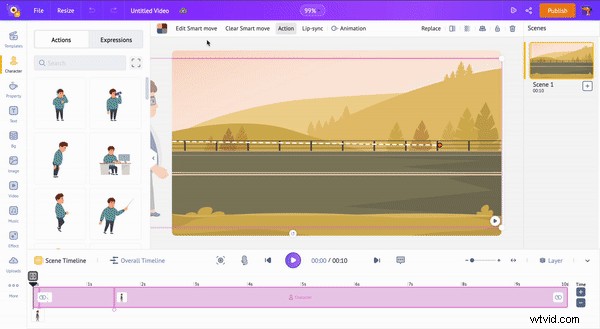
Similarly, select the second frame and place it outside the right border of the workspace to make the character exit the scene. In the timeline, move the frame to the last second. Here’s a GIF that explains this point –
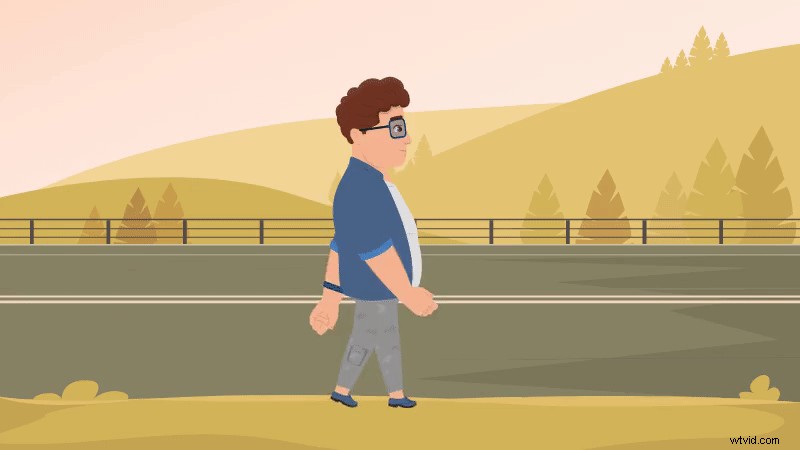
Here’s the final output –
Boom! You created your walk cycle. You can experiment with different characters, speeds, and more.
Why is Walk Cycle important?
Walk Cycle is the best way to visualize the movement of a character. But, how the character walks can define many things other than simply moving it from point A to point B. Simple things such as body language, walking pace, and pose can refine the character’s movement and make it not walk like a glitchy video-game character!
The walk cycle can be applied to any character, be it four legs, eight legs, or even more. Creating a series of walk cycles for different scenes can bring your animation to life and make it even more realistic.
Best Practices for Seamless Walk Cycle Animation:
Now that you know what a walk cycle is and how it works, there are a few things to remember before you create a walk cycle.
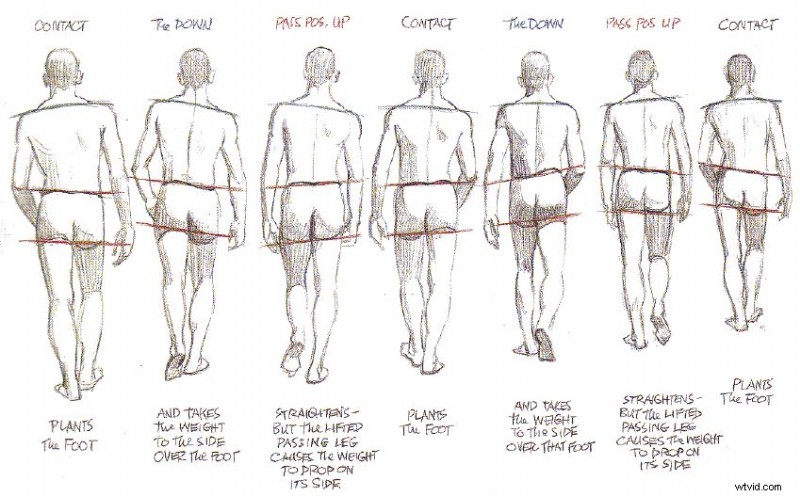
Source: https://bit.ly/3dW1YB0
- Contact Points – A contact point is a point at which the character makes contact with the ground. These points are vital to creating a rhythm for your walk cycle animation. In addition, marking out the points of movement for each step can prevent awkward movements in other parts of bodies while creating an animation.
- Weight Transfer – When a character moves from point to point, it has to be realistic. This is achieved by having gravity as a critical factor in your animation. The weight shift from one foot to another has to be defined by body movement. For example, the thrust of the feet pulling from the ground can be highlighted with the counteraction of other body parts whenever the character raises a foot.
- Consistency – Maintaining the consistency of a walk cycle can define a character better. This will ensure the best viewing experience for the audience and an uninterrupted journey in the animation.
Hope this article on Walk Cycle was helpful.
If you want to dive deeper and learn how to create cartoon videos with characters, check out the article link provided.
If you have any doubts, please feel free to drop them in the comments section below. We will be happy to help!