Time‑lapse photography accelerates a sequence of images captured at fixed intervals, converting slow processes into a dynamic visual story. It’s the perfect way to showcase growth, construction, traffic flow, or the night sky in a single, compelling video.
Content Table
- Use QuickTime Player to Create Time‑lapse Video
- Create Time‑lapse Video with iMovie
- Turn Video into Time‑lapse with Filmora
Best Tool to Create Time‑Lapse Videos on MacBook!
- Precisely control video playback speed.
- Enhance time‑lapse with stunning visual effects.
- Add background music effortlessly.
- Share on multiple platforms easily.
- Works on Mac, Windows, iOS, and Android.


Part 1. Use QuickTime Player to Create Time‑Lapse Video
QuickTime Player, built into macOS, lets you compile an image sequence into a high‑resolution video without re‑rendering each frame. The process is straightforward, and the resulting time‑lapse maintains the quality of your original photos.
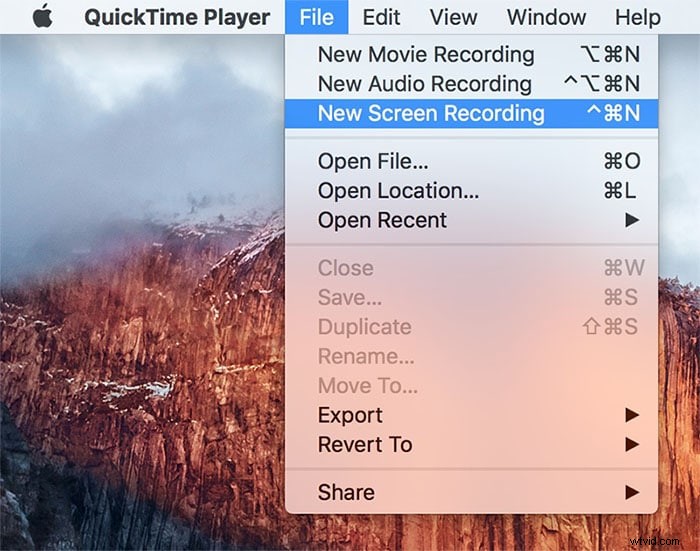
Step 1: Launch QuickTime Player
Open QuickTime Player and select File > Open Image Sequence…. Choose the folder that contains the photos you want to stitch together. QuickTime will automatically ask you to set the frame rate.
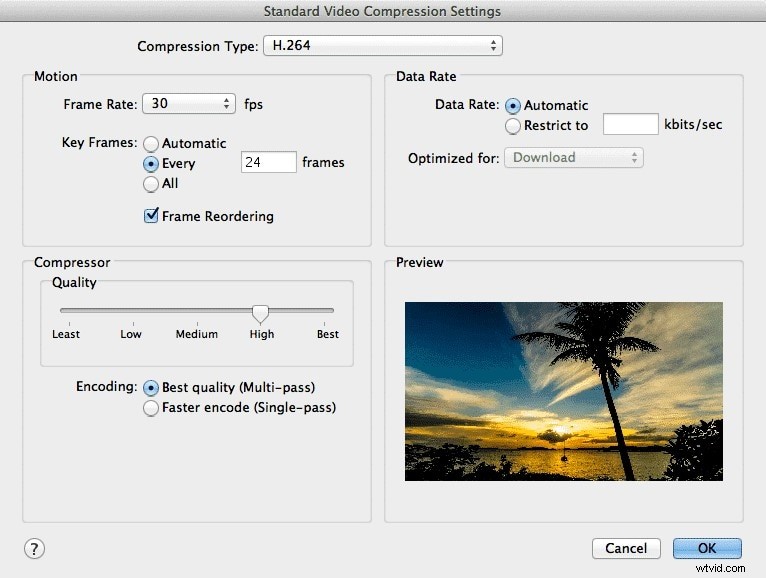
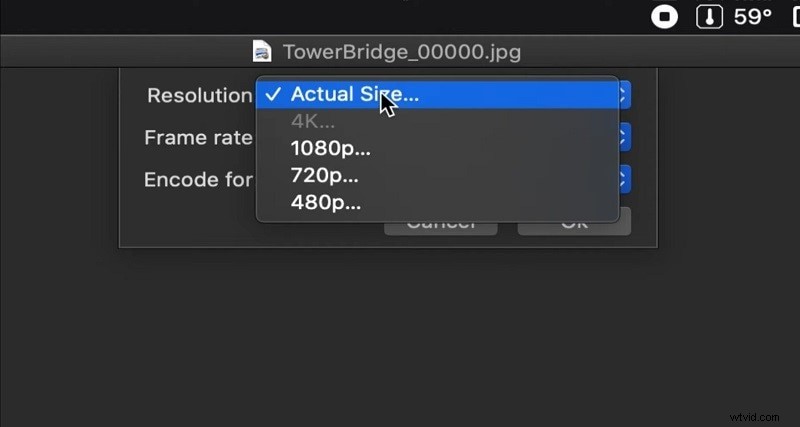
Step 2: Configure the Sequence
In the dialog that appears, pick a frame rate that matches the speed you desire—typically 25 fps for a smooth playback. You can also opt for the “Apple ProRes” codec to preserve color fidelity.
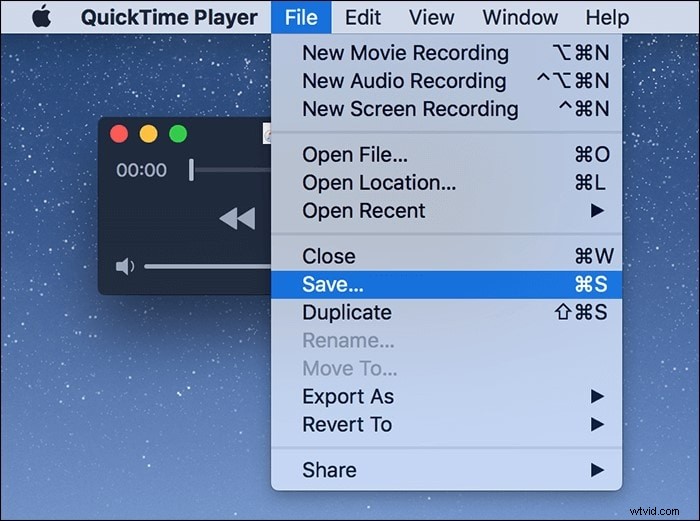
Step 3: Export the Time‑Lapse
Once the sequence has rendered, choose File > Export As… and select the format that best fits your sharing needs. QuickTime will produce a ready‑to‑share video in a fraction of the time.
Part 2. Create Time‑Lapse Video with iMovie
iMovie is a free, user‑friendly editor that allows you to speed up footage directly within the timeline. It’s ideal for creators who already have a video clip and want to condense hours into seconds.
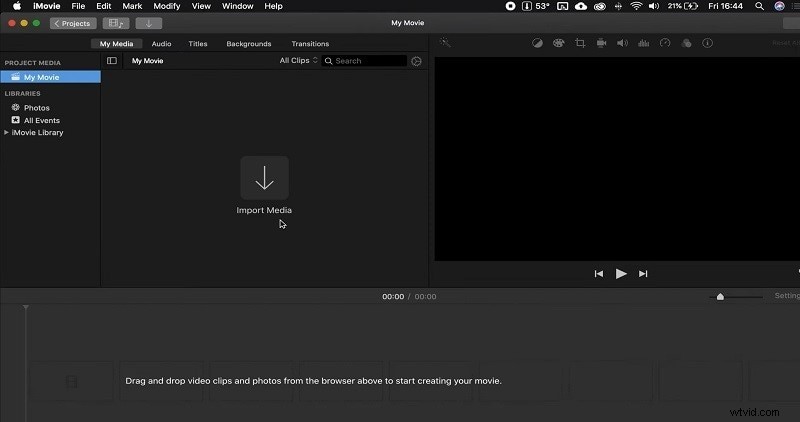
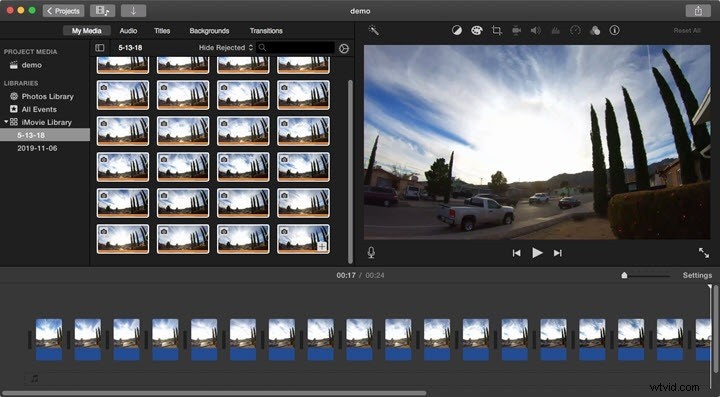
Step 1: Import Your Clip
Launch iMovie, then drag your video file into the project library. Drop the clip onto the timeline and double‑click to open the viewer.
Step 2: Adjust the Clip Speed
Select the clip, tap the clock icon in the toolbar, and choose a speed multiplier (e.g., 8× or 20×). iMovie limits the minimum duration to 0.1 s, so make sure the clip is long enough before applying the speed.
Step 3: Fine‑Tune and Share
After speeding up the clip, you can trim, add titles, or insert background music. When satisfied, click the Share button to export or upload directly to your chosen platform.
Part 3. Turn Video into Time‑Lapse with Filmora
Filmora is a cross‑platform editor that offers advanced speed control, keyframe animation, and a rich media library. It’s suitable for users who want more creative flexibility than QuickTime or iMovie provide.
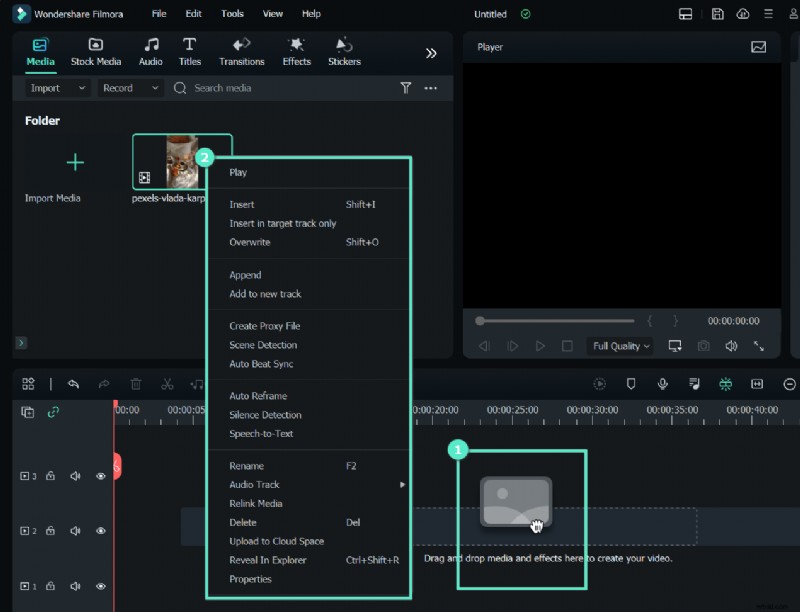
Step 1: Launch Filmora Editor
Download and open Filmora, then import your footage via the Import button. Drag the clip to the timeline.
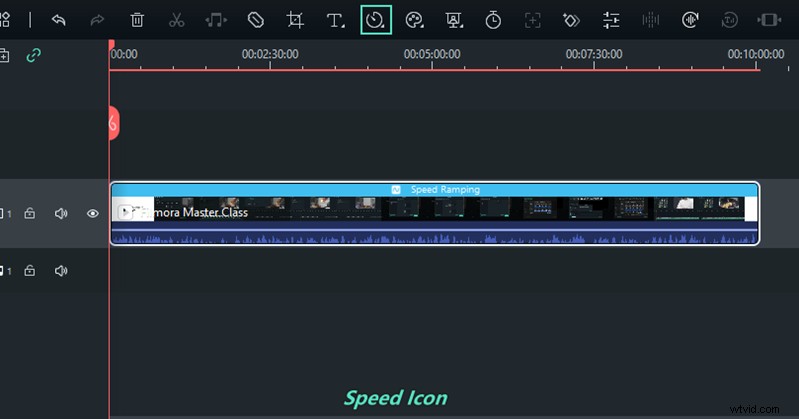
Step 2: Set the Speed
Double‑click the clip on the timeline, choose Speed, and adjust the slider to 100× or any custom value. Filmora also offers a “Speed‑Keyframe” feature for dynamic pacing.

Step 3: Render the Time‑Lapse
Click Render to apply the speed changes. You can mute the original audio, adjust volume, and preview the result before final export.
Step 4: Enhance the Video
Use Crop & Zoom, Pan & Zoom, or add titles and royalty‑free music from Filmora’s built‑in library. The text editor supports animation, font styling, and color tuning.
Step 5: Export and Share
Choose Export, select your desired format (e.g., MP4 for YouTube, GIF for social media), and click Export to save the final video. Filmora’s export options support 4K resolution, noise reduction, and color grading.
Conclusion
Time‑lapse is a powerful storytelling tool that compresses hours, days, or even months into a short, engaging video. Whether you use QuickTime’s native capabilities, iMovie’s simplicity, or Filmora’s advanced features, the key is to plan your capture interval, choose the right speed, and polish the final product with sound and titles. Start experimenting today and bring your long‑term projects to life in seconds.