As devices evolve, split‑screen functionality has become a staple for efficient multitasking. Whether you’re comparing documents, following tutorials, or taking notes while video‑chatting, this feature streamlines your workflow.
In this guide we’ll walk you through activating split‑screen on Android, iPad, Windows, and macOS, and we’ll explore how to harness the power of split‑screen videos with Wondershare Filmora.
In this article
- How to Activate Split Screen Mode on Different Devices
- The Best Video Editing Software for Split‑Screen Videos: Wondershare Filmora
- Common Challenges and Solutions in Creating Split‑Screen Videos
Part 1. How to Activate Split Screen Mode on Different Devices
Split‑screen, or dual‑display mode, lets you run multiple apps side‑by‑side. Below are the most reliable steps for each platform.
Android
Available on Android 7.0+ (but steps vary by OEM). Follow these generic steps:
- Step 1: Open the first app you wish to use.
- Step 2: Swipe up from the bottom or tap the Recents button to view recent apps.
- Step 3: Tap the app icon, then choose Open in split‑screen view. If unavailable, look for a Floating Windows option, which behaves similarly.
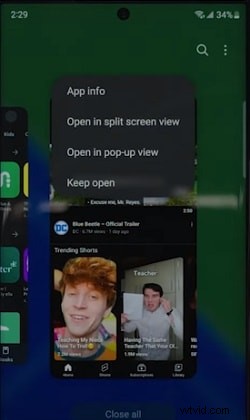
- Step 4: Select the second app; it will appear beside the first. Drag the divider to resize the windows.
iPhones/iPads
iPhones do not support true split‑screen; however, Picture‑in‑Picture allows a floating video window. iPads (iOS 13+) support Split View:
- Step 1: Open the first app.
- Step 2: Tap the three dots in the upper right corner and choose Split view.
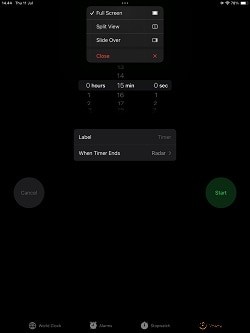
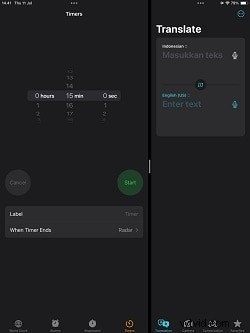
- Step 3: Find the second app on the Home Screen or Dock and tap it; both apps will occupy the split view.
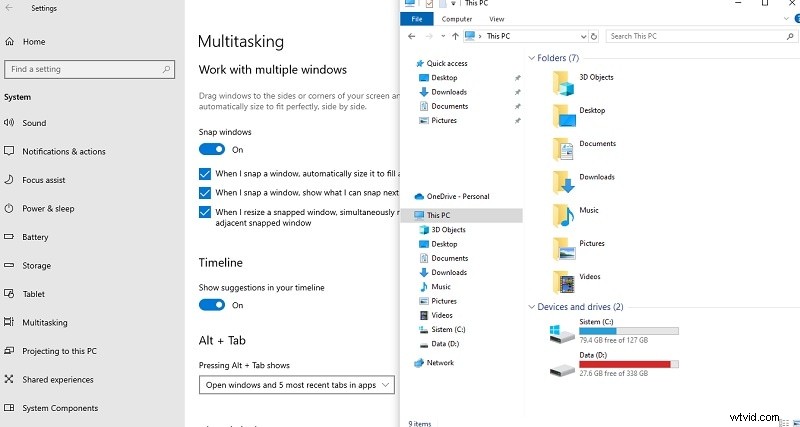
Windows
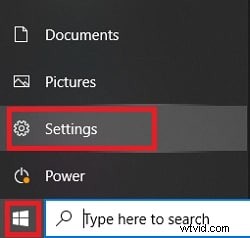
Split‑screen (Snap) is native to Windows 10 and newer:
- Step 1: Press the Windows key + Shift + ←/→ to snap a window to the left or right. Alternatively, drag a window to the screen edge.
- Step 2: Windows will display a thumbnail of available windows. Click one to complete the split.
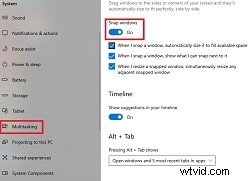
- Step 3: Use the keyboard shortcut Windows + ←/→ to move any window into a split layout.
macOS
macOS offers Split View through the green traffic‑light button:
- Step 1: Hover over the green button in the top‑left corner of any window.
- Step 2: Select Tile Window to Left of Screen or Tile Window to Right of Screen.
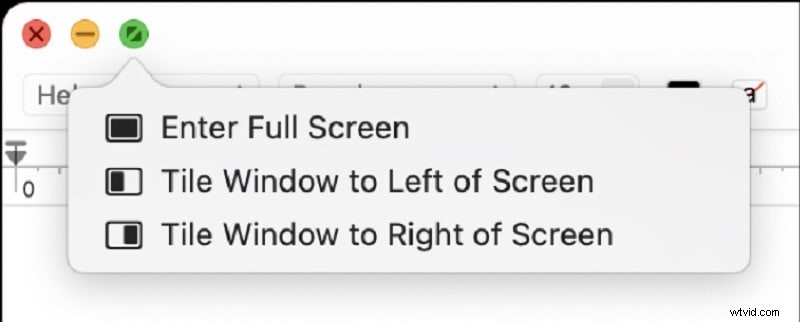
- Step 3: Click the second app on the opposite side; macOS will create a new desktop space with both apps in Split View.
Part 2. The Best Video Editing Software for Split‑Screen Videos: Wondershare Filmora
While split‑screen is handy for everyday multitasking, it shines in video production, allowing creators to juxtapose multiple scenes or perspectives. Wondershare Filmora is widely regarded as the most user‑friendly solution for this purpose.
Filmora’s split‑screen feature offers:
- 250+ ready‑made templates for up to six scenes.
- Picture‑in‑Picture and multi‑clip layouts.
- Advanced filters, effects, and stickers.
- Auto‑synchronisation tools for audio‑video alignment.
- Compound Clip to merge multiple clips into one editable unit.
Download Filmora from the official website and install it on Windows or macOS. The free version gives access to all core split‑screen tools.
Stabilising and Enhancing Videos with Filmora
- Robust video stabilisation with minimal distortion.
- Extensive library of effects and creative assets.
- AI‑powered tools for effortless content creation.
- Intuitive interface suitable for beginners and professionals.
- Compatible with Windows, macOS, iOS, and Android.


How to Use Split Screen Effect With Templates
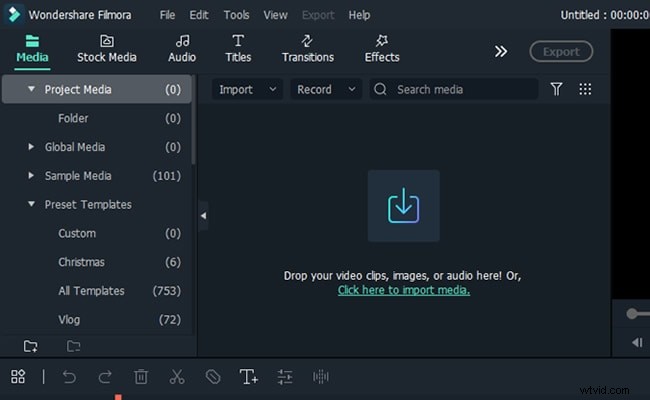
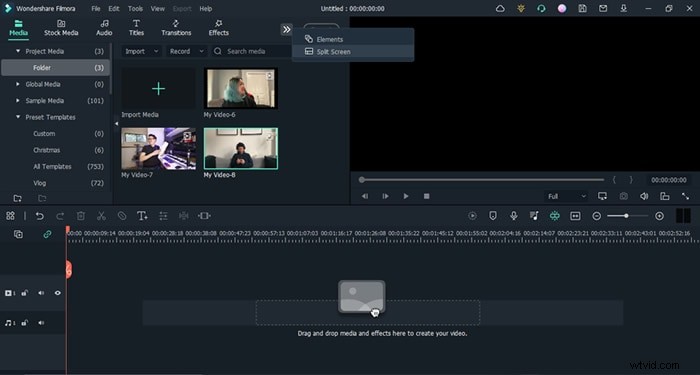
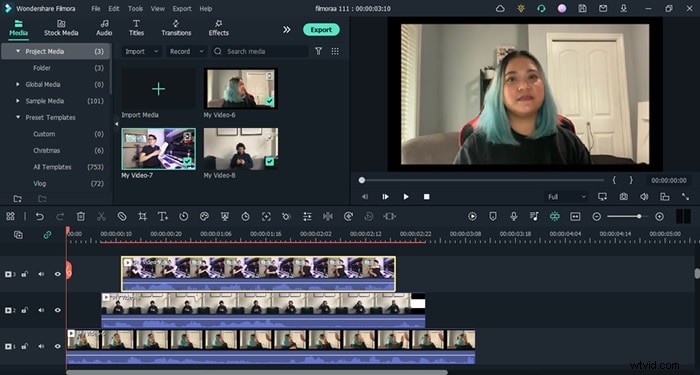
Step 1 – Import Footage
Open Filmora, click Import Media, and add your clips to the media library.
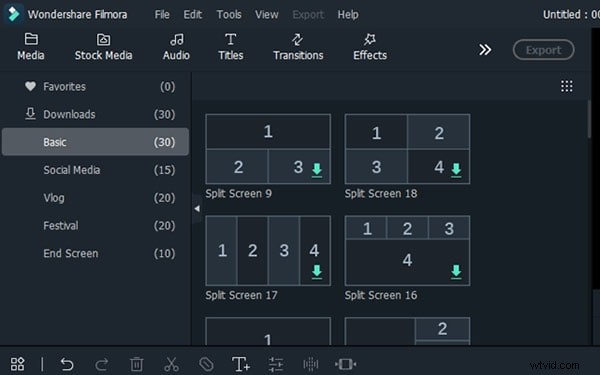
Step 2 – Add Split Screen Effect
In the top menu, click the two‑headed arrow, select Split Screen, and choose a template that fits your storyboard.
Drag the chosen effect onto the timeline.
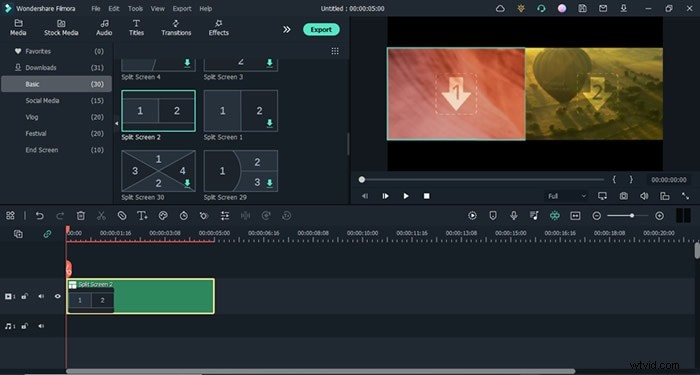
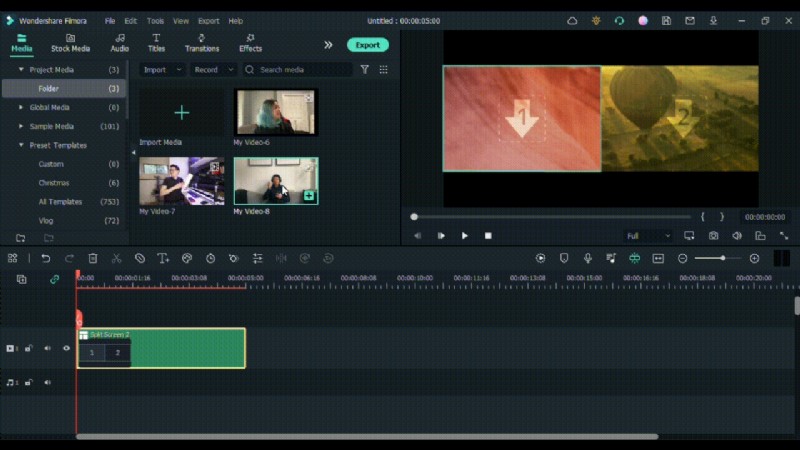
Step 3 – Assign Clips to Slots
Drop your footage into the template’s slots. Adjust timing and order to match your narrative.
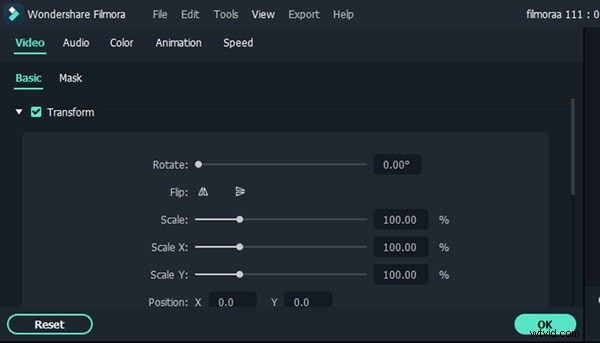
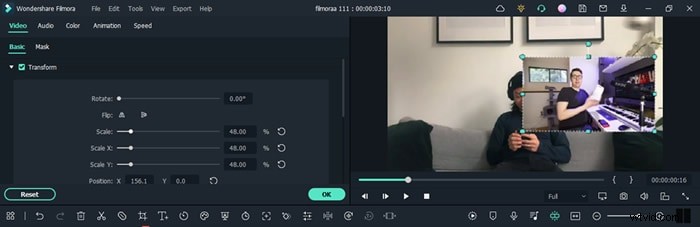
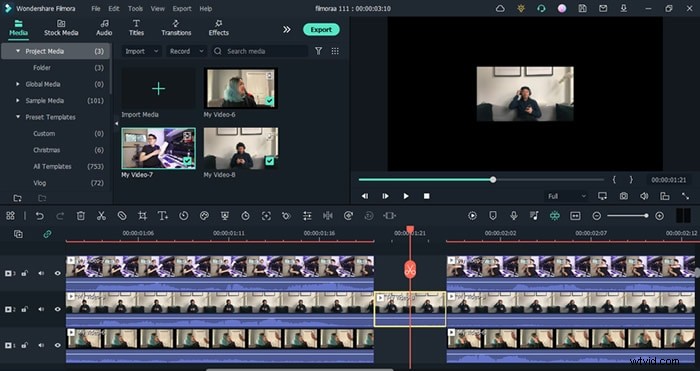
Manual Split Screen Layout
For custom designs, create a blank timeline, import all clips, and manually place them into separate tracks. Use the Transform panel to scale and align each clip.

Use the Render button for smooth preview playback.

Step 4 – Adjust Timing and Sync
Trim clips at the edge of the timeline to align transitions. Splitting before dialogue cuts ensures natural pacing.
Step 5 – Full‑Screen Moments
To spotlight a single clip, split the timeline at the desired point and make that clip full‑screen. Double‑click the clip and uncheck Transform for instant full‑screen mode.
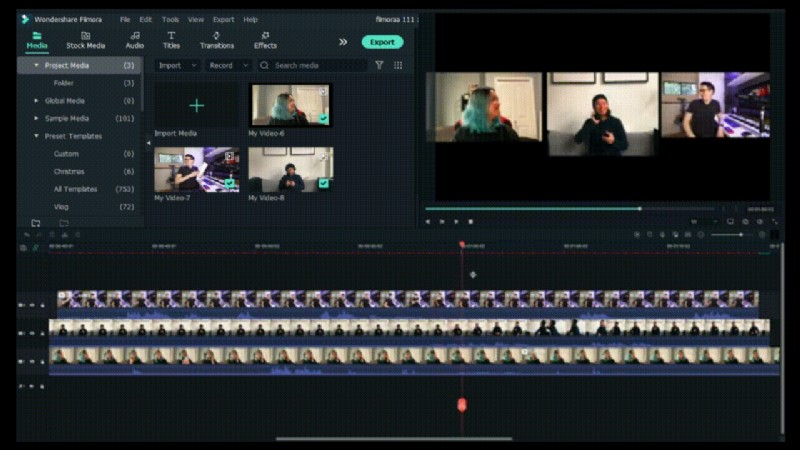
Final Results
With these steps, your split‑screen video should flow seamlessly. Feel free to revisit the timeline for fine‑tuning; the flexibility of Filmora’s tools lets you iterate quickly.

Part 3. Common Challenges and Solutions in Creating Split‑Screen Videos
Despite its benefits, split‑screen videos can encounter issues that affect quality and viewer experience. Below are frequent obstacles and how to resolve them using Filmora.
Inconsistent Video Quality
Uneven brightness or sharpness across clips can break immersion. Use Filmora’s AI Video Enhancement:
- Navigate to Video > Basic and click Auto Enhance.
- Fine‑tune the slider to match the overall look, then confirm.

Audio Issues
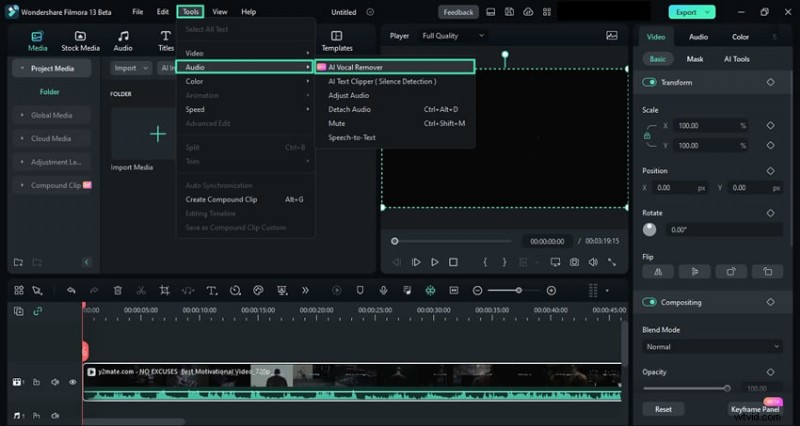
Misaligned audio tracks cause confusion. Filmora’s AI Vocal Remover helps isolate dialogue:
- Select the audio clip, then go to Tools > Audio > AI Vocal Remover.
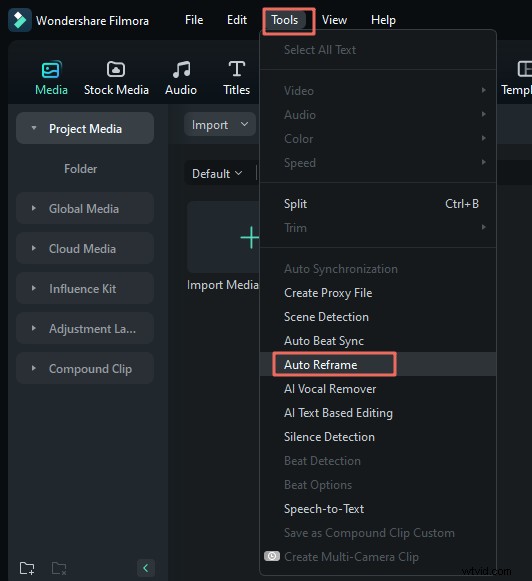
Aspect Ratio Mismatch
Clips with different ratios can crop or distort. Use Auto Reframe:
- Right‑click the clip and choose Auto Reframe.
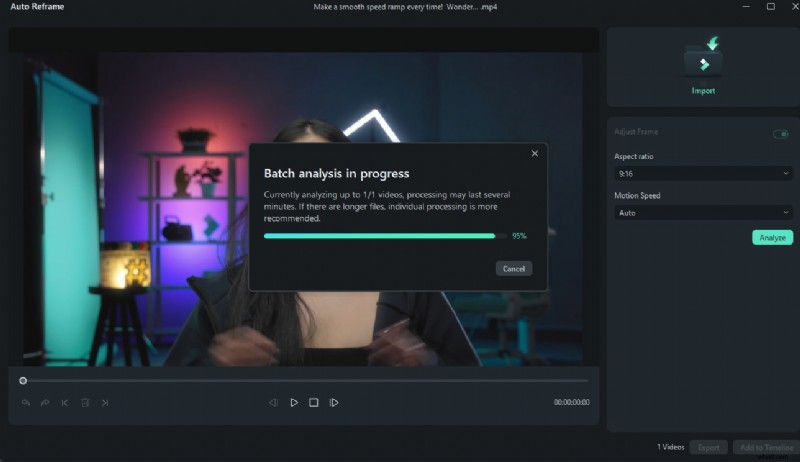
- Select the target ratio (e.g., 16:9, 9:16, 1:1) and motion speed.
- Click Analysis and let Filmora auto‑adjust.
Conclusion
Split‑screen mode enriches both productivity workflows and video storytelling. By mastering the steps on Android, iPad, Windows, and macOS, you can run multiple apps side‑by‑side with ease. For creators, Filmora’s powerful split‑screen tools unlock new possibilities for engaging, multi‑perspective videos.