Motion tracking is an invaluable tool. Once upon a time, it was only useable by professional editors, but with the help of powerful software even casual users can simply and effectively increase the production quality of their videos. For those unsure on what exactly motion tracking is, it allows you to add effects to moving objects. This allows you to add specific effects to any object in your video; you could add blur effects to make objects more mysterious, cartoonish effects for a funny or surreal touch and a whole range of other effects that allow you to completely transform your video.
In many pieces of editing software you’d need to painstaking add the effects in frame by frame, but with Powerdirector you can make these complex, professional changes with just a few clicks; see our walkthrough below.
CyberLink PowerDirector Motion Tracking Tutorial
- To begin the process, you need to select a clip and drag it onto the timeline track. This will bring up several options – select “Motion Tracker”. This will bring up step by step instructions, but we’re going to take you through an alternative.
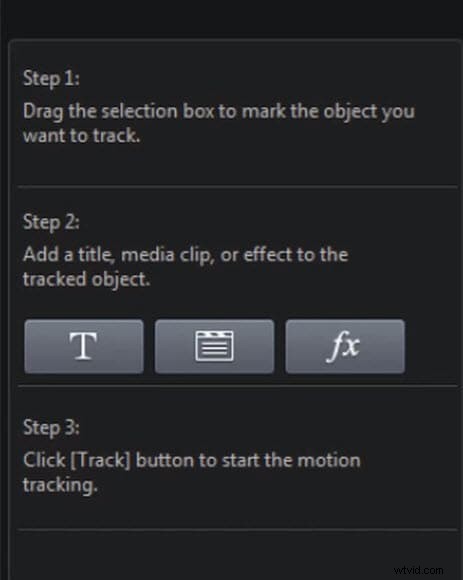
- Use the selection box to highlight what you’d like to track. This could be a person, scenery in the background or an item.
- Next up select what you’d like to track the item you selected. You have three options here; text, images & videos or an effect.
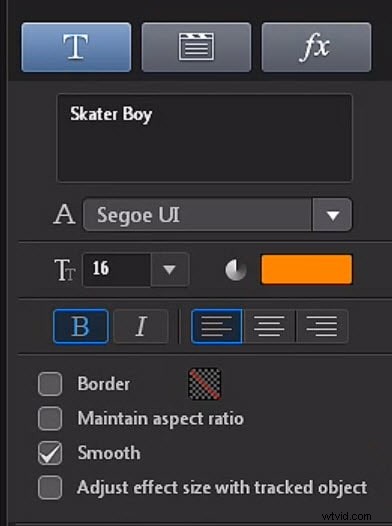
Text: If you’d like text to track click on title and type in whatever you’d like it to say. You can then choose the font, colour, alignment and add an editable border to the text. You can then adjust the title so it changes with the size of the tracked object, growing smaller or larger as your selection does.
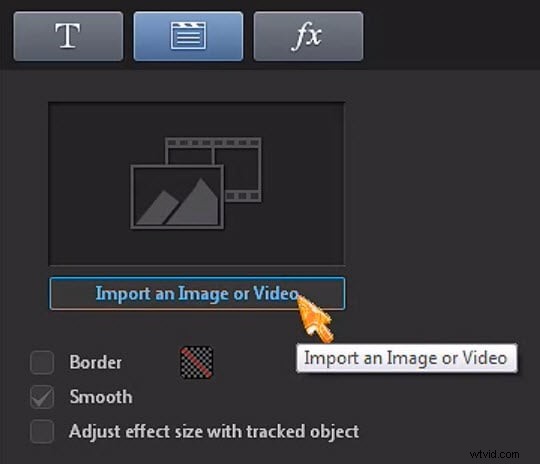
Images & Video: For this one select image/video. This will allow you to import an image or video from your hard drive or one that’s already in your media room. Again you can add a border, allowing for smooth motion and adjust the size of your tracked option.
Effect: The final option is to add an effect. This will allow you to add a mosaic or spotlight. Mosaic will allow you add a blur to an object of your choice while spotlight will focus all the action on that object while allowing you to choose the brightness and effect size.

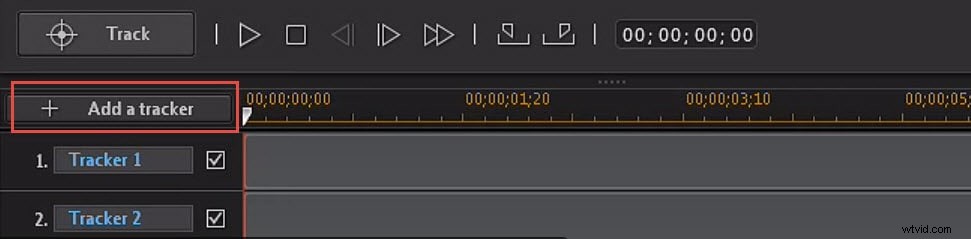
- Once you’ve selected your option and made your chances, click the “Track” button. This will then analyse the video and your object and create the finished product. If it didn’t track the motion path correctly, try and use the selection tool to select a specific colour of the object.
- If you’d like to add multiple tracked objects to one clip you simply need to click “Add a tracker”.
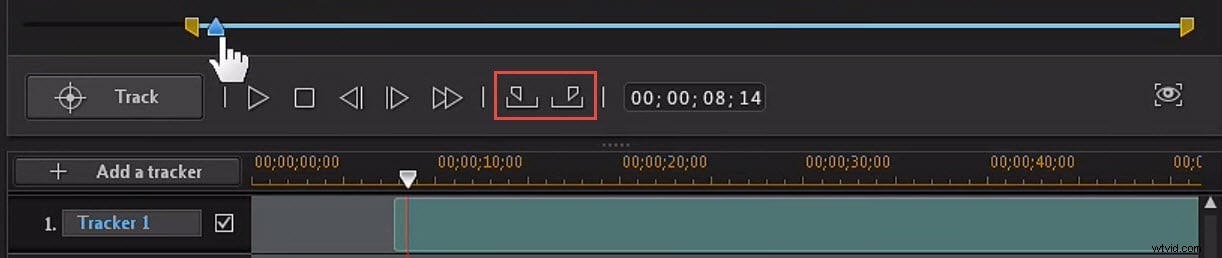
- If you’d like to set start and end points on your motion tracking effect, you just need to navigate to the keyframe that you’d like to begin on and click mark in. Then locate the keyframe you’d like to finish the motion tracking on and click mark out and you’re done!
An Alternative Solution: Wondershare Filmora
Wondershare Filmora is an incredible piece of editing technology for PC & Mac. This powerful editing tool is surprisingly simple to use and comes with a range of professional features, loaded onto an intuitive and elegant interface.
No need to sit around waiting for automatic tracking to finish or even set keyframes manually frame by frame. Even if your clip is hours long, with Filmora X, you can track objects with just a few clicks. You simply add your clip, click on the Motion Tracking tool and select the object you want to track. Filmora will automatically process the clip and let you attach objects (text, GIF, animations, images, etc) to the tracked path. You can also move the tracked data to another part of the video or transfer it onto another clip.
Chief among these features is the Face-off option that combines motion tracking with pre-set images, letting you cover and track someone’s face (or really any item you choose) with a range of emojis for a variety of effects. Easy to grasp and powerful to use, if you’re looking for an editing tool with a strong motion tracking option you should strongly consider Wondershare Filmora.