A popular style of after effects is the Grunge Texture. To give your videos a different and completely unique look, the grunge texture is used. It helps to give an ugly look to your videos, yet something attractive to look at. Do you know how to make grunge texture in After Effects? In this article, get a clear picture of the Grunge texture in After Effects.
What is Grunge Effect?
It is an After Effect template that can convert your video clips collage into a dirty texture but with a stylized effect. Many videos use this effect to create dirty and ugly visual effects. It is also a hot topic on forum. It gives a unique grunge texture to your videos that is strikingly different from any of the regular videos. Your videos can leave a lasting impression with the use of the Grunge texture in it.
There are 5 tailored presets that can be used to by dropping in your video footage or you may also create your own grunge texture effect by using the effects from the texture library. There are easy to use controls to customize your effects. The grunge texture can be used on graphics, texts, and photos. It comes with timewarp option to give a smooth animation by slowing down textures. It supports transparent backgrounds with 4K and HD versions.
Recommended video editor to make grunge texture effect- FilmoraPro
If you think it is difficult to make grunge texture effect in After Effects, here we recommend using FilmoraPro. It is designed to make professinal video easily for pros or semi-pros. For grunge texture effect, you just need to drag and drop to make this interesting effect. Check the steps below.
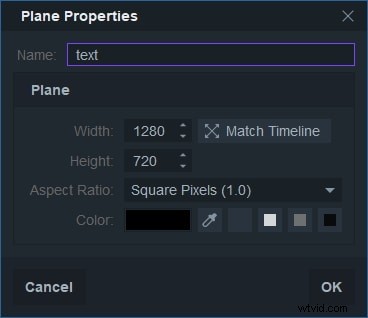
Step 1: Build a text plane
In the media panel, click New to build a plane. A pop-up window will appear. You can give it a name. For the rest settings, if you don't know what it means, just ignore them and click OK. Now you will find that the new created plane is in the media library. Drag and drop it to timeline.
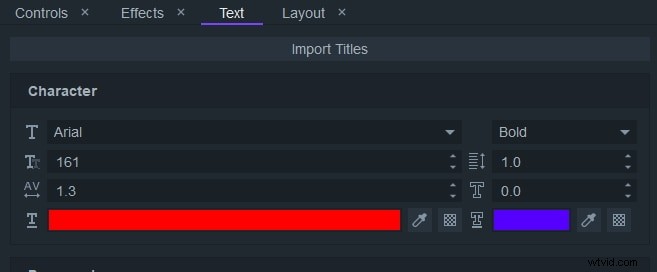
Step 2: Type text in the plane
Click  (T shape) in the preview window. Now, type the text you want to have. In the text panel, you also can change its color, size, alignment and more.
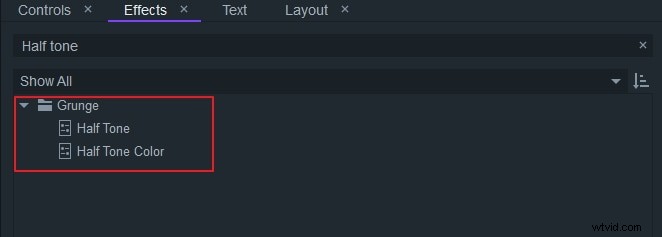
Step 3: Apply grunge effect onto timeline
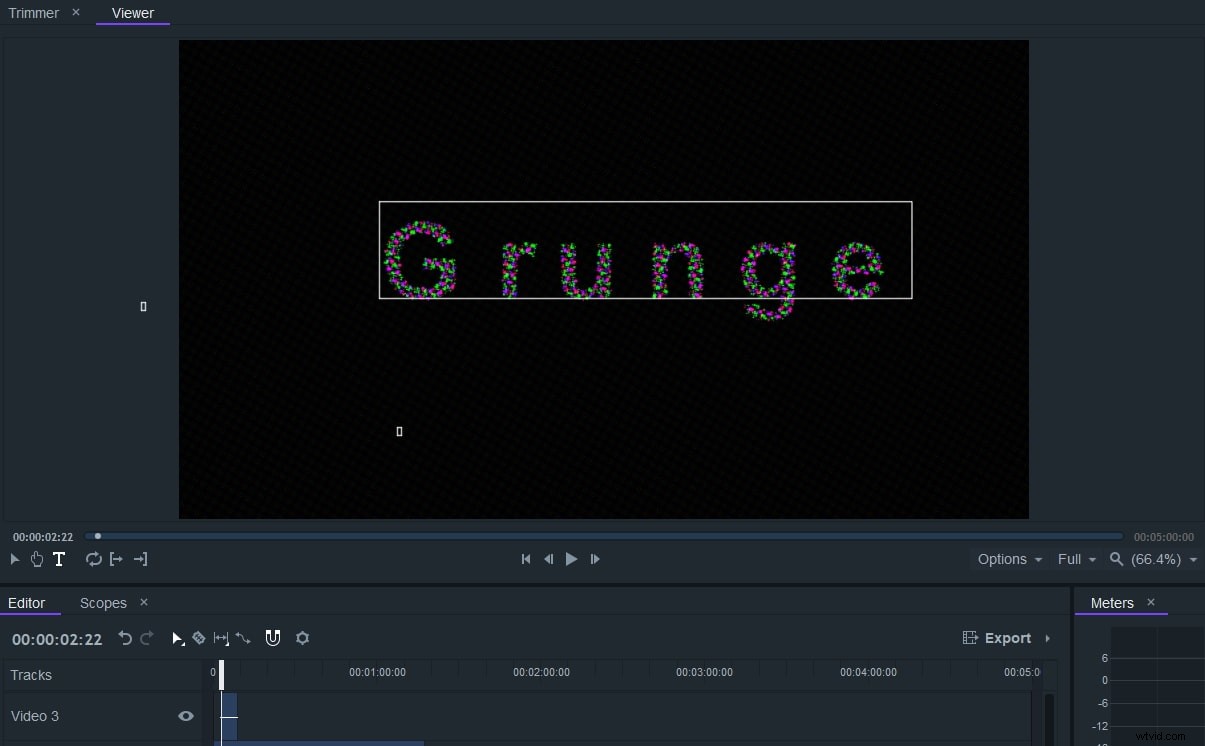
Search "half tone" in the effects panel. You will find it is below the Grunge effect tab. Drag half tone and half tone color effects onto text clip in the timeline.
In the controls panel, you can adjust resolution, color, offset and more to make it better. There are various presets you can use. Just pick the one you like. Now, you can import your video to integrate text with the video.
Now download it to have a try!
How to Make Grunge Effect in After Effects
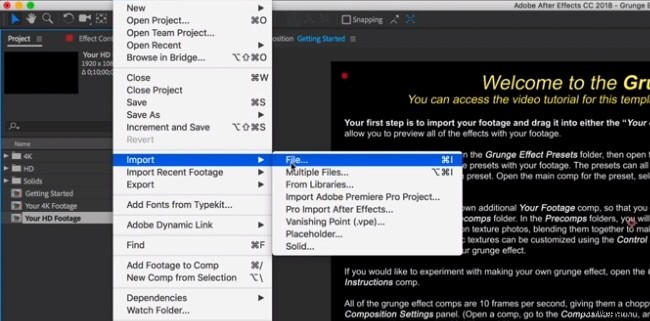
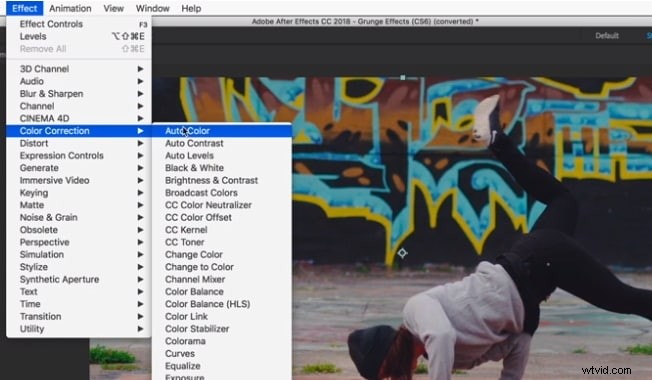
Step 1: To import the files on your PC, right click on the zipped folders having the files, and Select Extract All. For MAC users, you just need to double click it. Open Project file and select After Effects. Instructions pops up, check it thoroughly. Check on the left, you can see the import file option. Select import and add the file. Add it to Your HD Footage if an HD clip. Get an even dynamic range by adjusting the lights. Make the brightest areas pure white and the darkest one pure black. Go to Effects and select Color Correction and then Levels Effect. Open HD folder to select the Presets.
Tip: You can download Grunge Effect in creation effects.
Step 2: Open the Grunge Effect Folder to see the 5 Presets option. Open grunge effects preview and select each to check the preview of how the preset look on your footage. When you know which one you wish to select after previewing, double click the option. After opening it, at the top find the control layer, select it. In the control panel effects, you can find a number of customized control options. You may also click on Windows at the top and select control panel.
Step 3: There’s an option called Start Motion Effect with all the Presets that gives a subtle variation to each frame. The presets must be set at 10 frames per second. To change the frame rate you can go to composition menu settings and change it from there. If you want your video to be higher frame rate, create a new one from the composition settings. Drag the preset of your choice to the newly composed settings with a higher frame rate. You can flip rotate move and change the dynamics, add color corrections. Add all the changes in the Adjustment Layer Time Warp
Conclusion
Now the grunge texure effect is made on After effects. If you follow the steps, it is not that difficult, right? You can also use After Effects to make other effects. Just explore it!