DaVinci Resolve has made strides to expand beyond its color-grading background. In this review, we take a look at the Title Generator’s performance.
Since the release of 12.5 (and now at v.14), DaVinci Resolve has been making advances across the board to garner recognition not only as a leading color grading software but also as a professional NLE. While title generators are not the defining element of an NLE, it would be great to have an NLE that can do a little bit more with titles than the same functions we’ve seen over and over.
Let’s have a look at Resolve’s title generator to see how well it performs. We’re going to attempt to recreate a title card from Kill Bill, and a typical lower third you would expect to see on a news broadcast.
The Interface
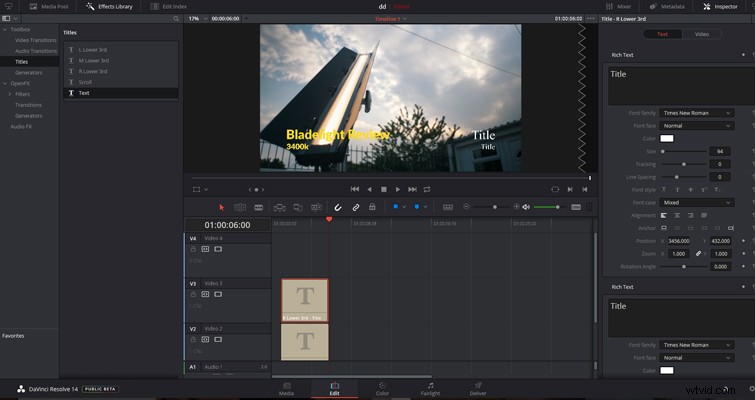
Resolve’s title generator isn’t revolutionary; however, the user interface and the fluidity of the generator are certainly admirable. It’s a lot smarter and cleaner than the title panel in Adobe’s products. Resolve’s interface works by opening and extending panels, so to get to the titles, you need to open the effects library, and on the toolbox menu, scroll down until you reach titles.

Here you have five presets that you can drag onto the timeline — akin to Final Cut Pro. The five presets are Left Lower 3, Middle Lower 3, Right Lower 3, Scroll, and Text. All of which speak for themselves.
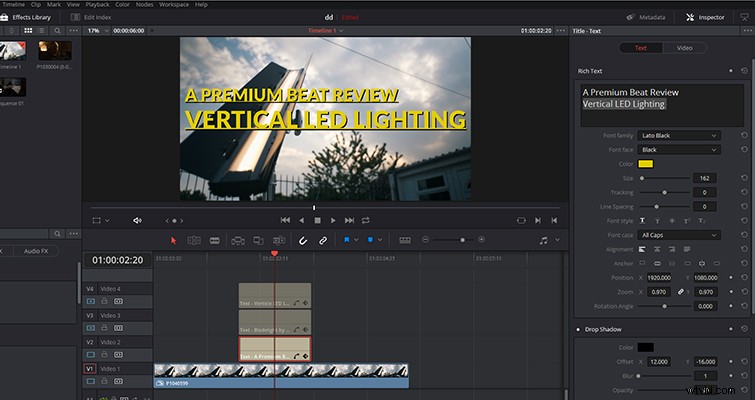
When you’ve dragged your title onto the timeline, you can double-click the text bubble in the preview monitor to write the intended text, and you can also move and enlarge the text with the control points. However, I doubt you’ll ever modify text in that manner. As with all of the effects and transitions in Resolve, the truly customizable aspect of the features comes to life in the inspector panel.
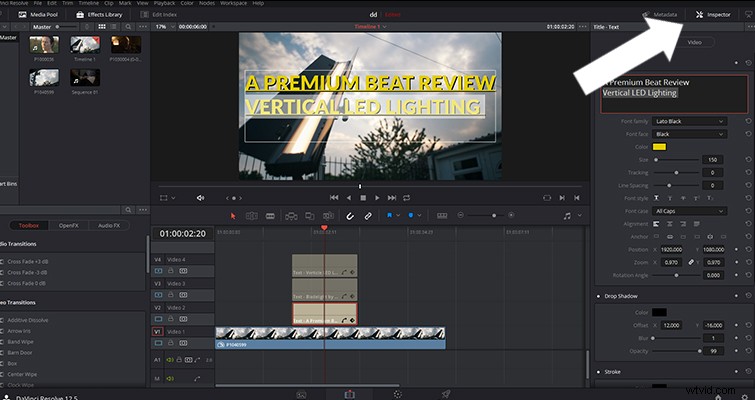
When you open the inspector panel, you see several different options for customizing the text, and the options vary slightly depending on which title you’re working with. Although the inspector panel breaks down into several sub-menus, the panel is mostly two sections: text properties and design properties. It doesn’t have the intricate text features that Photoshop or After Effects has, but it certainly covers the basics — and a bit more.
Those are who are familiar with NLEs and compositors will know that this diamond icon represents a keyframe, and that means you can time the control parameters of that individual setting to change throughout the title clip.
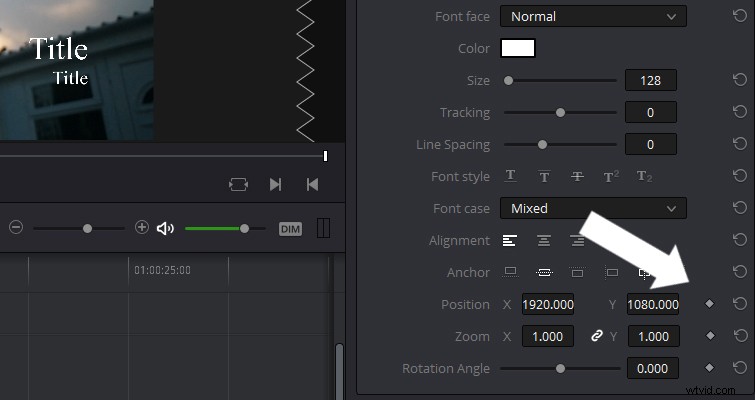
However, there are some settings that you cannot keyframe, such as the spacing between characters. As a result, you won’t be able to create the classic trailer text where the word moves forward in Z-space, while the individual characters move slightly apart.
Creating the Titles
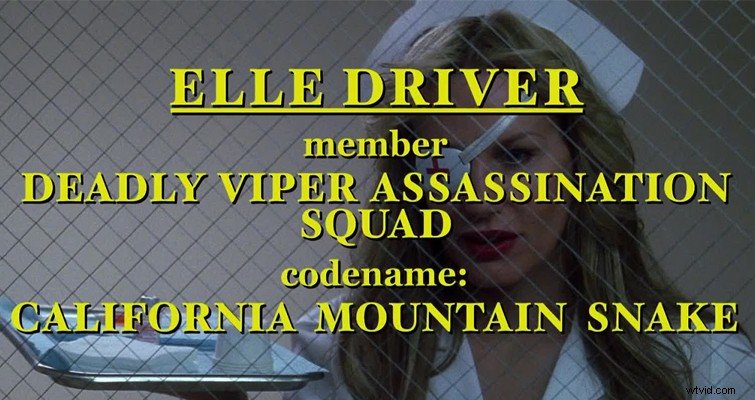
With basics of the title generator covered, let’s create our first title: the Tarantino-inspired title card from Kill Bill.
There are several things we need to do mimic the title card: give the text color and a drop shadow, capitalize it, and underline the top row. We can apply all of these effects to the text inside of Resolve — there’s no need to open Photoshop just yet. Unfortunately, where Resolve falls short and ends up in typical NLE title generator territory is adjusting a single line of text in a box of multiple lines: this feature works poorly.
For example, you can change the size of one line by highlighting that line and increasing the font size in the inspector.
Yet, making sure the other lines of text stay in the same position is a struggle. Resolve sees the other text line as an object and pushes the top line from its original position.
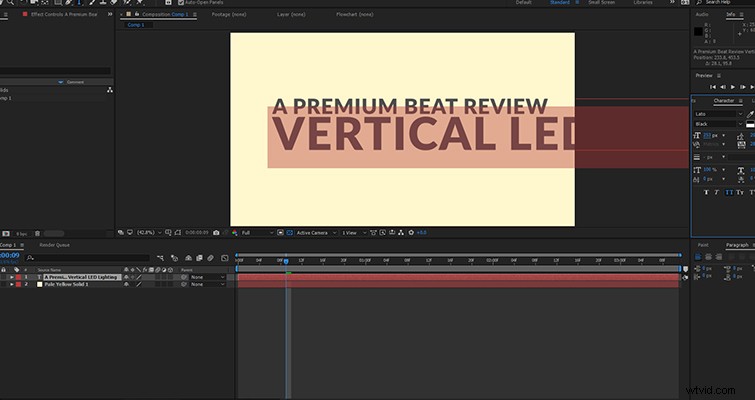
If we were to perform the same task in After Effects, you could see that even though the space box for the enlarged text overlaps the top line, it does not move the top line of text from its original position.
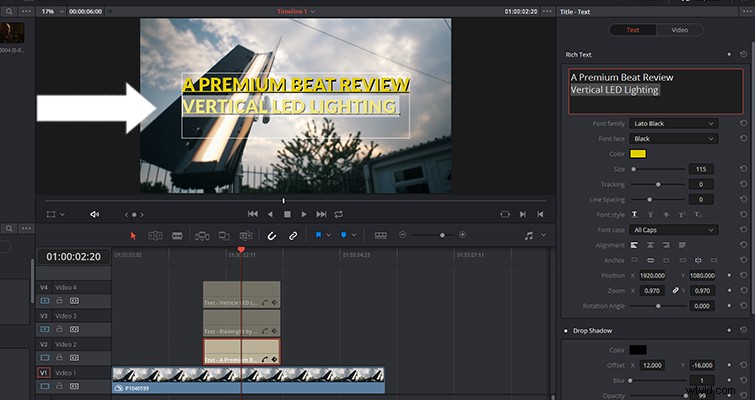
Therefore, I’m going to drag the standard text preset onto the timeline and duplicate it two times so I can adjust the font size of each layer without worrying about altering the positioning. Thankfully, we can highlight all tracks and simultaneously change the settings of all text layers. However, when you are working on one text line (for this example, let’s say the text on track 2) in the timeline panel, you cannot click the text on track 3.
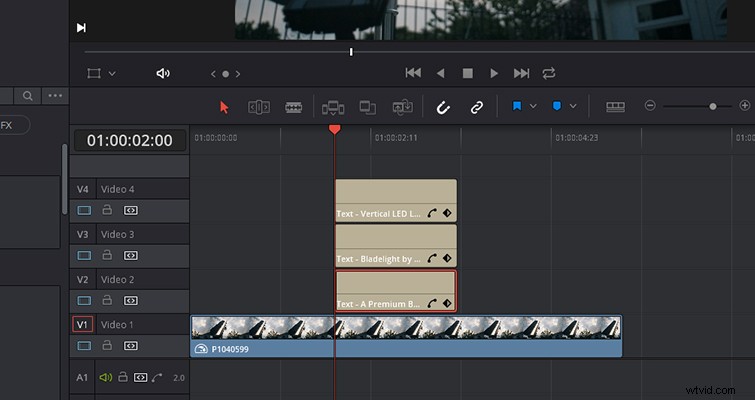
You have to go to the timeline and select the text clip. Whereas in After Effects, you can click from text to text preview monitor itself. So far, it seems to be a one-step-forward, two-steps-back process. The ability to manipulate multiple lines of text isn’t as fluid as the design.
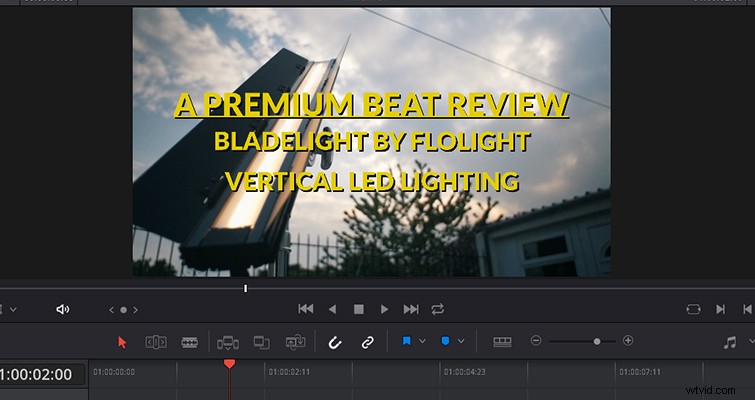
After a few minutes of switching back and forth between the three layers, I was able to get the Tarantino-styled text. As mentioned, all of the basic font adjustments are in the inspector, and they’ll cover you for titles like this one. However, there isn’t an option to stretch or widen the font.
Lower Thirds
I initially wanted to use the left lower third, but because of the highlights in the video clip, I decided to switch to a right lower third to make the text more visible. I had already chosen the font properties, and I thought I would be able to copy and paste the text properties to another text layer. No. You can do this, but not efficiently. You have to individually copy the main title and the subtitle of the lower third and then paste both lines of text. It would be simpler if you could copy and paste all attributes of a title in one swift click.
Frustrations will start to escalate when you realize that you can only move the main title and the subtitle independently. Personally, when working with a title and subtitle, I like to animate both text layers at the same time, then just stretch the keyframe positioning to make one line of text move slightly slower. Here, that isn’t possible.
You can give the lower third a solid color background, and you can manipulate it in several ways, but I found the responsiveness slow and clunky. You also can’t adjust the background on the preview monitor, only within the inspector itself. Again, this yields a slow-paced experience.

Ultimately, at this point, this wasn’t the title generator I wanted it to be, and I decided to stop making the lower thirds. If this was a job for a client, I would have very easily lost thirty minutes to the void when this should have been a five-minute job.
I love Resolve. It is, after all, a world-class color grading application, and the designers have made massive improvements with the NLE’s capabilities in 12.5 and in 14. However, the title generator is only standard NLE quality — despite a great-looking UI. It is great for simple location introductions, or to fade the name of an interviewee in and out, but for anything that is slightly creative, you’re better off working with a dedicated motion graphics compositor.
What are your thoughts on Resolve’s title generator? Let us know in the comments.