A timelapse captures an event over a long period, taking a frame at regular intervals. When played back, the footage collapses that duration into just a few minutes, turning an hour of clouds into a cinematic montage.
Every modern iPad—whether Pro, Air, or Mini—comes with a built‑in timelapse mode. With a stable tripod and a little planning, you can film captivating time‑lapse sequences for social media or personal projects. Below is a clear, expert walkthrough of how to record a timelapse on your iPad.
Step 1: Set Up Your iPad for Timelapse Recording
Secure your iPad on a sturdy tripod so it remains perfectly still throughout the shoot. For dramatic effect, try starting in the late afternoon and letting the camera run through sunset into night; the shifting light will add depth to your final clip.
Step 2: Open the Camera App
Tap the Camera icon from your home screen.
Step 3: Switch to Timelapse Mode
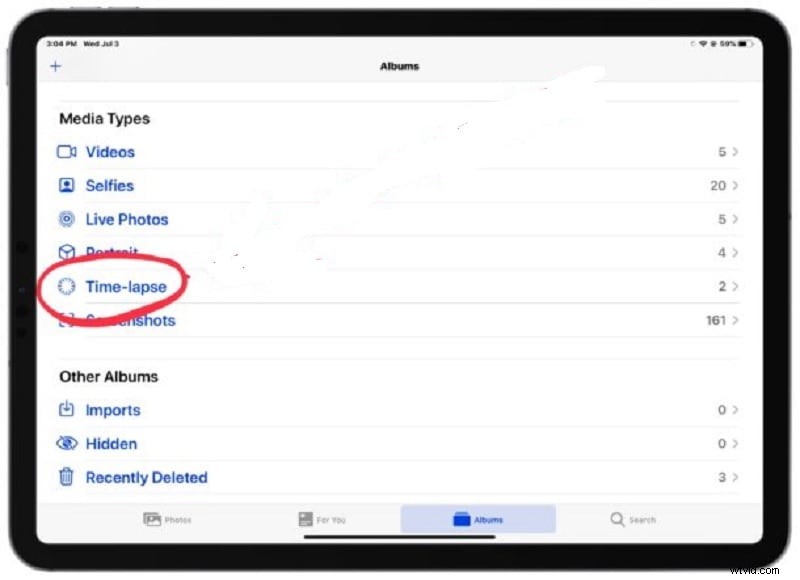
Swipe right through the camera modes until you reach Time‑Lapse. The interface is identical on iPad Pro, Air, and Mini.

Step 4: Start Recording
Press the shutter button beneath the Time‑Lapse option to begin. The iPad will automatically lower the frame rate and begin capturing frames at its preset interval.
Step 5: Stop When You’re Done
Press the shutter or the stop button again to end the session.
Step 6: Review Your Footage
Open the Photos app, navigate to the Time‑Lapse album, and watch your compressed masterpiece.
By default, iOS handles the frame‑rate reduction automatically. If you want finer control—such as adjusting capture intervals or choosing specific export settings—you can download a dedicated timelapse app. Osnap is a top‑rated choice for iOS that offers customizable options while keeping the process user‑friendly.
Frequently Asked Questions
How long can an iPad record a time‑lapse?
Apple indicates that, under optimal conditions, an iPad can record up to 30 hours of timelapse footage. In practice, battery life and available storage usually limit the actual duration.
Can I set a fixed recording length?
The iPad’s native camera app requires you to start and stop manually. After recording, you can trim the clip in iMovie to fit any desired length.
Can I convert a regular video into a timelapse?
Yes—use iMovie or third‑party apps like Lapse‑It and SpeedPro to speed up existing footage.
What is the duration of a 1‑hour timelapse on iPad?
An iPad records roughly one frame per second in timelapse mode. A 60‑minute capture thus yields about 4 minutes of final video (60 min × 60 s ÷ 15 fps ≈ 240 s).
Conclusion
Recording a timelapse on an iPad is straightforward once you understand the workflow. Mount your device on a tripod, select Time‑Lapse mode, and let the camera do the rest. For advanced tweaking, explore dedicated apps. The result: a professional, eye‑catching video that compresses hours into minutes.