Many computers and laptops these days have a webcam built-in, but the image they capture is often pretty dreadful. Even with a pricy computer like an Apple iMac you can expect to see badly burned out highlights and oversaturated colours.
However, with the right connections, many cameras can be used for live streaming, bringing you control over the exposure, white balance, colour, depth of field and focus, as well as a far better image.
Unfortunately, it’s not quite as simple as connecting your camera to your computer via a cable, you need a capture card. These can be relatively inexpensive, but if you’re planning on using Zoom, Facebook Live or Youtube Live on a regular basis, it may be worth spending a bit more and going for a card like Magewell USB Capture Plus.
This has the advantage of being a plug-and-play device so there’s no extra software required.
If you want to be flash, and have the bandwidth, you could go for a Magewell USB 4K Capture Plus.
Magewell makes the USB Capture Plus with three different types of interface, but the HDMI version, the Magewell USB Capture HDMI Plus is the version that is most useful for photographers – assuming your camera has some form of HDMI port.
Connections
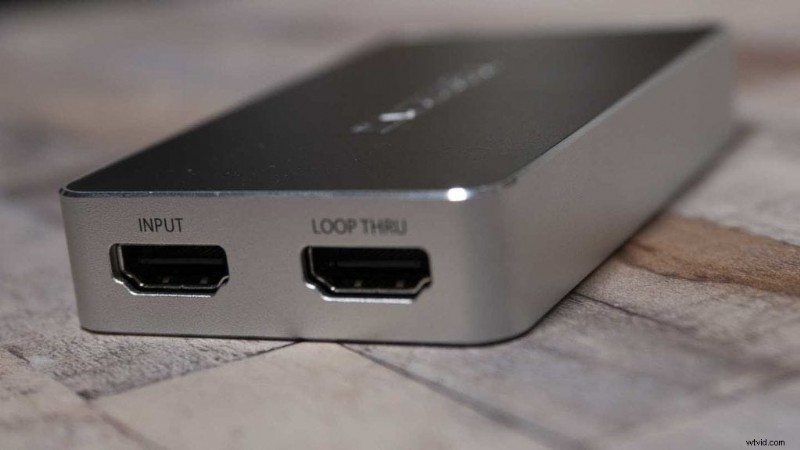
The Magewell USB Capture HDMI Plus has two HDMI ports, the input port is the one that you use to connect your camera. The Loop Through port is useful if you want to connect to another monitor.
You’ll need to buy the right HDMI cable to connect your camera to the USB Capture HDMI Plus. However, Magewell supplies a USB cable to connect the USB Capture HDMI Plus to the computer.
Once you’ve connected the USB Capture HDMI Plus to your computer, and the capture card to your camera, turn the camera on. Your computer will now see the camera as a webcam. However, it will also see the built-in webcam, so you need to select the camera that you want to use. In Zoom this is done via the ‘Video options’ control.
With Facebook Live you need to click on ‘Stream Keys’ and then select ‘Camera’ before scrolling down to the Set-up section and selecting the right camera (USB Capture HDMI Plus).
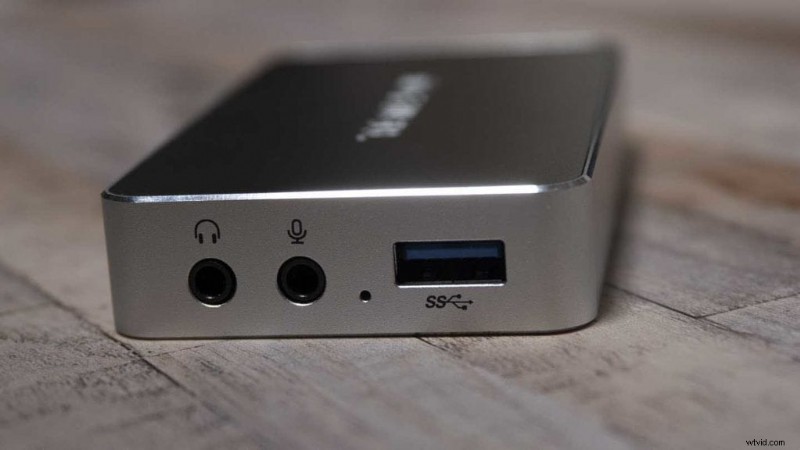
You can use your computer’s built-in microphone, but for better audio, connect a mic to your camera or the USB Capture HDMI Plus.
The video below compares the difference between using the webcam built into an Apple iMac and connecting a Sony A7 III via a Magewell USB Capture HDMI Plus. The audio was recorded using the iMac’s internal mic throughout and the natural illumination was augmented by two Rotolight Neo II lights.