LUTs (lookup tables) are a big new trend in photo-editing, offering colour grading effects you can use and re-use anywhere
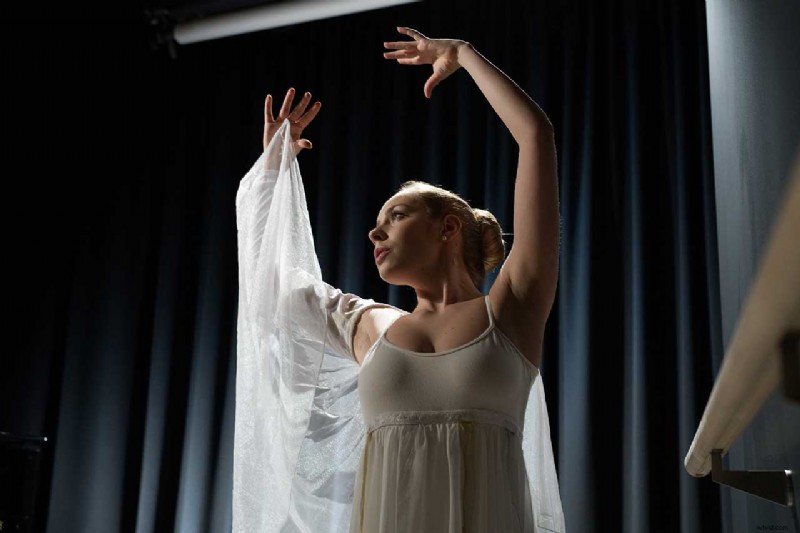
Before
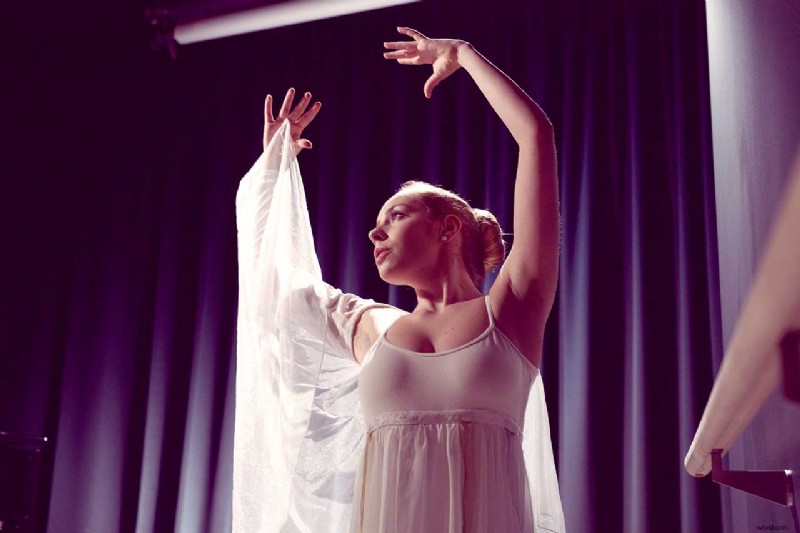
After
Our ballet dancer was posed under regular studio lights with a rather bland colour rendition, but our custom LUT recreates theatrical stage lighting and can be used for video grading too
How to make LUT adjustments in Affinity Photo
Affinity Photo is a full-powered, professional photo editing application which is available in both Mac, and Windows and iPad versions, and which works brilliantly alongside other professional creative tools. This is shown clearly by its support for LUT adjustments, a fast-emerging standard for recreating specific ‘looks’ across different software applications.
LUTs are ‘lookup tables’ which remap the pixels in an image on to new colour and tone values. They’re a little like monitor and printer profiles, but instead of being used to correct colours, they’re used to deliberately modify and shift image tones for a creative effect.
LUT files use a standard .cube file format. You can download LUT files and use them within Affinity Photo, but you can also make creative adjustments inside Affinity Photo and export these as LUT files of your own. This means you can create a ‘look’ in Affinity Photo and then export a LUT file which can then be used by video editing software, for example, to recreate that look in a movie.
The best news of all is that using and creating LUTs in Affinity Photo is really straightforward to do, and our six-step walkthrough shows you how.
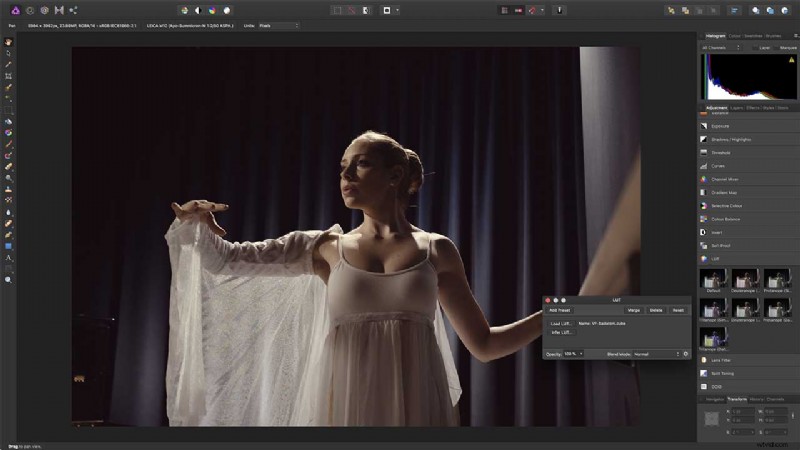
Add a LUT adjustment
Some software applications apply LUTs as a ‘profile’ at the start of the photo-editing process, making it difficult to control or modify its effect. In Affinity Photo, however, LUTs are applied as an adjustment layer. There is a small selection included, but it’s easy to load a LUT file of your own.
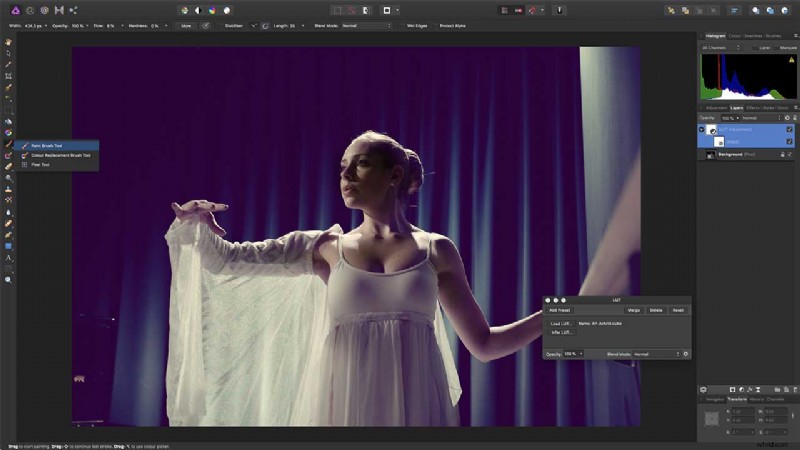
Masking LUT layers
This LUT creates a purple ‘matte’ effect with slightly lifted blacks. It’s fine for the background, but not quite right for our ballerina’s skintones. But because the LUT is applied on an adjustment layer, it’s easy to add a mask and then use a soft brush to mask the LUT effect from our subject’s face.
Create your own effect
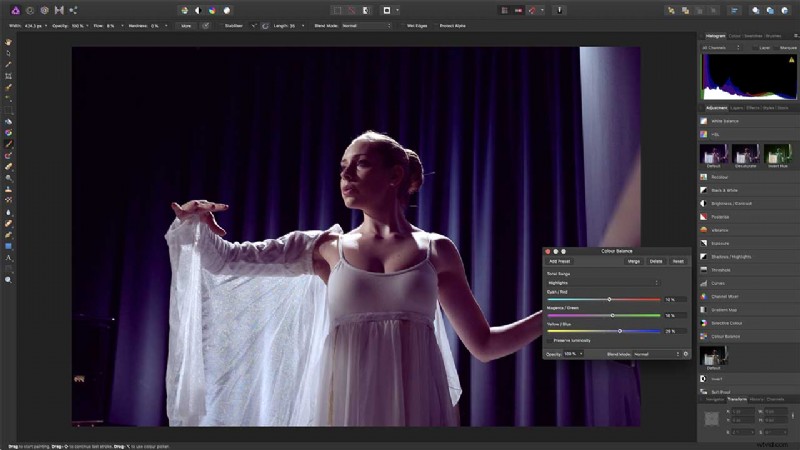
But you aren’t reliant on third-party LUT files. You can create your own custom ‘look’ using Affinity Photo’s adjustment layers and then export this as a LUT. We’ll start with a Colour Balance adjustment, using the sliders to create the purple shift we liked in the previous version.
Add a Curves adjustment
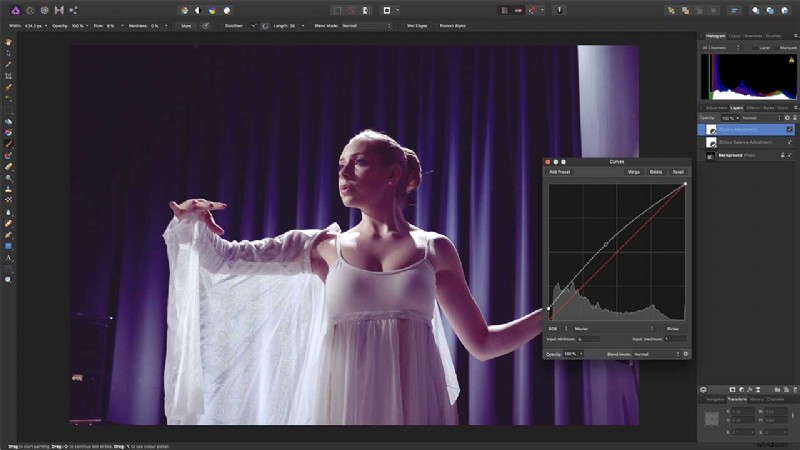
To create the ‘matte’ effect so popular right now, we need to add a Curves adjustment, and then lift the bottom-left control point on the curve slightly upwards. This makes the darkest tones in the picture register as just off black, rather than the usual solid black.
Save your LUT
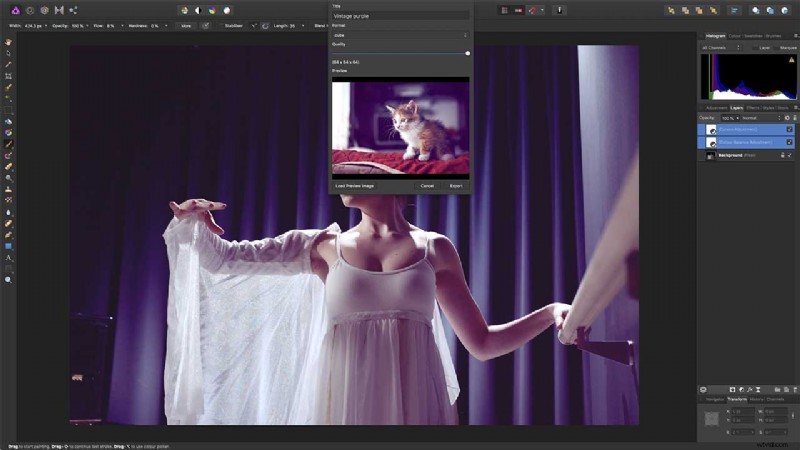
To save your new LUT, make sure both adjustment layers are selected in the Layers panel. Now choose the File > Export LUT command. You’ll be prompted to choose a name and a quality setting (choose the maximum) and then a location for the saved LUT file.
Re-use your own LUT
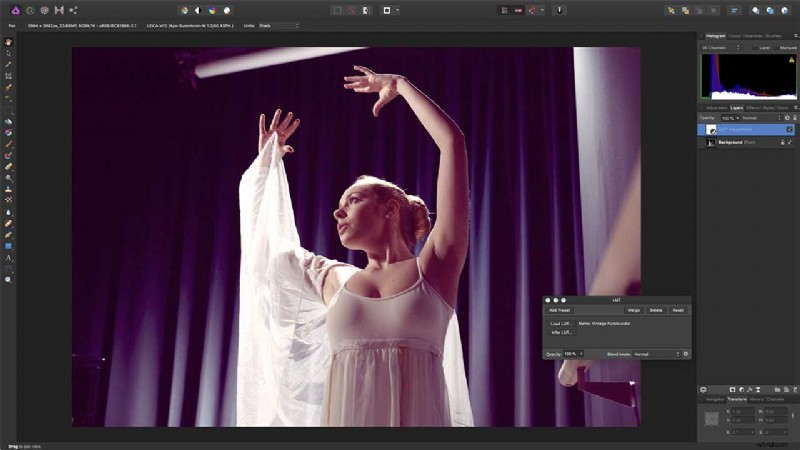
To use this LUT on a different image, simply load it up again using a LUT adjustment layer. And remember, because you’ve saved it in the standard .cube format for LUTS, it can be loaded and used in a whole range of other applications too.
Fast, smooth and powerful, Affinity Photo pushes the boundaries for professional photo editing software. Its huge toolset is specifically engineered for creative and photography professionals, whether you are editing and retouching images, or creating full-blown multi-layered compositions.
It’s available for a low one-off payment, with no subscription. To find out more, visit Serif’s website.
- How to use Affinity Photo’s new stabilised brush tools
- How to use Affinity Photo iPad edition
- How to record and play back Macros in Affinity Photo
- Affinity Photo: HDR Merge and Tone Mapping Persona