Steadicam operation is a camera skill that requires a lot of equipment and experience, but how hard is it to put on the gear and get a usable shot?
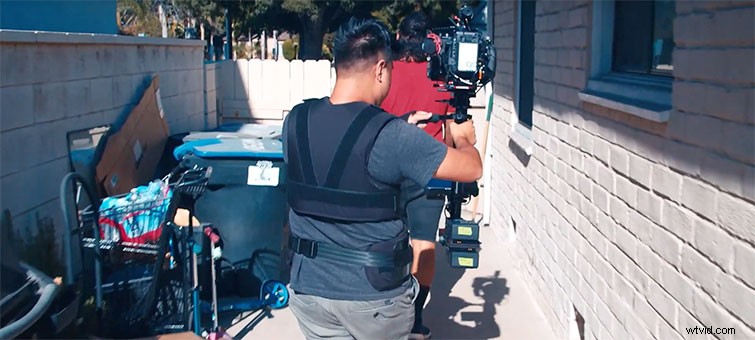
We asked Merlin Showalter, a Steadicam operator based in Los Angeles, to take Aeson Rose, a gimbal operator, through the process of setting up — or “flying” — a camera on a Steadicam rig to see what the learning curve is like.
Steadicam vs. Gimbal
The first thing they discussed was when to use a Steadicam rather than the cheaper electronic gimbal. Steadicams can hold a much larger payload, such as an ARRI Alexa cinema camera with a long cine zoom. Because of the reduced stress on the operator’s arms, they can also perform longer shots and more takes closer together.
Balancing
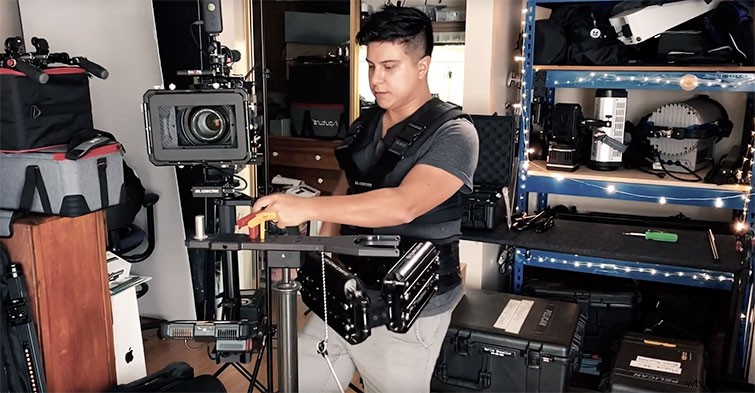
Because body-mounted camera stabilizers are mechanical rather than electronic, they must be more precisely balanced. Merlin explains that almost half the art of Steadicam operation is knowing how to set up and balance the camera. This typically takes around an hour, but it requires adjustments when you make any modifications to the camera’s weight or balance. Even zooming on the lens can require additional balancing.
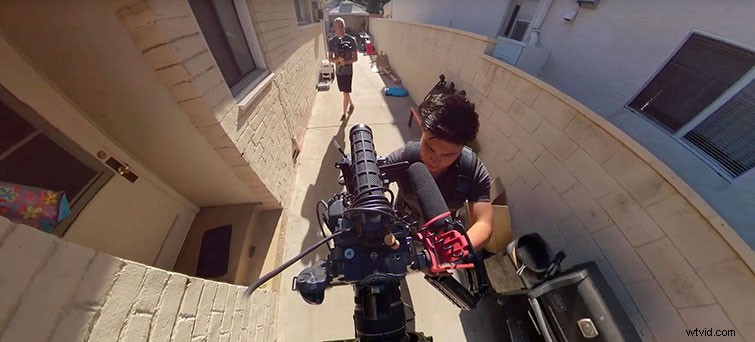
Walking forward or sideways with the Steadicam is pretty straightforward. It’s when you need to turn a corner that things become difficult. Any movement introduced into the system has a way of magnifying and quickly becoming hard to control. Without knowing how much force to apply to the camera, it’s easy to “lose the horizon” of the shot, creating a pendulum movement that only gets more extreme as you try to correct it.
Aeson was able to get some feedback from Merlin and by take four, the movement was noticeably smoother. Our test shot had numerous direction changes and orbits, but after about an hour in the rig, Aeson was well on the way to proficiency.
Cost
Another barrier to consider is the cost of a Steadicam rig. Merlin’s Glidecam rig, with a sixty-pound capacity, costs close to $20,000. This includes vest, arm, sled, batteries, and monitor. It’s possible to get started with a body-mounted stabilizer for between $3K and $6K, depending on the brand and capacity.
Want more on stabilizing footage and other filmmaking tips? Check these out.
- Video Tutorial: The Best Lenses for Gimbal Cinematography
- Top Equipment Investments for Working Filmmakers
- Video Editing 101: How to Stabilize Footage in Premiere Pro
- The Dolly Shot: How It Works and Why It’s Powerful
- The Whys and Hows of Tracking: Handheld vs. Stabilized