Photoshop includes dozens of different ways to select objects or areas of your image. There are a lot of reasons to select areas. For example, you may want to add an adjustment layer to only part of your image. Or you want to clip an object for use in a composite.
Let’s start by locating where these tools are in the program. Then, we will dive deeper into 12 Photoshop selection tools that you need to know about.
Where Can I Find the Photoshop Selection Tools?
Many of the selection tools in Photoshop are on the toolbar nested with similar tools.

When you choose a selection tool, more options appear across the top of the workspace. Options often include a set of icons describing how new selections will interact with existing ones. The first, a square, draws a new selection each time. The second, overlapping squares, adds to previous selections. The third, a filled and an empty square, subtracts the new selection from the previous. You can also subtract by holding the option key and making a new selection. The fourth, overlapping squares, keeps only the area shared by the new and previous selections.
Options also include settings for thickening or feathering of the border. Clicking the anti-aliasing box smooths the edges. The Select and Mask button will create a masking layer using your selection (Option + Ctrl or ⌘R).

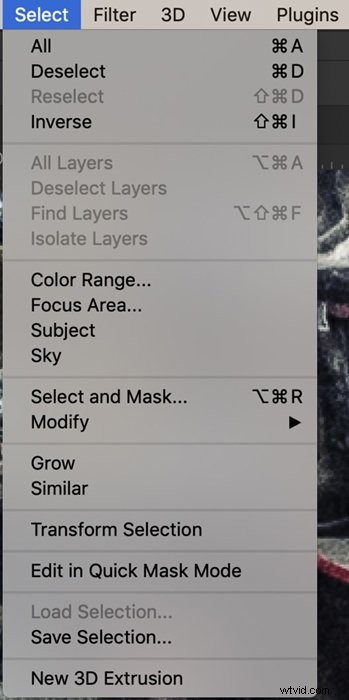
Photoshop also has a Select drop-down menu. Some of the choices are selection tools. Others modify selection tools found in the toolbar. Select All is a useful tool (Ctrl or ⌘A), as is the Deselect command (Shift + Ctrl or ⌘D).
In Photoshop, a selected area is bordered by ‘marching ants’. This is a dashed line that appears to move. By default, the selected area is within the line of marching ants. But you have the option to invert it. Go to the Select drop-down menu and choose Select > Inverse (Shift + Ctrl or ⌘I). This selects everything outside the marching ants. It can be a bit confusing because since it does not look like anything changed. The marching ants are in the same place.
1. Marquee Tools
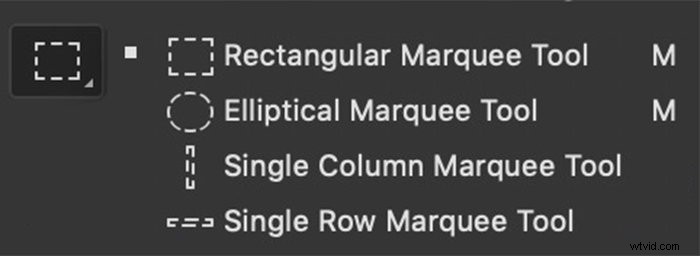
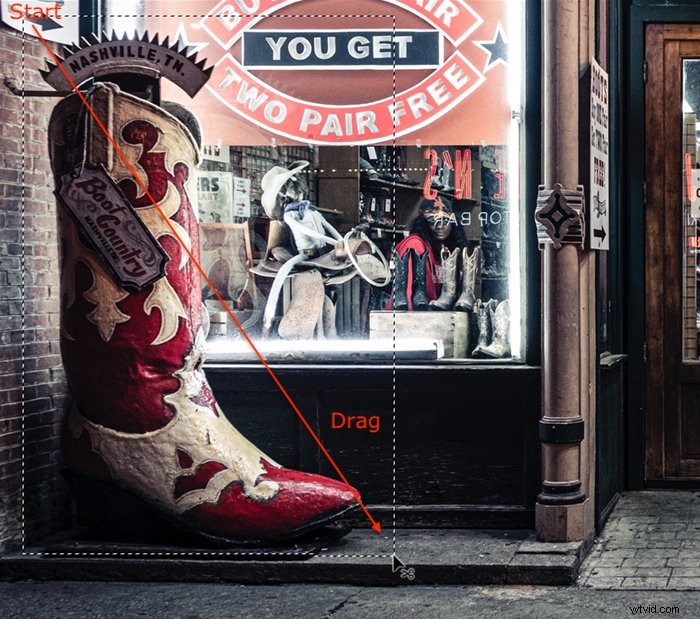
The Marquee tools let you drag a shape over an area to select it. You can choose a rectangular marquee tool, an elliptical marquee tool, or two single line shapes. Choose the marquee you want to use, click on your image and drag the shape to size. The selection appears when you release it. Hold the Shift key when dragging to create a square or a circle. By default, you drag the shape from a corner. Hold the Alt or Option key to create a shape starting in the centre.
In the options bar, you can change the style from Normal to Fixed Ratio. This creates a square or a circle. You can also choose a pre-defined size for the selection.
2. Lasso
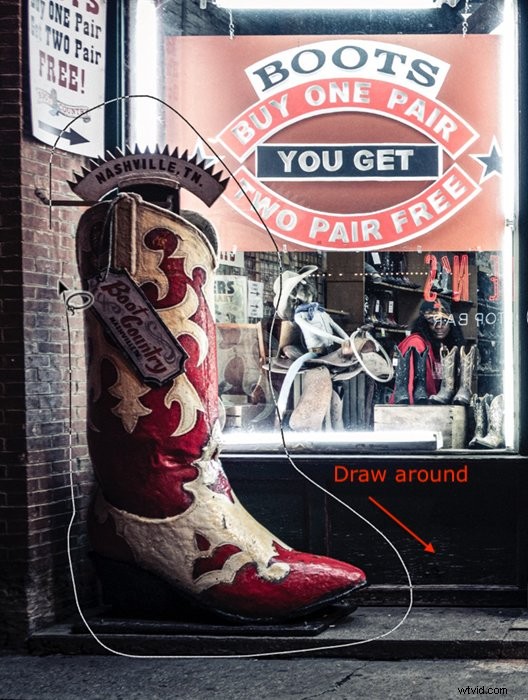
The Lasso tool lets you draw freely around the object you want to select. The tool is not very precise. Use it when you want to make a rough selection.
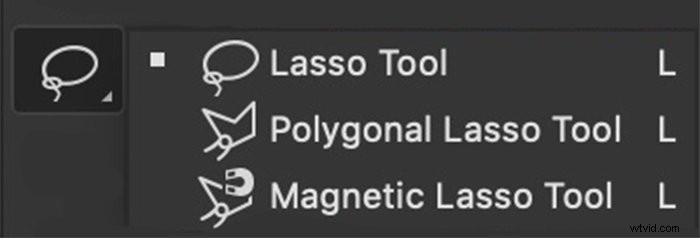
3. Polygonal Lasso
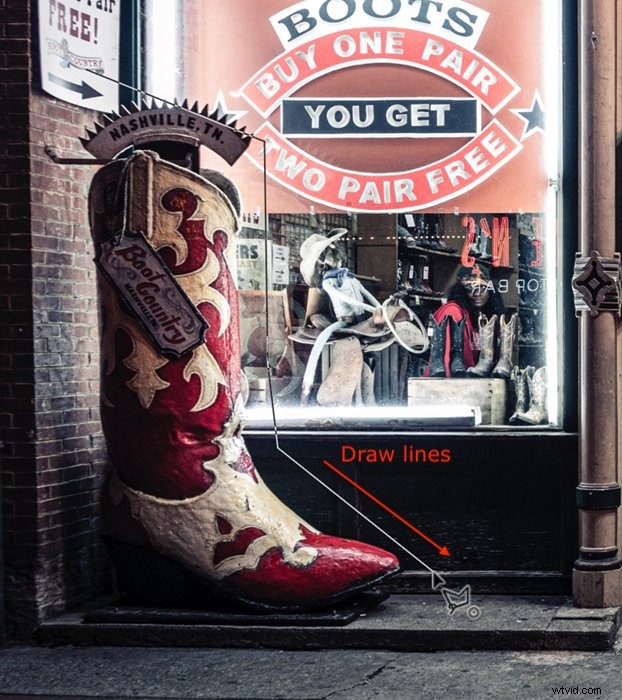
The Polygonal Lasso selects shapes that consist of straight lines. These can be more complicated shapes than just squares or rectangles. Click and drag along one edge of a shape to create a line. To turn a corner, click once. The tool freezes the line at that point and lets you change direction. Next, hold the Shift key while dragging to make a horizontal or vertical line. The selection shape completes when you return to where you started or double click.
4. Magnetic Lasso
The Magnetic Lasso tool works like the Lasso. First, draw around the object that you want to select. As you draw, the line is drawn to edges, like a magnet, to make a more precise selection. This tool works well when you are an object with a lot of curves.
Click one edge of the object that you want to select. Then, drag the line around the shape. Pins appear where the tool has locked onto an edge. The selection shape completes when you click on where you started or double click.
The Magnetic tool is really a circle. It is easier to see this if you turn on Caps Lock. Photoshop looks inside the circle for an edge. Making the Width larger in the options bar makes the circle bigger. You can also adjust the contrast to make it easier for the program to find an edge. Frequency is the number of pins placed around the edge. Change this if you want to see more or fewer pins. But you can click to add a pin at any point along the line.


5. Object Selection
Adobe introduced Object Selection in the 2019 version of Photoshop. At first, it seems to work like the Marquee tool. First, draw a rectangle or lasso around the object that you want to select. Next, Photoshop analyses the contents of the shape to find an object within. The program then refines the selection around the subject.
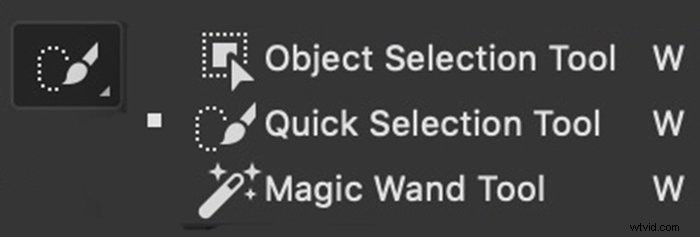
6. Quick Selection
The Quick Selection tool is a fast way of selecting a well-defined object. Click inside the object you want to select. Photoshop scans for colours and edges and expands the selection to include similar pixels. Add to the selection by clicking on another area of the object. Or drag the cursor, painting in the selection.
The Quick Selection tool works like a brush tool. You can change the size, hardness, spacing, and angle of the brush stroke. Click the + icon to add to the selection. Click the – sign or hold the option key to erase parts of the selection.


7. Magic Wand
Use the Magic Wand tool to select colours. Click on any colour in your image, and the program highlights all areas containing this colour. Tolerance in the options bar changes how precise the colour selection is.

At a low Tolerance, colour selection is precise. At a higher tolerance, the program selects colours like the one you picked. You can click on a second colour to expand the selection. Hold the option key and click on a colour to erase it from the selection.
If the Contiguous box unticked, colours throughout the frame are selected. Ticking the Contiguous box limits the selection to colours near the one chosen.
8. Select Color Range
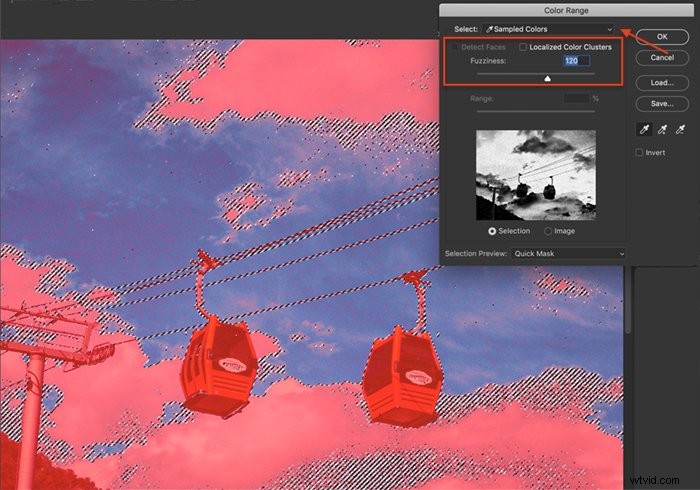
Color Range selection can work like the Magic Wand tool. Select your entire image (Ctrl or ⌘A) and choose Color Range from the Select drop-down menu Select > Select Color Range. A new window opens. Select Sampled Colors from the drop-down menu and click on a colour in your image. At higher levels of Fuzziness, similar colours are selected. You can also choose families of colours, like reds, from the drop-down menu. A thumbnail shows you a preview. White areas are selected. Grey areas are partially selected.
This tool can also select skin tones. Click both the Localized Color Clusters and the Detect Faces box. Then choose skin tones from the drop-down menu.
You can also select highlights, mid-tones, or shadows. Copy and paste selections onto a new layer to create simple luminosity masks. Then, apply separate layer adjustments to each tonality.
9. Select Focus Area
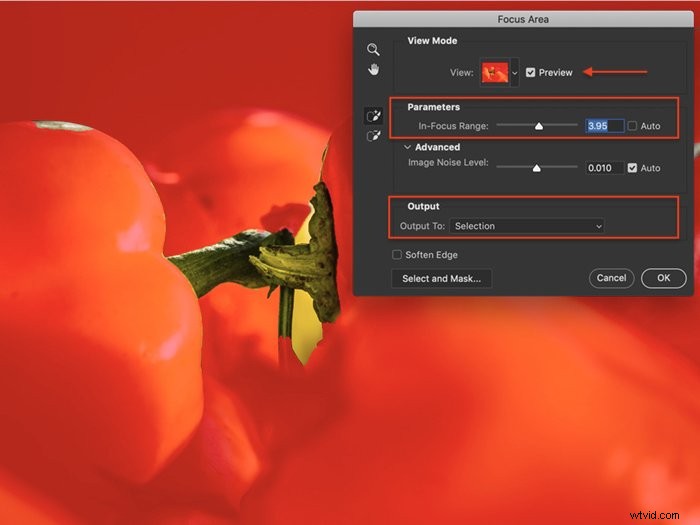
To select in-focus areas of your image, go to Select > Focus Area. In the window that opens, you can adjust the focus range. Move the In-Focus Range slider to relax focus parameters or select a more precise focus. You can change the preview mode and how you want to output the selection.
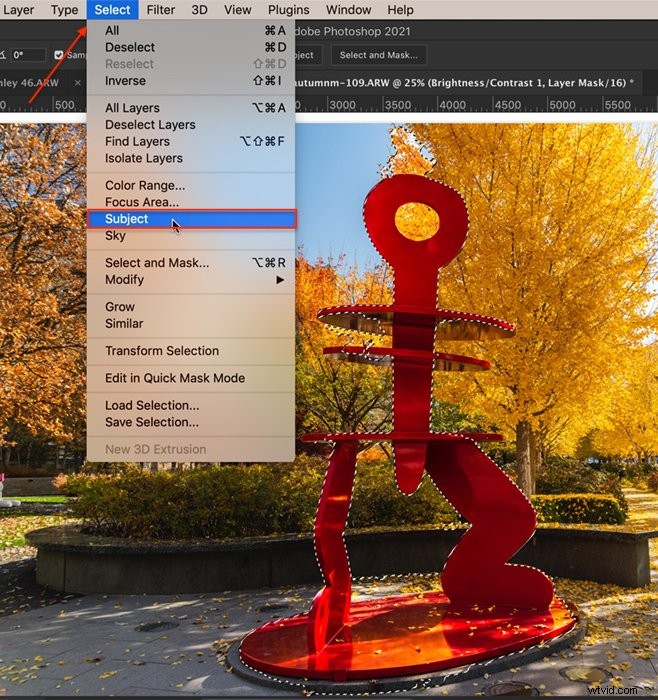
10. Select Subject
The Select Subject tool is like the Object Selection tool. But it is easier to use. Choose the Select drop-down menu and click Select > Subject. Photoshop scans your image and selects likely subjects. Refine the selection using another tool.
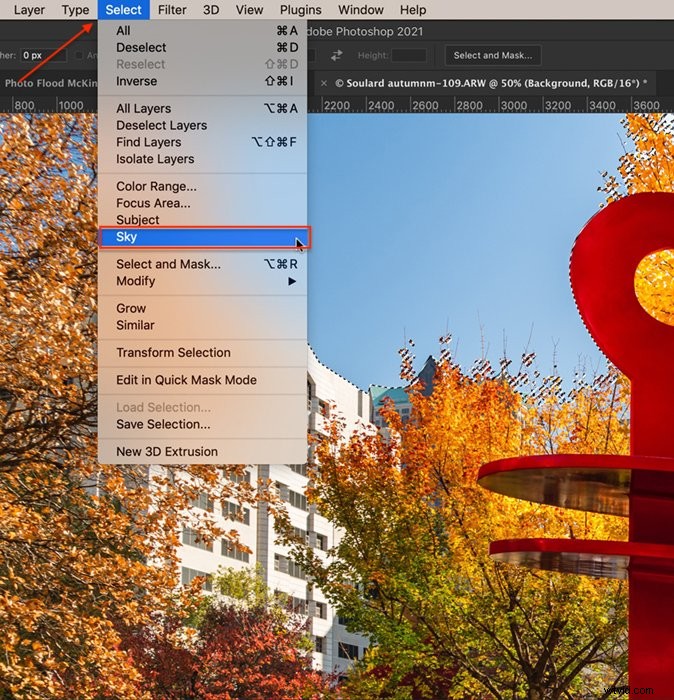
11. Select Sky
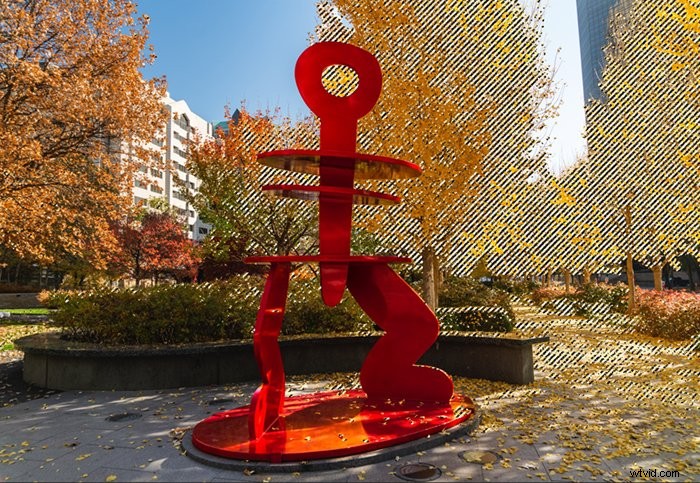
Before Adobe added a Sky Replacement tool to Photoshop 2021, you had to mask skies manually. This selection tool helped make the job easier. Open the Select drop-down menu and choose Select > Sky. Photoshop identifies the sky, even if there are interferences, like leafy trees.
12. Paintbrush in Quick Mask Mode
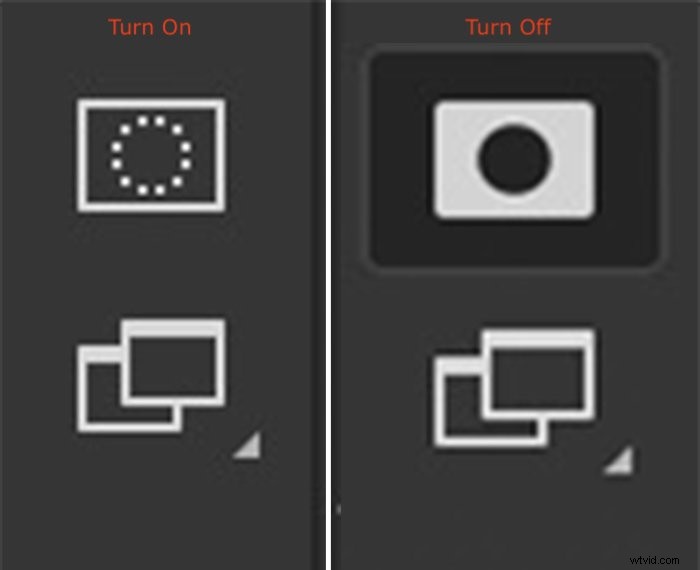
If you prefer to use the paintbrush tool to make selections, use the Quick Mask mode. Click the icon found at the bottom of the toolbar or the Q hotkey. You can also open a Quick Mask by going to the Select drop-down menu and choosing Select > Edit in Quick Mask.
With a paintbrush, mask areas you do not want to be selected. You can change the size and softness of the brush and opacity and flow—the mask shows as a red overlay. If you make a mistake, toggle the paintbrush to white to erase the overlay.
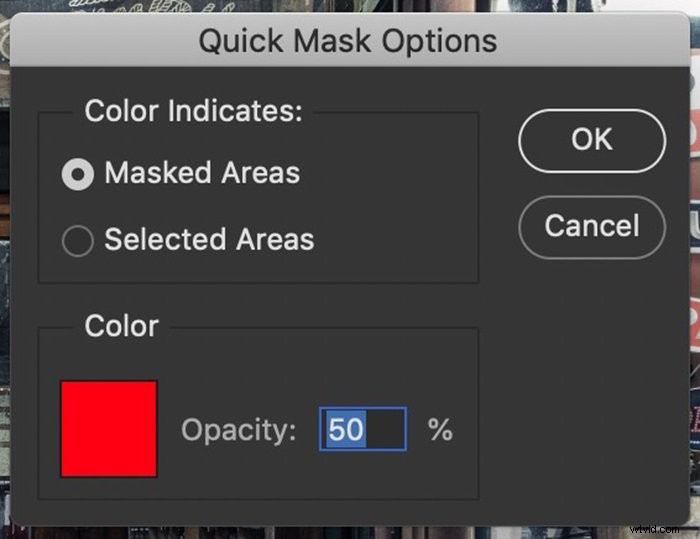
Double click the mask icon to switch colours and opacity. You can also choose to have the mask show the selected areas rather than the unselected areas. Click the icon or Q again to see the selected area bordered by marching ants.

Conclusion
Photoshop has over a dozen tools to help you select objects and areas of your image. Some tools are more precise. Others let you quickly select. But, of course, the best tool is the one that quickly and accurately makes the selection you want.
Use Photoshop as the main ingredient in your creative photography with the Creative Photography Cookbook!