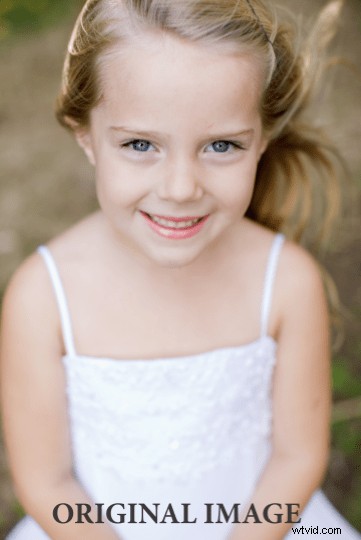
Here’s how to make eyes POP in three steps using Photoshop.
1. Duplicate the background layer and rename it ‘Natalie’s Eye Pop’ (of course).
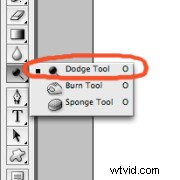
2. Select the dodge tool and lighten the iris.
Stay away for the thin, darker, perimeter of the iris and the pupil.
I generally set the tool as follows:
- Brush Size: Varies depending on the size of the eye.
- Brush Hardness: 10%
- Range: Midtones
- Exposure: 20%
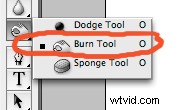 3. Select the burn tool and darken the perimeter of the iris and the pupil.*
I generally set the tool as follows:
- Brush Size: Varies depending on the size of the eye.
- Brush Hardness: 5-10%
- Brush Range: Shadows
- Exposure: no greater than 15%
*You may also decide to slightly extend the eyelashes by changing your brush size to roughly 5px and running the burn tool along the length of the lashes. I rarely do this, but it can add a more dramatic pop for fashion pics.

And there you have it. It really is as easy as 1, 2, 3!
Before we wrap up this little tutorial, I’d like to introduce a quick Natalie-ism in regards to post processing. This is called a Natalie-ism for a reason, it’s MY opinion and the way I personally roll, but you are free to take it or leave it as suits your fancy.
Natalie Says: “less is almost always more in post processing.”
When I first started working Photoshop into my workflow I was a NUT. I went crazy with every effect I could muster to digitally enhance my images. It didn’t take me long to pull back and start to work towards a more natural look to my photography.
For the most part, I’m asking myself this question any time I’m processing a photograph: “Ten years from now, will this effect still look good? ” If the answer is no, and you’d like an image that will stand the test of time, well then back off a bit. If the answer is no and you want an image that stands boldly in the here and now then by all means keep rolling.
Happy shooting!