Have you downloaded the NIK filter collection but now you don’t know how to use it? It’s great to have all these tools available, but they can be daunting to use for the first time. When there are so many choices available, it’s difficult to choose or even figure out where to start. So, keep reading for a quick introductory guide to the Nik filter interface.
Launch Photoshop
When you launch Photoshop, the Nik Filter Panel launches too. This panel is independent of the Photoshop interface. You can move it around your screen, minimize or close it without affecting Photoshop.
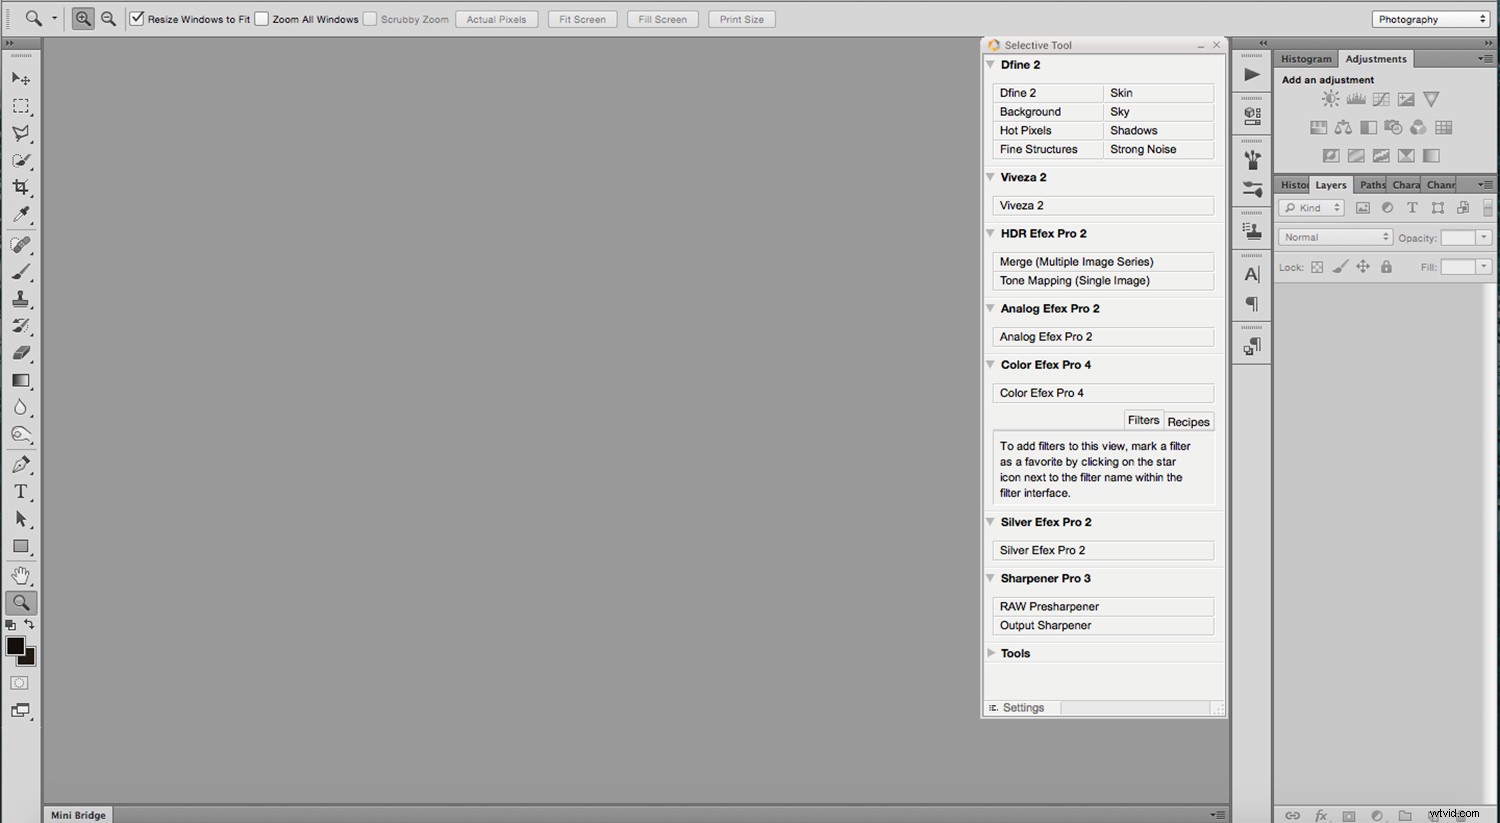
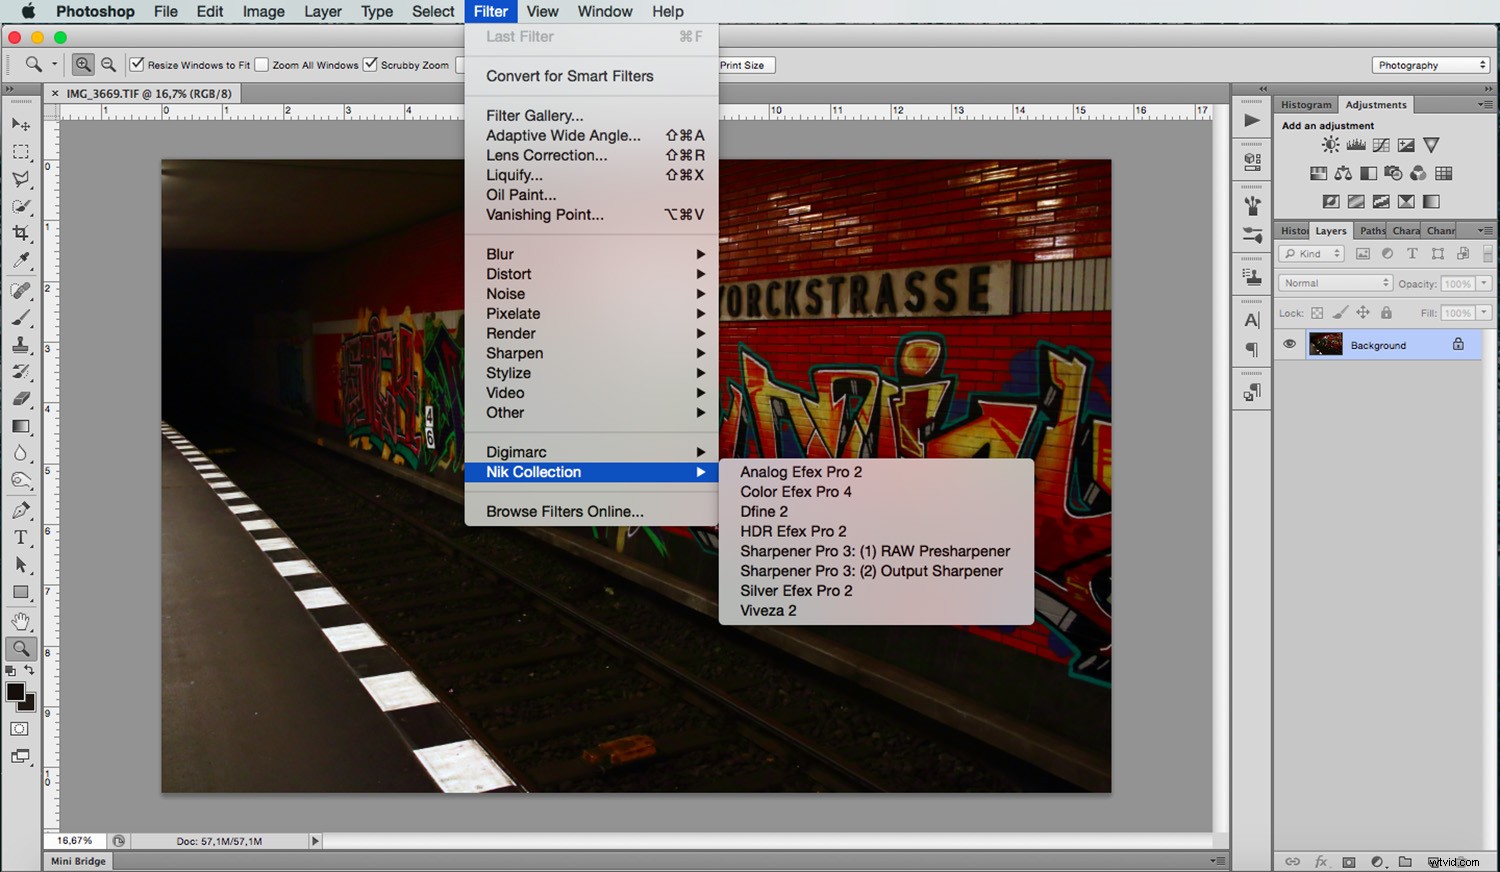
If you close it and want to open it again without re-launching Photoshop, go to Menu -> File -> Automate -> Nik Collection Selective Tool. If you don’t want the entire panel, but a specific filter you can go to Menu -> Filters -> Nik Collection and choose the one you want from the menu. However, keep in mind that this option is only active if you have already opened an image.
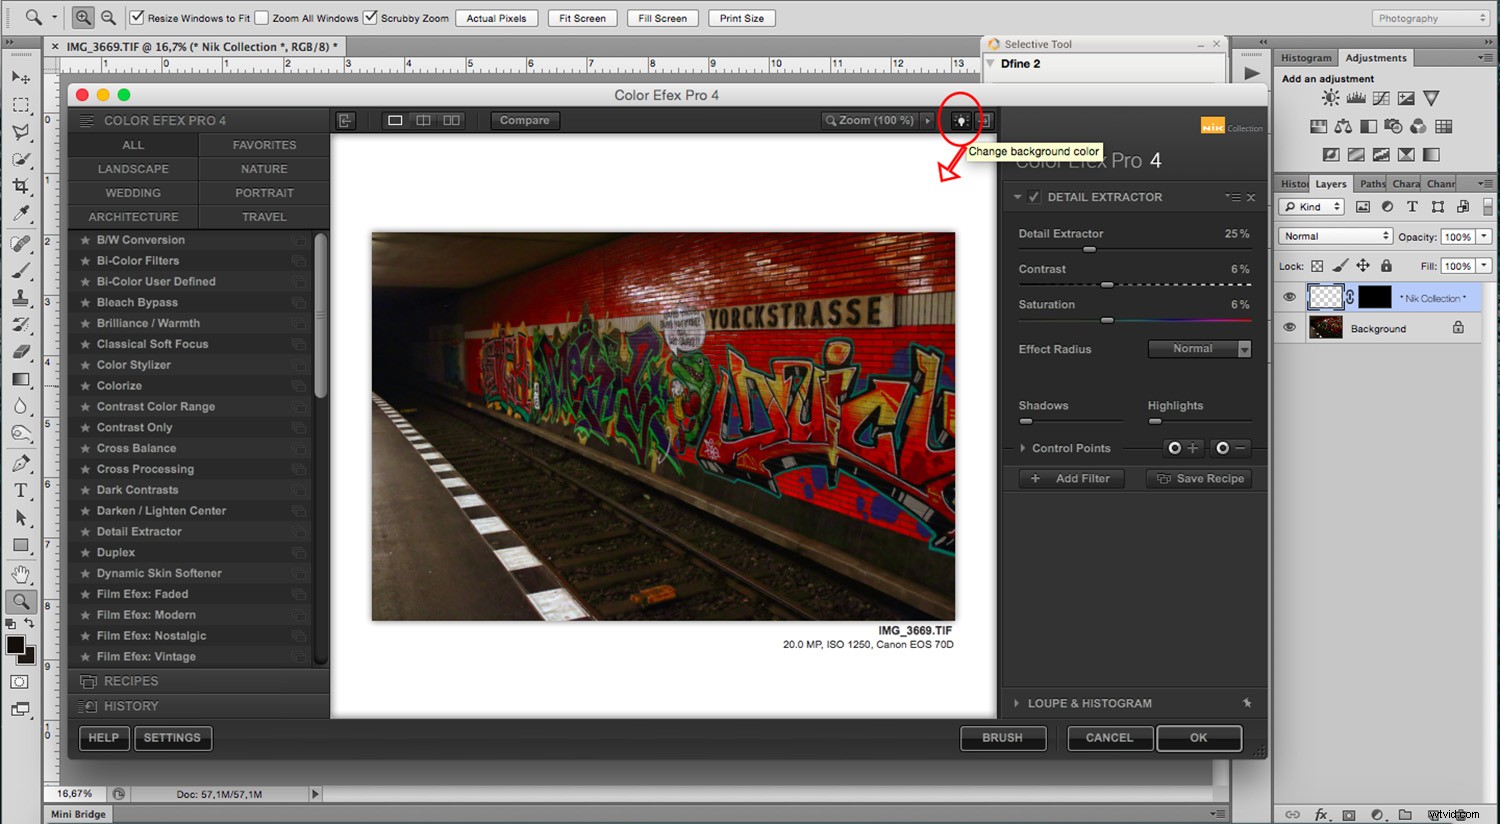
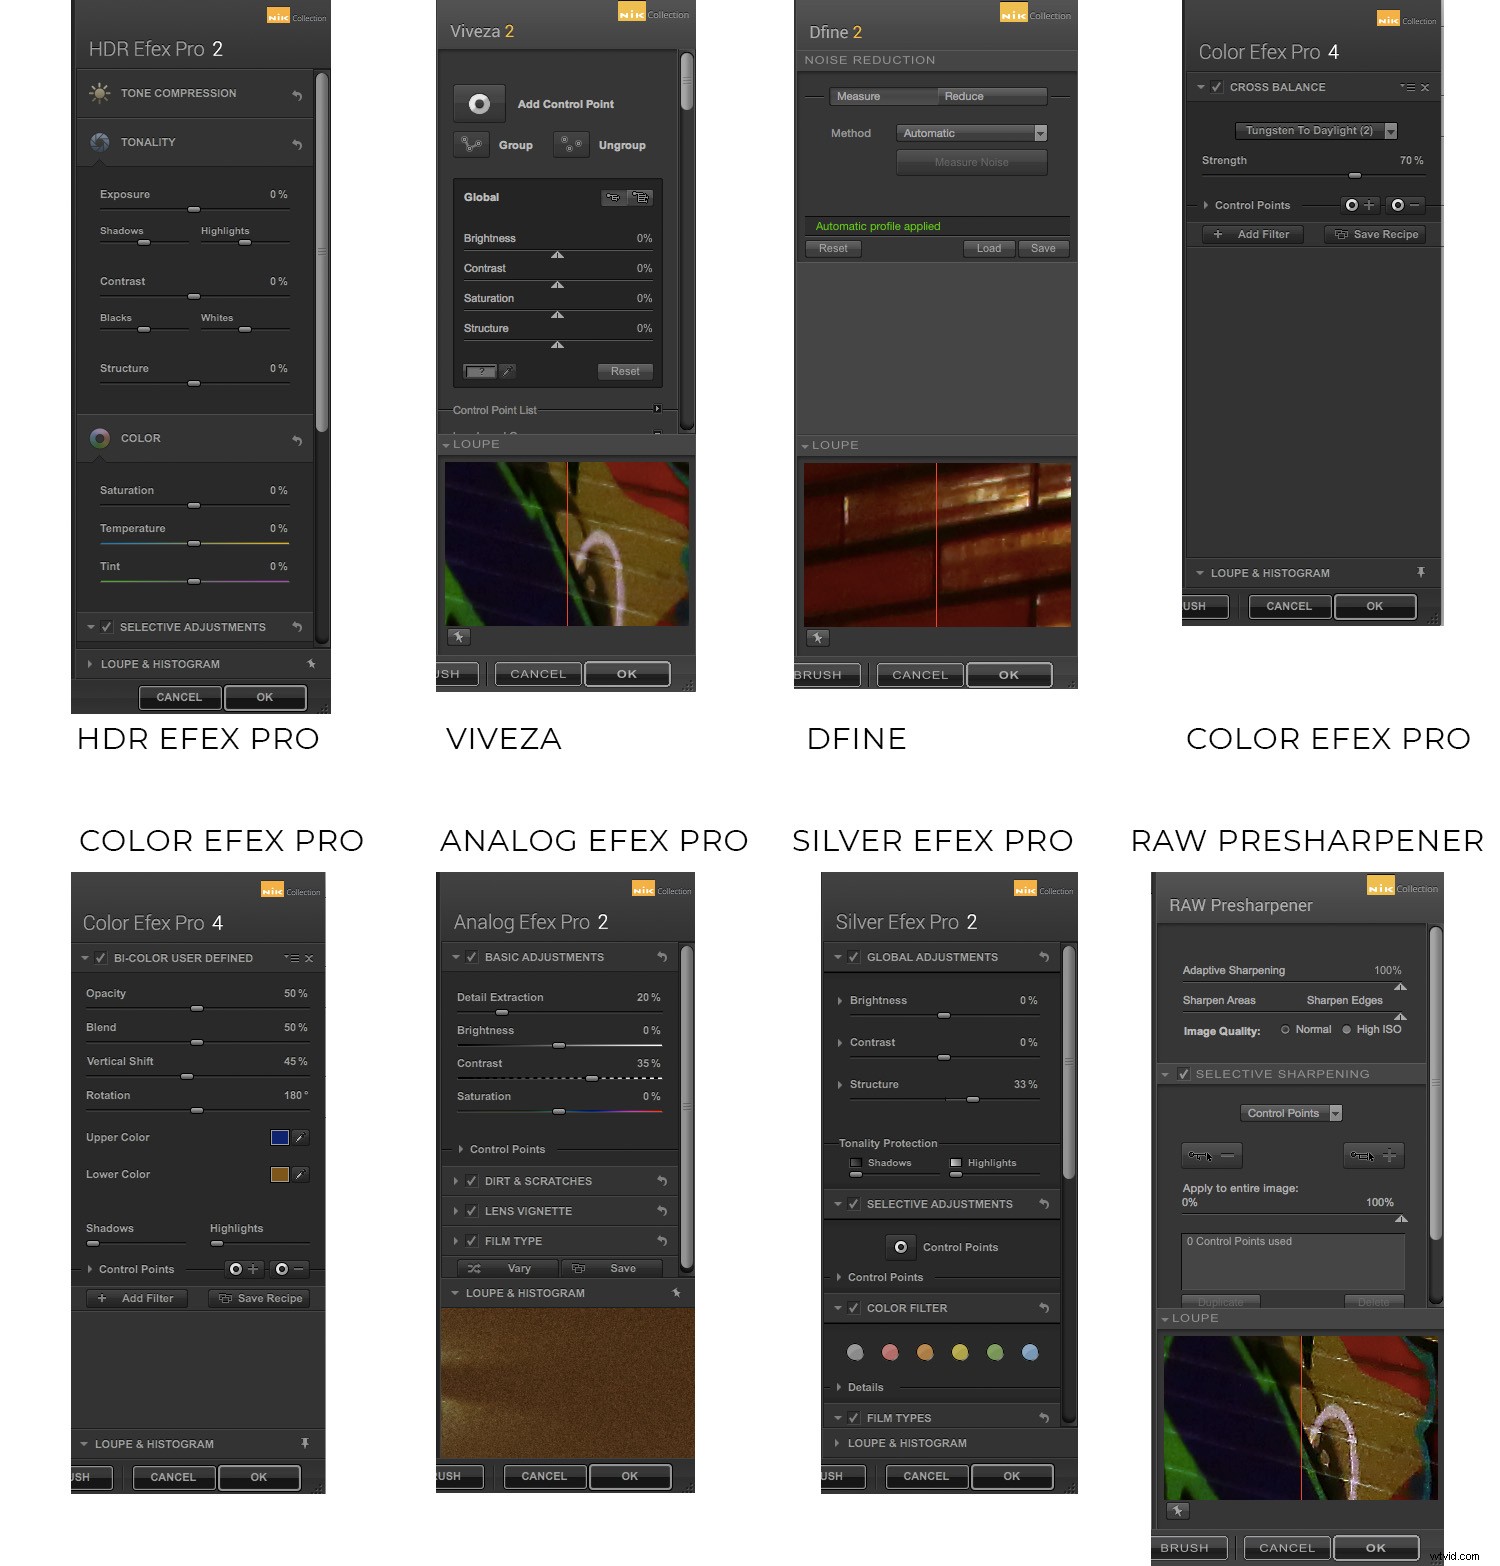
While I’m using Color Efex Pro to show you around, this tutorial is an introduction to the entire collection. Therefore, I won’t go into much detail about this or any other particular filter. Instead, I discuss only what they share. When you launch the desired filter, a window pops up. This window has a canvas area where you can see the image and one or two adjustment panels on the side.

*Note that Dfine, Viveza and Sharpener Pro only have the adjustment panel on the right.
Canvas
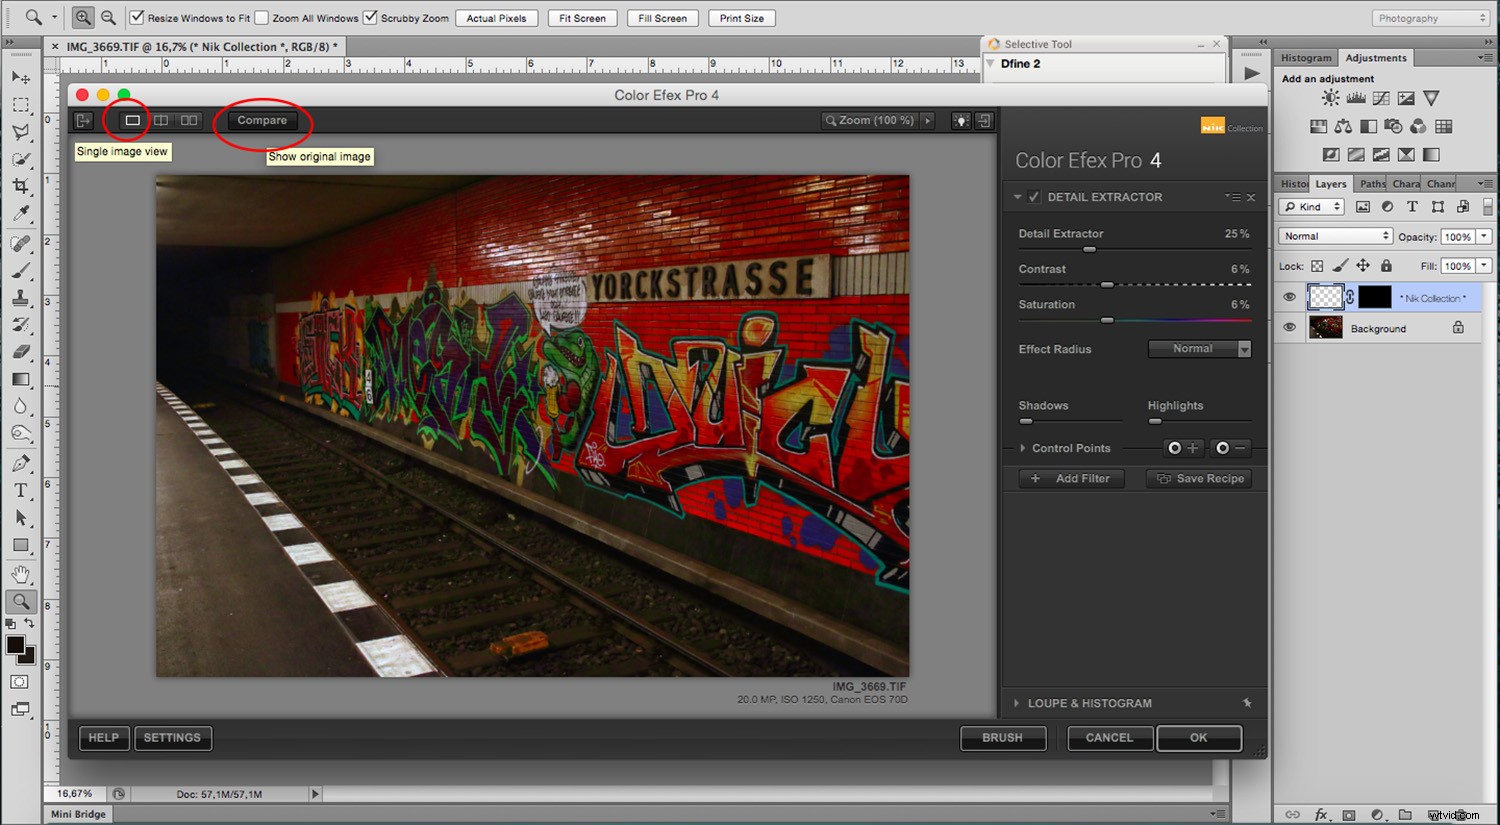
Let’s start with the Canvas. Canvas is the area where you can see your image and the adjustments you’re making to it. First of all, you can change the background color so that you can best appreciate the photo. By clicking the button on top that has a lightbulb in it, you can switch to black, white or grey.
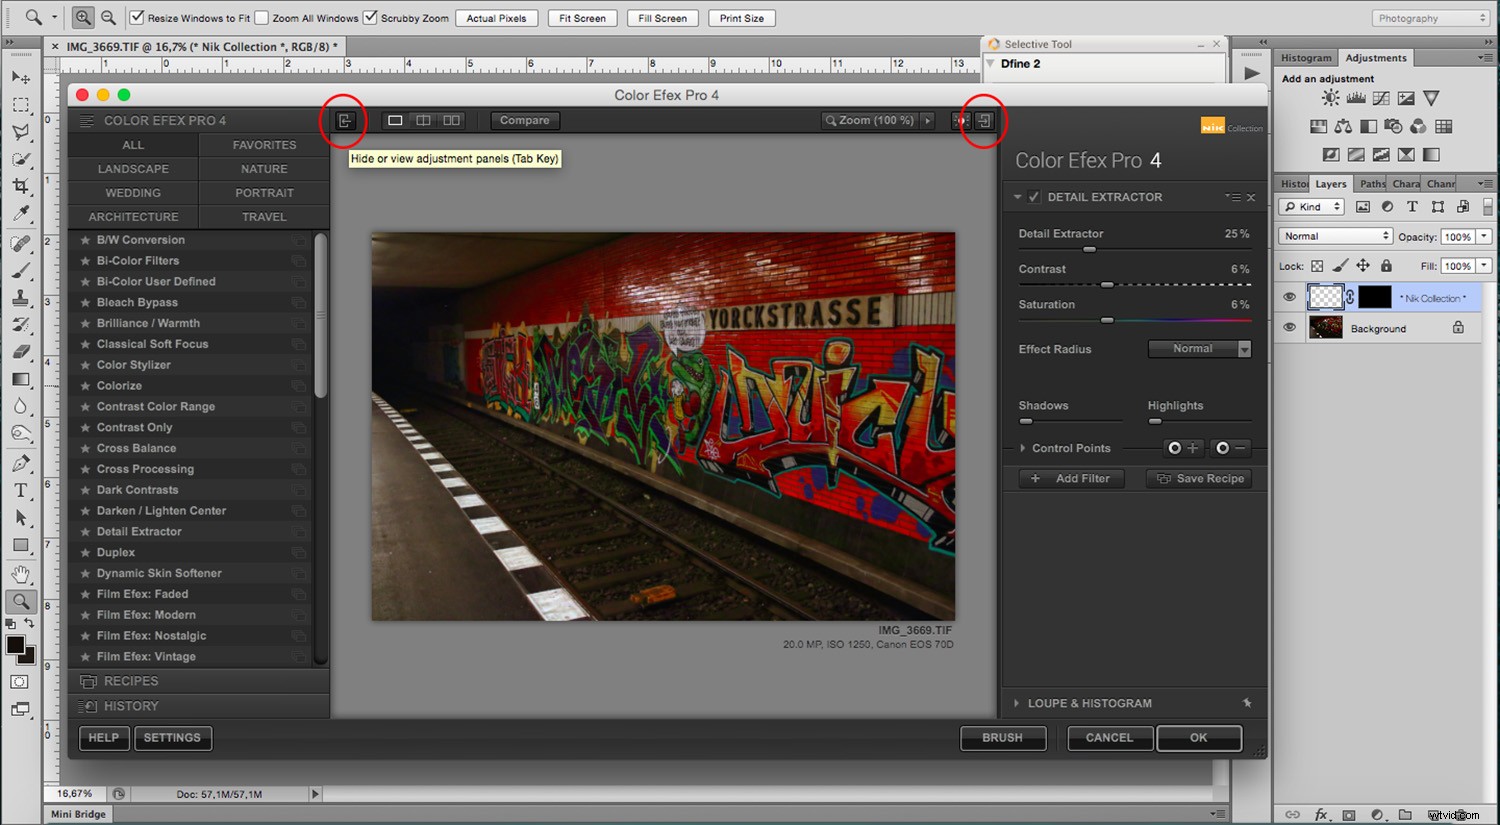
The default setting displays the canvas and the panels, that way you can see what you’re doing. However, you can hide the panels at any time by clicking the buttons on the top corner(s). You can also press the Tab key on your keyboard for this.
View Modes
Still on the top bar, and regardless of how many panels you have shown, there’s always the display choices. You can have the Single Image Mode that shows your entire image with the adjustments. To see the original image, you can click the Compare button.
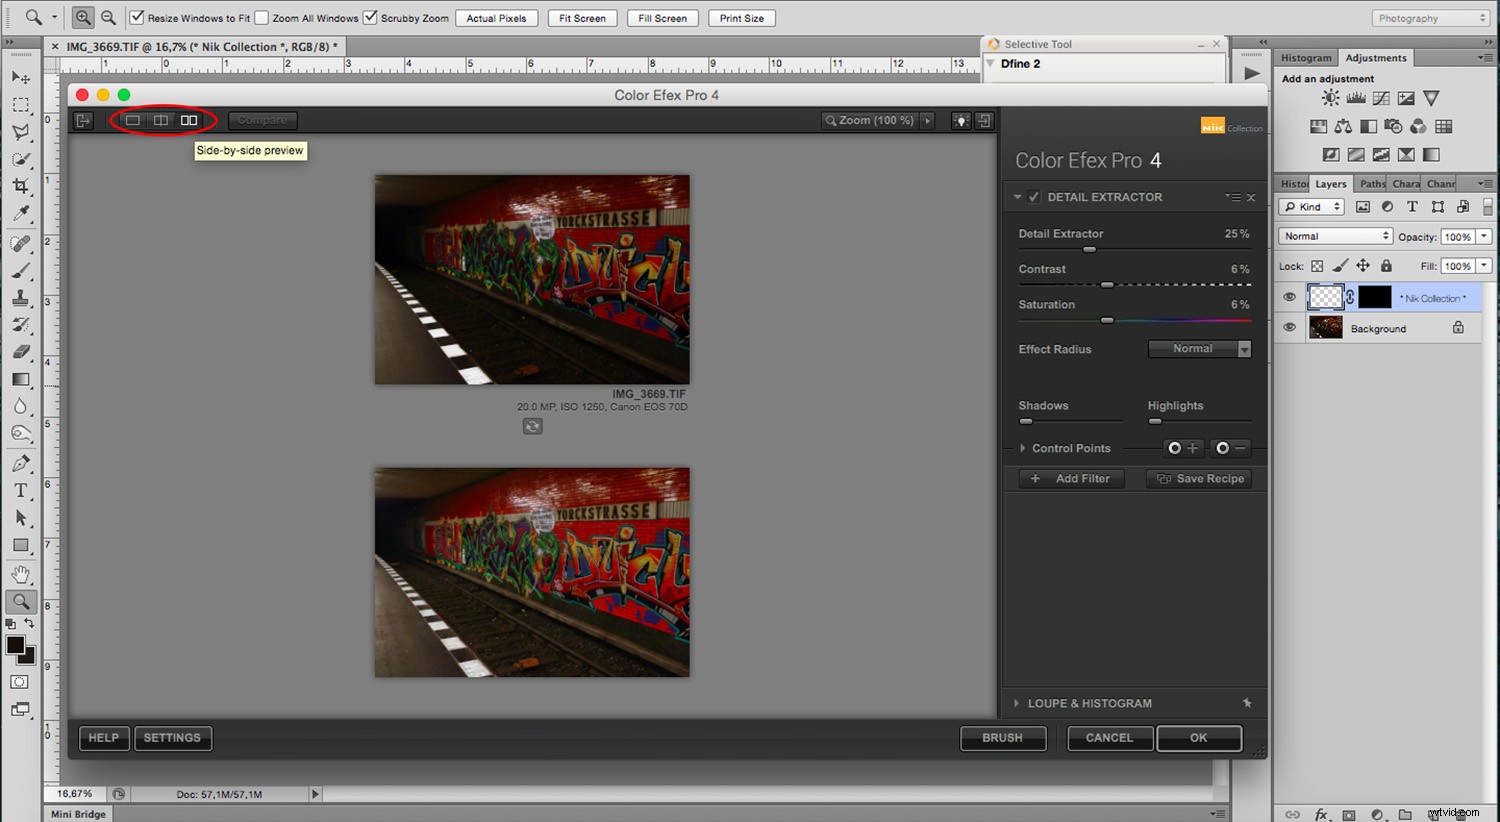
Using the Compare button gives you a side by side comparison or a split image comparison. The two buttons are on top next to the Single View one.
Categories
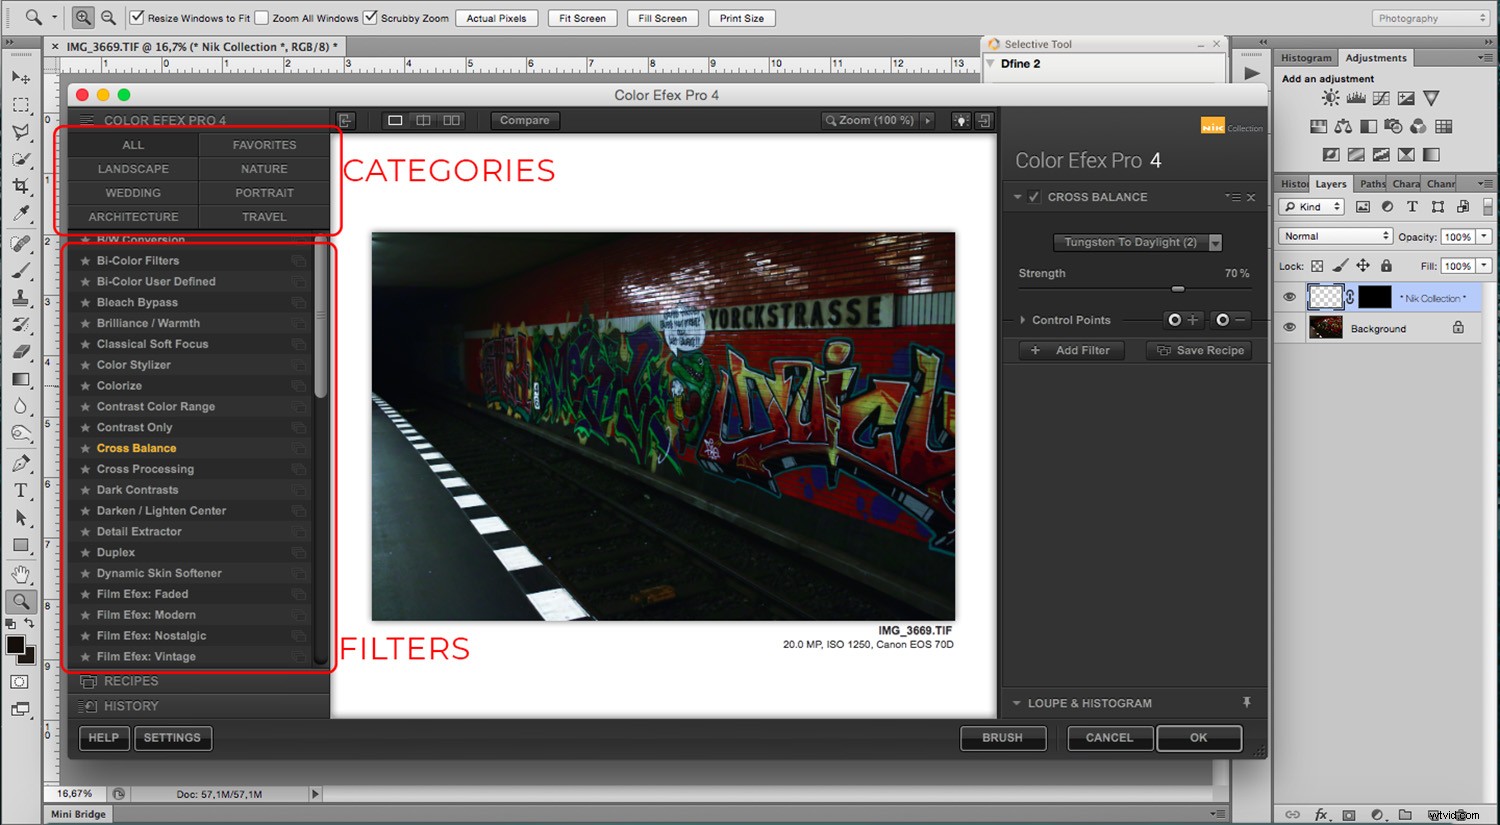
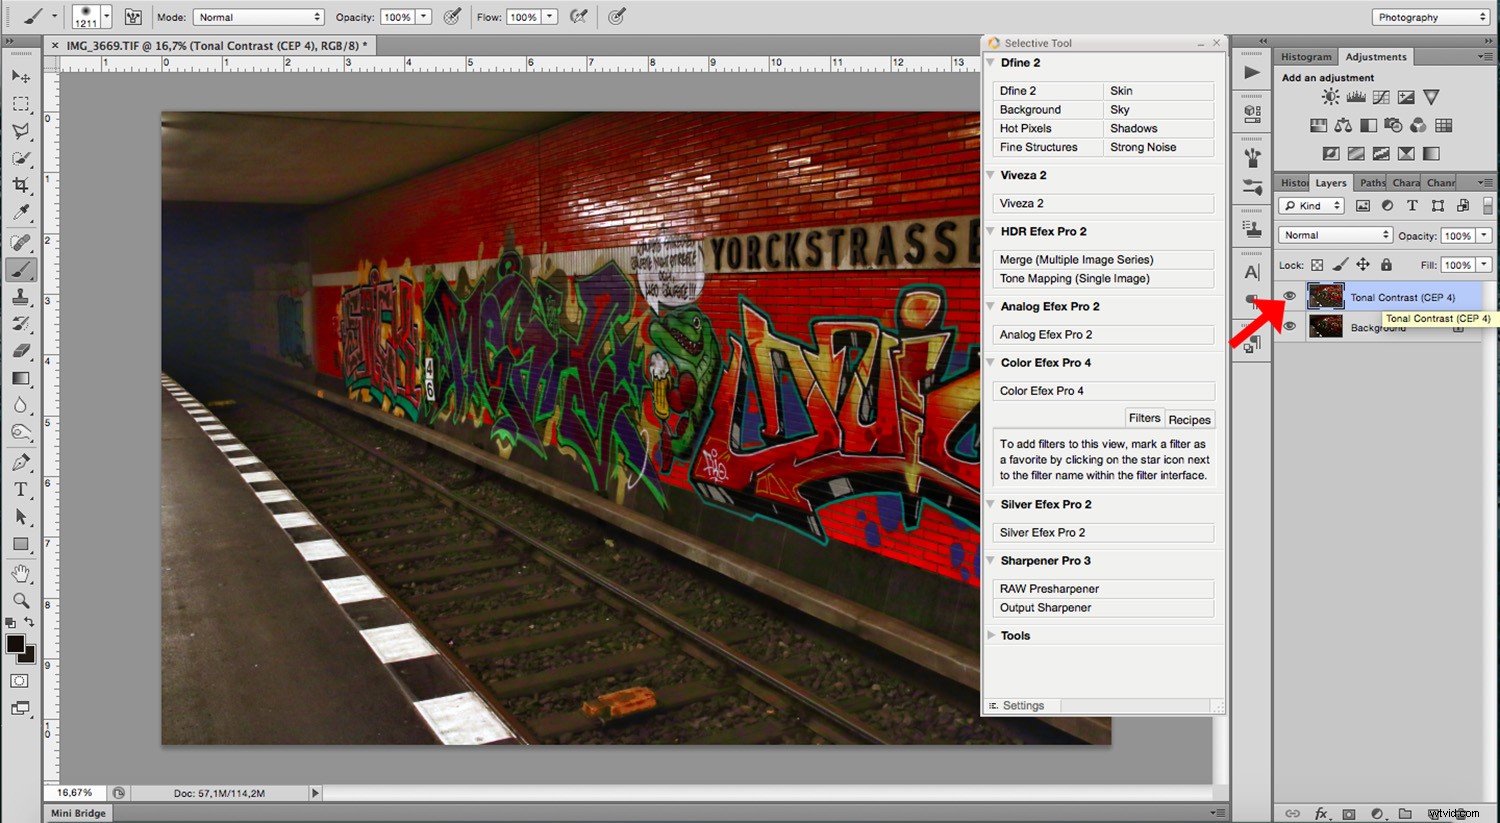
Regarding panels, on the left, you’ll have the available filters when you are in Color Efex Pro, HDR Efex Pro, Analogue Pro, Silver Efex Pro. In this section, you can see all the possible filters or narrow down the choices by category.
Also, in most of them (except Color Efex Pro), you’ll have a thumbnail preview of them.
Recipes
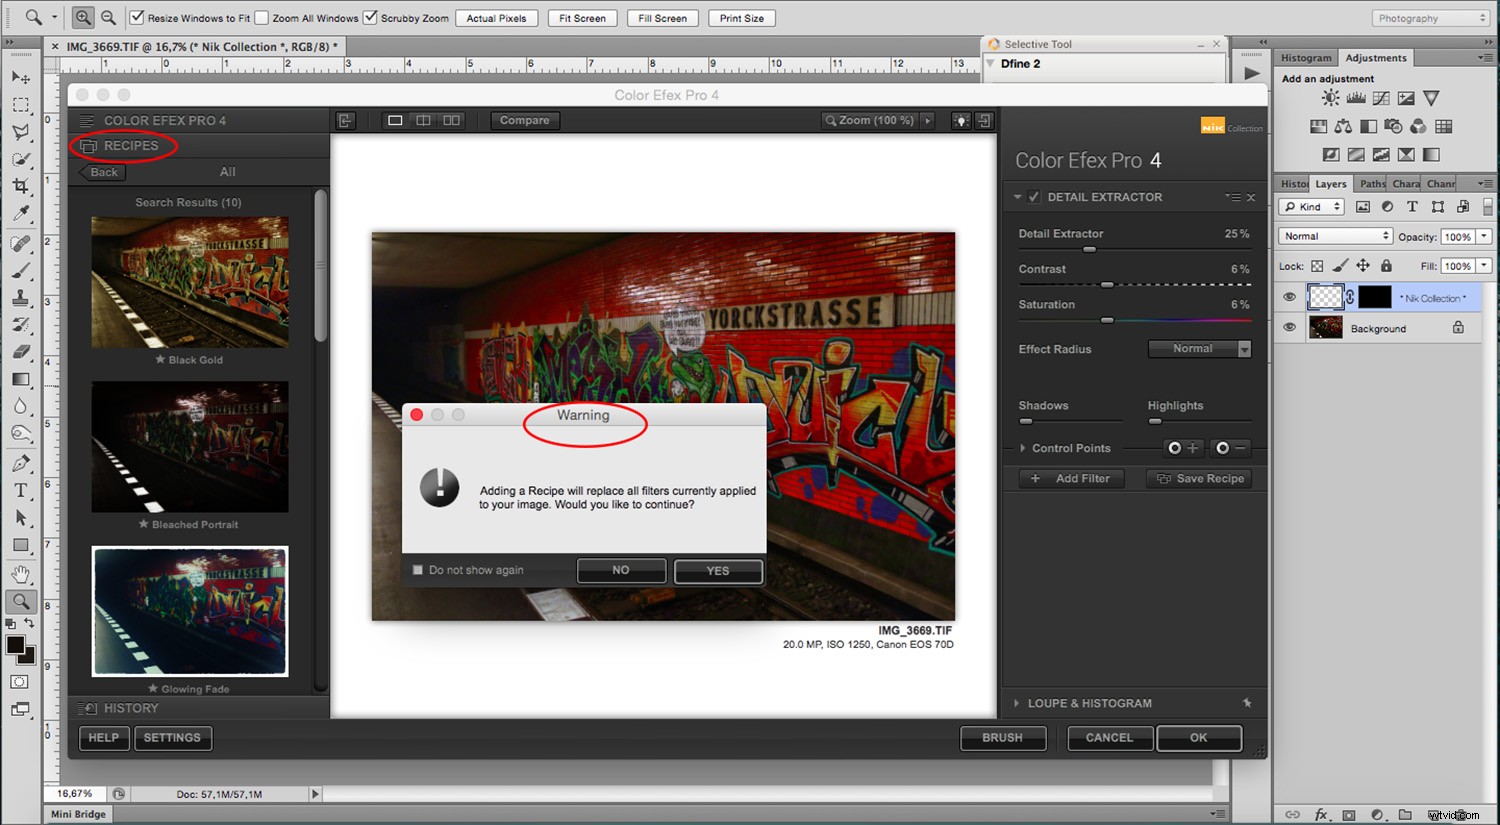
Below the categories and filters, you’ll find the Recipes. Presets and Recipes are a combination of filters that allow you to apply multiple filters and adjustments with one click. These are handy if you’re a beginner and want to have options that are more automized. However, you can create your own so that you can apply the same adjustments to multiple images. It’s a very useful tool.
Be careful not to apply it after you’ve already made some adjustments because they get overwritten by the recipe.
Note: If you change your mind about the recipe or anything else you’ve done, you’ll find the History button at the bottom where you can retrace your steps and go back.
Adjustments
On the right panel, you’ll have all the adjustments to personalize the filter or effect that you’re working on. This is available in all of the filters, but each one has different choices and possibilities.
Finally, when you click OK at the bottom, the changes get applied as a new layer on top of the original image.
Brush
However, if you only want to apply it to specific areas, click on Brush instead of clicking OK. That way, it gets applied as a layer mask. Then you can ‘paint’ the changes onto the desired parts. When you’re done, click Apply on the bottom of the Nik panel.

Conclusion
I hope you feel a bit more confident to start moving around the settings and finding your way into all the potential these filters offer. Remember, you can always go back a step or two when making changes. Also, don’t be afraid of damaging your original file while you learn because any changes are made on a separate layer. Most of all get creative and enjoy.
Have you used the collection? What are your thoughts?
You may also find these articles helpful:
How to Boost Your Creativity with Lightroom Presets
How to Use Import and Export Presets in Lightroom Classic CC
How to Make Creative Lightroom Develop Presets for Portraits