I use Lightroom to prepare the images ready to upload to my blogs so it’s critical that I can get them out of Lightroom all ready to upload without having to do any more work on them. On one blog I use framed images and therein lies a problem – the images need a thin keyline around them so you can see the edge. Without an edge the image would just blend into the surrounding white background of the blog page.
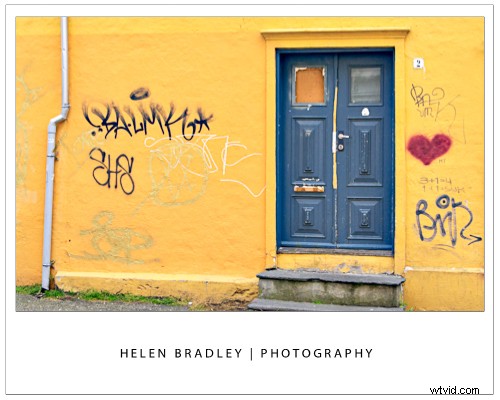
So, here’s how to create a frame effect in Lightroom – the images will be sized for the web with the appropriate resolution, they will have a frame around them, together with my name, and they will have a keyline around the image and around the page itself. And, to finish, it will all be saved as a reusable template.
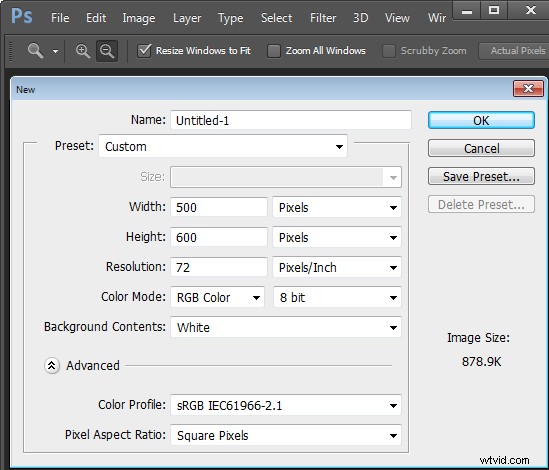
Start outside Lightroom in any graphics or photo-editing program and create an image 500 x 600 pixels in size and filled with white. Save it as a jpeg format image and import it into Lightroom – place it somewhere easy to find.
Then, in Lightroom place the images for the blog post into a collection and add the empty image you just created to the same collection. For convenience I use a single collection for the images destined for my blog – it makes them easier to find and it simplifies the output process.
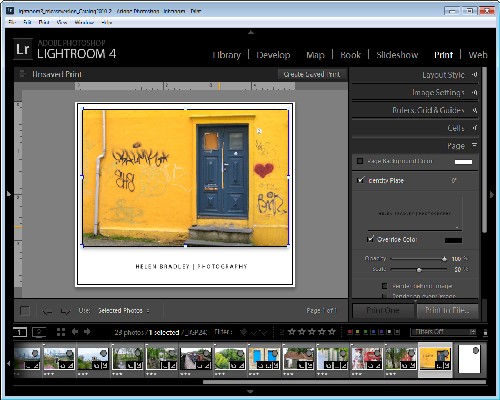
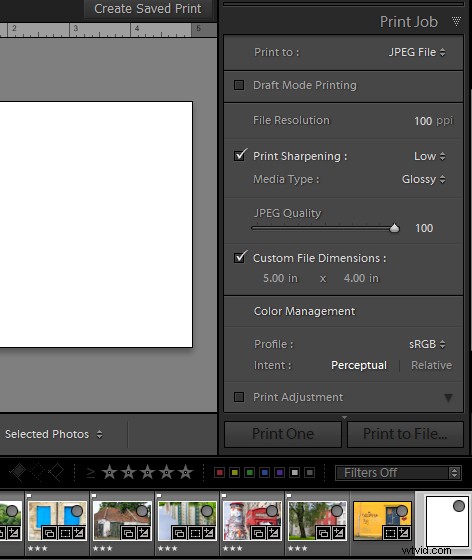
Switch to the Print module and select the collection. To configure the document size, from the Layout Style panel select Custom Package and from the Print Job panel set Print To to read JPEG file. Set the File Resolution to 100 ppi and select the Custom File Dimensions to 5 in x 4 in to make a landscape orientation image which will ultimately be created as a 500 x 400 pixel image. Set Color Management Profile to sRGB.
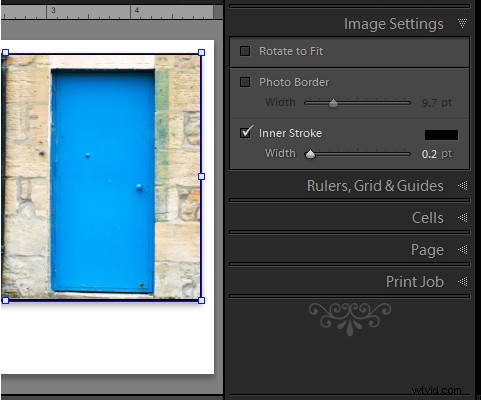
Now, drag and drop the first image into the work area and size it to suit. Choose Image Settings > Inner Stroke and then set the width to 0.2 pt black line. This will appear around the image.
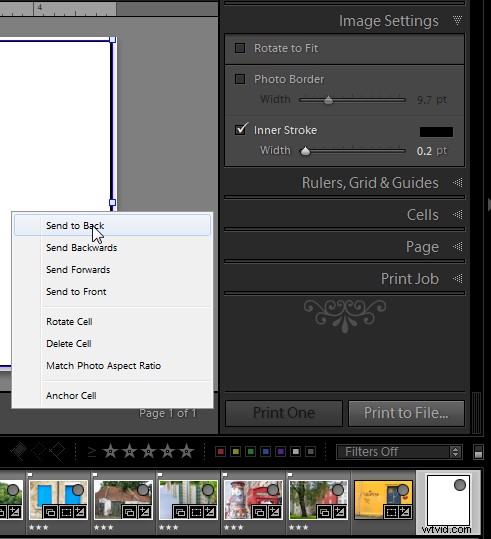
Now drag the empty white image into an empty place in the work area and then size it to just smaller than the size of the work area. It will automatically have a line around it – the Inner Stroke setting is applied to all the images. To place this image behind the first image, right click it and choose Send to Back.
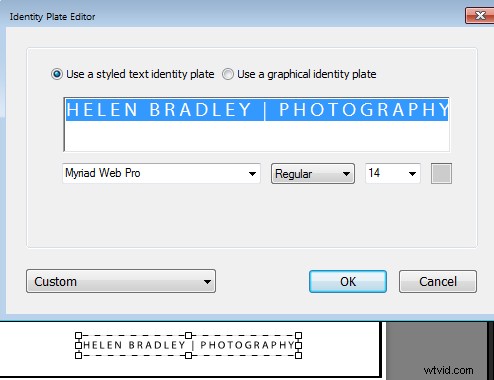
The text is added using an Identity Plate. To make one, click the Page panel and enable the Identity Plate checkbox. Click the small triangle in the Identity Plate box and click Edit and then click Use a styled text identity plate. Type the Identity Plate text – for example, mine reads Helen Bradley | Photography – select and format it as desired. Click the Custom button, click Save As and type a name for it, click Save and then Ok to add it. Move it into position and size it to suit.
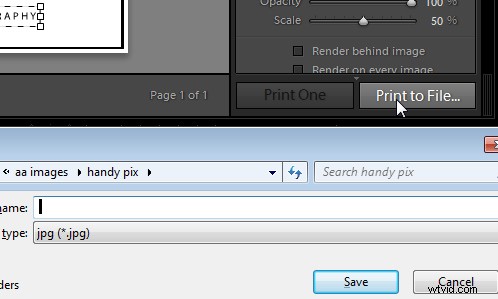
When you’re done click Print to File to print the image.
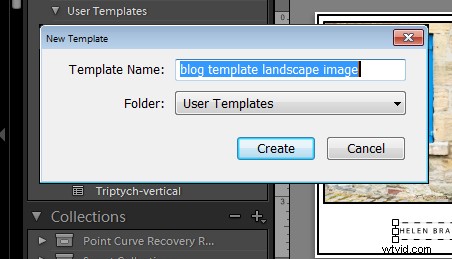
To save the design as a template you can use over and over again, click the + opposite Template Browser in the left panel. Type a name for the template.
In future you can select this template and use it to print another image. Before you do so, you will need to drag and drop an image into the image placeholder and add the empty image to the larger placeholder. If you want to be able to print portrait orientation images, repeat the process to create a second template – you can reuse the empty image and the Identity Plate.