While the official version of Lightroom 4 is not out yet, I feel comfortable pointing out one change that is sure to make it in the final product; the ability to change white balance while using the Gradient Filter or Adjustment Brush. I have been waiting for this feature for a while to help balance scenes with two different light sources. Until now, it has been easiest (at least in Lightroom and not going into Photoshop) to tend toward a blue cast, for instance, by choosing a tungsten or fluorescent light source and gradually backing out the blue by changing the blue saturation. The results were marginal at best and often I went into Photoshop to complete the work anyway.
With the introduction of this ability (along with the option to change Moiré, Noise and Sharpness for the masked area) comes a new level of control and balance that is very welcome. Often the changes I am looking for are broad and can be painted with the Gradient Filter and if a more exacting cleanup is needed, the Adjustment Brush has the same controls. Let me show you how it works in practice.
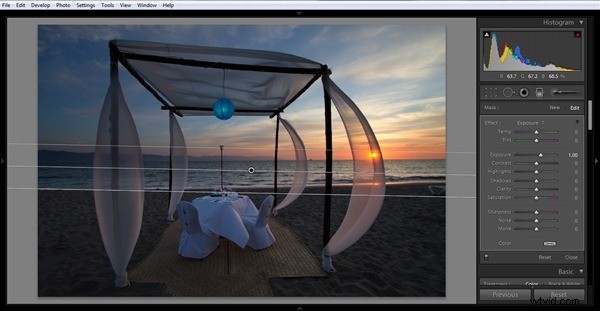
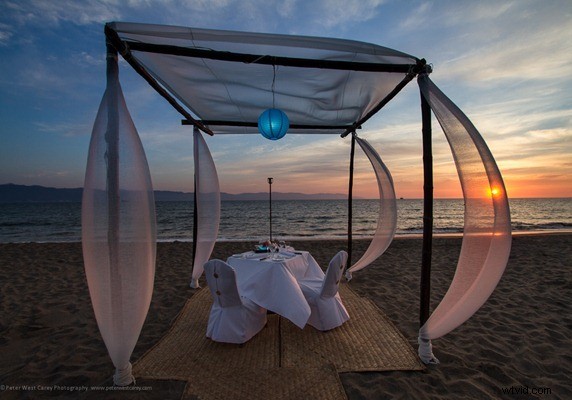
I’ll start with this image of a romantic dinner setting on the beach out front of Velas Vallarta in Puerto Vallarta, Mexico shot last night. (Click on images for larger versions.) This shot was taken with a Canon 7D and Canon EF 10-22mm lens. The settings were ISO 100, 10mm, f/10 and 1/40th of a second. I used a Singh-Ray Daryl Benson ND-3 Reverse Gradient filter to hold the sun’s brightness in check.

The white balance, chosen by the camera at time of shooting is 5150, which works well for the sky and the sun as it sets. I want to preserve that aspect and coloring. But the chairs and table cloth show an obvious tint from the shade light cast on them from reflected sunlight.
What I do next is to open the Gradient Filter tool and choose a transition from bottom to top that just covers the water and fades marginally.
My default is set to increase the Exposure by a stop and this helps with the lighting. So far so good and I like the balance. Now I start to play around with the color temperature. It is the first slider on the right, labeled “Temp”. I want to remove the blue cast and find a good medium. I settle on 81 for the Temperature, a pretty big slide toward yellow (or a higher temperature on the Kelvin scale).
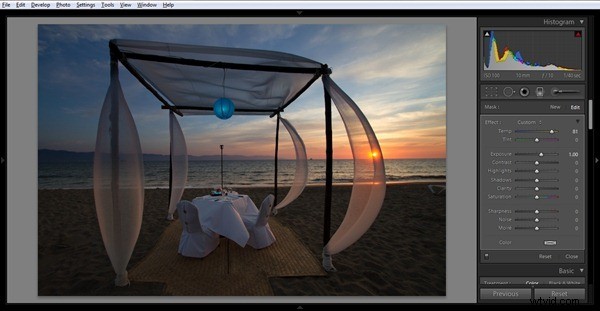
What this has done is warm up the foreground and take away much of the blue cast. The reason I went this route and did not instead change the overall image temperature, is because I wanted to preserve the blue in the sky. Changing the overall image temperature would have removed the blue, which I will later saturate a bit more to match what I saw that evening.
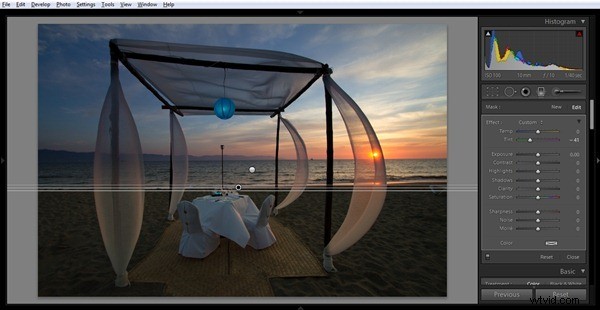
Further, the tint is a little too magenta for my liking. I create a second gradient that is tightly narrowed to the line between the sand and the sea. I do this because when I change the tint for my original gradient, the sea becomes too green. With this second crop, I only adjust the tint to -41 to remove the magenta from the lower half.
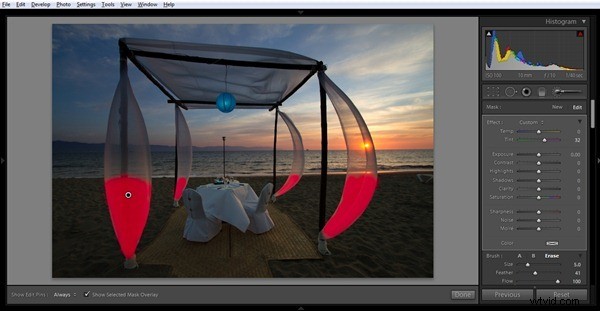
One last step in this temperature and tint realm. Because of that gradient, the silks around the posts have a two tone look; the top is more magenta and the bottom is more green. I want to balance this out. So I switch to the Adjustment Brush and, using the Auto Mask feature, I paint in the bottom halves of the silks and adjust the tint to 32 to balance the scene.
With a few more adjustments to the sky and overall exposure, I end with the final product:
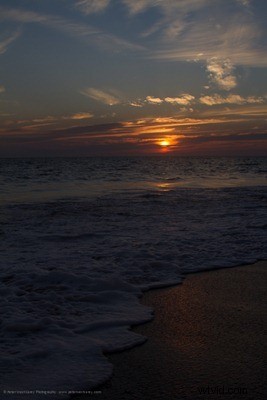
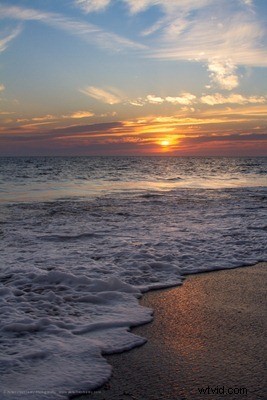
Here is one more example from the previous evening’s sunset. Start:
Add Gradient Filter and some exposure (the blue in the water is now more obvious):
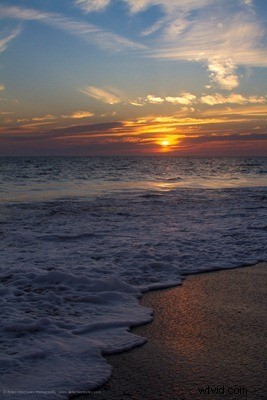
Remove the color cast by adjusting Temp:
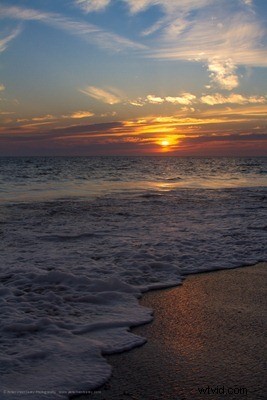
Final image after more adjustments:
It’s one more reason why Lighhtroom 4 is proving to be a useful upgrade from Lightroom 3.
Disclaimer: While Velas Vallarta hosted me for this trip to Puerto Vallarta, I always retain full editorial control over what I post and where. Further disclaimer: No, I didn’t get to eat dinner on the beach at that nice setting, but sure wish I had!