Selecting objects is one of the first skills that both Photoshop hobbyists and professionals learn. You can crop, cut, and paste images within a photograph or picture to create a brand new work of art. However, it can be a challenge to select objects with an elaborate border, such as a head full of hair, or the branches of a tree.
The Refine Edge Tool helps you select and fine-tune the selection that you make so that you get the most accurate outline possible when working. If you see background noise around an object, learning to refine edge in Photoshop to pick and choose what you want to include.
Step for How to Refine Edge Using Photoshop
Photo by Herr eL, (CC BY-SA 4.0)
Learning to refine edge in Photoshop is easy for people of all skill levels, including beginners. If you’re learning to refine edge for the first time, it’s best to practice to refine edge with simple images that have a smooth, uniform background.
In just a few simple steps, you can create an accurate outline of any object in an image with the refine edge tool.
Preparing Your Picture
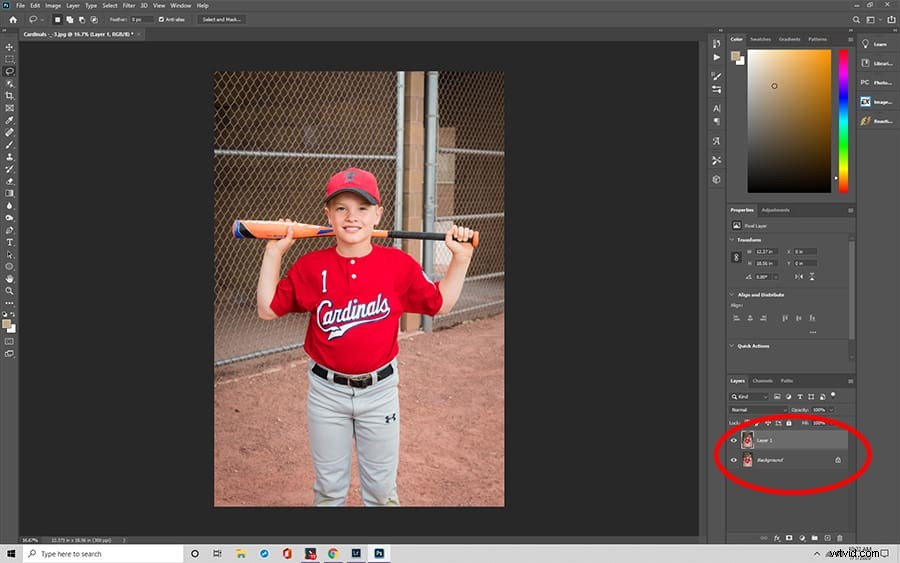
As with any Photoshop project, the first step before trying out the Refine Edge Tool should always be to make a duplicate layer of your starting image. This way, you don’t risk accidentally altering your reference piece during the creative process.
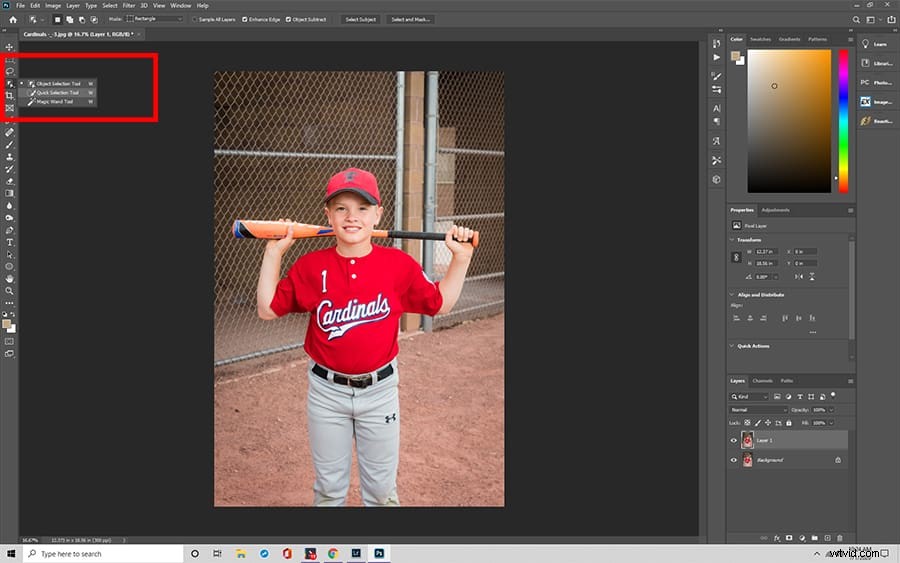
Once you’ve chosen your duplicate layer, you can make your selection. The standard Object Selection Tool allows you to manually select points around the border of an object to create an outline.
The Magic Wand Tool, on the other hand, does the job for you with a single click by analyzing similar tones and contrast. You can also use the Quick Selection Tool to click and drag over an object.
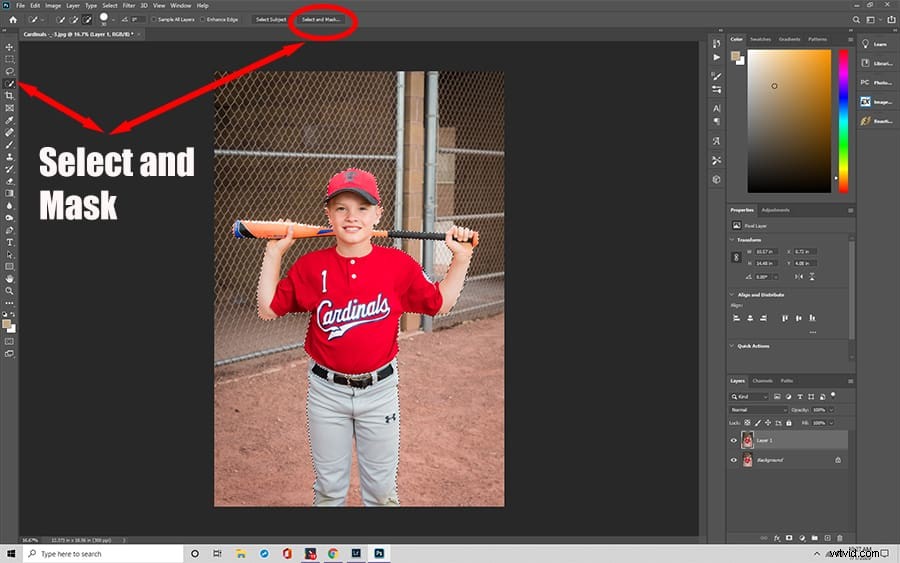
Select and Mask Tool
You’ll find countless options for refining the outline of your selection when you open the Select and Mask Tool window. With Select and Mask, you can control your brush with several adjustment sliders that can be found in the Properties Tab.
Edit Your Image with the Sliders
Understanding what the different sliders do will help you get more precise results.
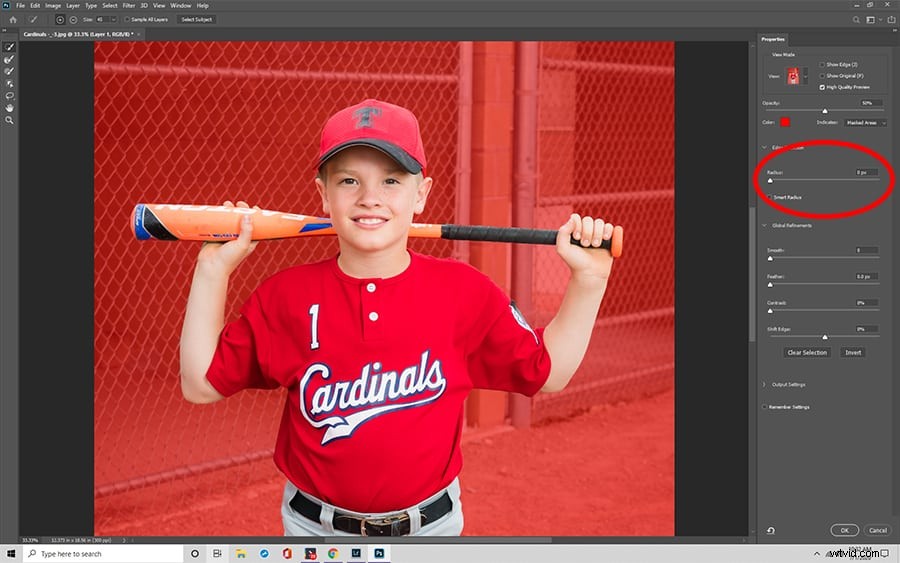
The Radius Slider
This slider determines the size of your brush. It’s measured in pixels, telling you exactly how many will be included when you make any manual changes. For detailed work, it’s best to stay low on the Radius Slider for a more accurate selection.
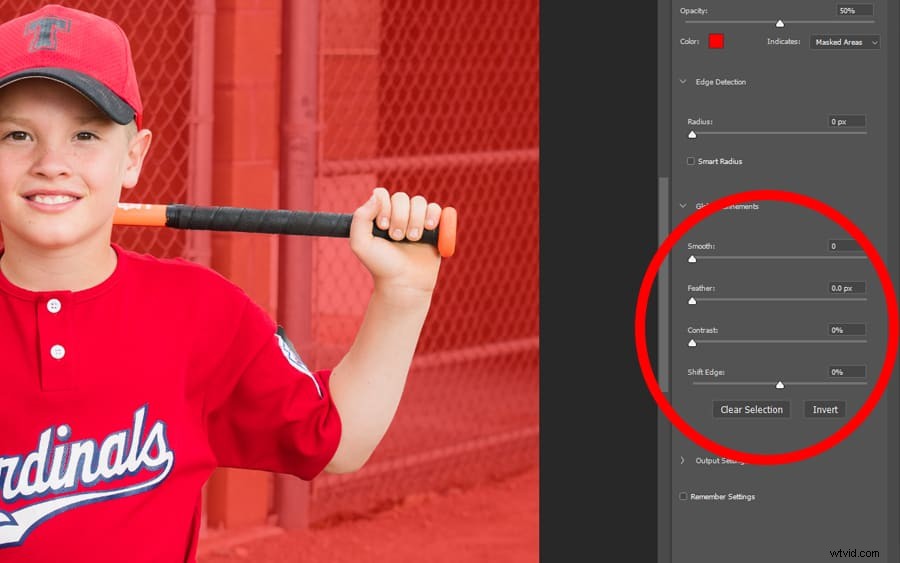
The Smooth Slider
If you’re worried you might make jagged lines that will distract from your work, the Smooth Slider helps to smooth along the border of any selection. It can smooth away small imperfections such as flyaway hairs on models or errant twigs and leaves on landscape photography.

The Feather Slider
The Feather Slider is similar to the smoothing option. Instead of removing jagged lines, this tool softens them to help an object blend better with its background. In general, this slider should be kept low unless you’re using it for artistic effect.
The Contrast Slider
The Contrast Slider works in direct opposition to the Smooth Slider. Instead of helping barriers to blend, it creates stronger, more defined boundaries between different objects. This slider is often used to help sharpen objects within an image.
The Shift Edge Slider
This slider allows you to resize a selection to fit a particular image. No matter how big or small an object might be, this slider is set to zero automatically. If you lower the value, your selection will shrink, whereas raising it will expand the image.
Complete Your Selection
Once you have your sliders in place, you can begin the process of refining your edges. Simply brush over the areas that concern you, moving sliders around as needed to get the desired effect. If you’re having trouble getting the accuracy that you want, try checking the Decontaminate Colors box. Doing this recolors errant pixels around an object to create a clean and crisp final appearance.
Add the Final Touches
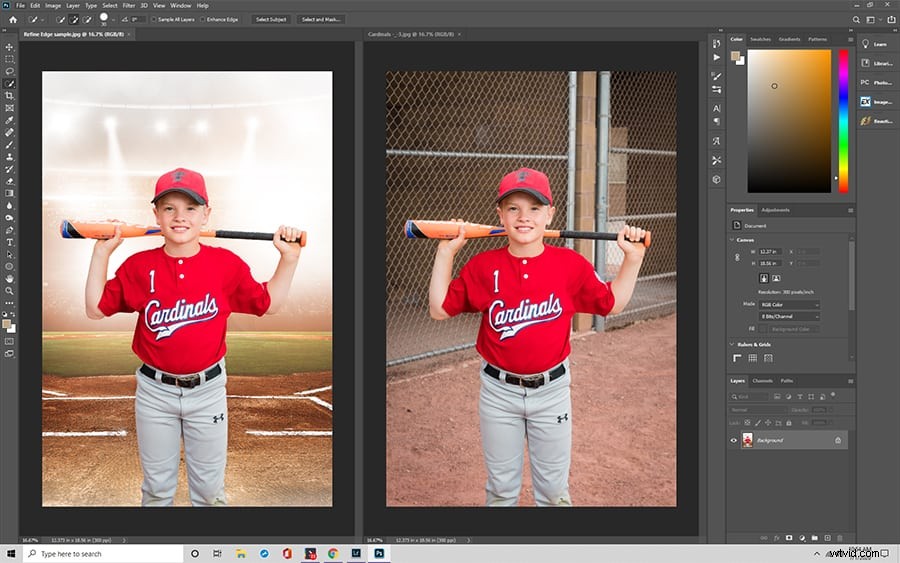
When you’re happy with your selection after you use the Refine Edge Tool, you can finally move onto the next step. You can finalize your piece by choosing one of Photoshop’s output selection, including choosing a New Layer with Layer Mask. Choosing a new layer with Layer Mask allows you to safely edit your image from a duplicate layer.
Often, people choose to place an object onto a different background image with Layer Mask. You can fill in a background layer with a solid color or a static image and then overlay the selection layer on top to create a brand new look using Layer Mask. If you notice any transparent pixels, a dark, solid background is a good way to spot them and fill them in with color.
Once you’re done, you can save your image or export it, allowing you to use it in digital presentations and publish it on the web. You can also easily send images to yourself and others using an email address.
Finding the Refine Edge Tool
Newer versions of Photoshop CC have largely replaced the Refine Edge Tool from previous iterations with a newer version of the workspace. However, you can still access the old dialogue box, even in versions as recent as Photoshop CC 2019.
First, select your object as you normally would using the Pen Tool. Then, hold down the shift key as you go to the top menu. Under the Select option, click on Select and Mask. This will bring up the Refine Edge Tool window instead, including all of the same features and sliders to help you perfect your piece.
Additional Questions
Here are some common questions users have about the Refine Edge Tool.
- Where is the Refine Edge tool in Photoshop?
You can find the Refine Edge tool in Photoshop CC on the left properties panel. You can also right-click to select the option or press the “Ctrl+Alt+R” hotkeys on your keyboard.
- Why don’t I have Refine Edge on my Photoshop?
It can be harder to find the tool in newer versions of the program such as Photoshop CC in 2019. Since 2015, the feature has been moved to the Select and Mask window.