Here’s our step by step directions for How to Install Lightroom CC Mobile Presets!
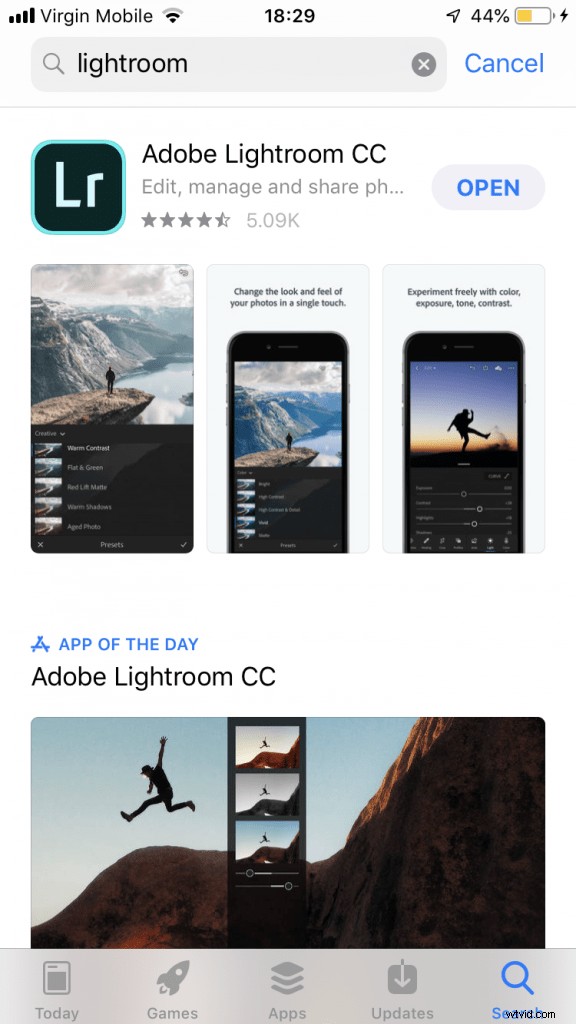
Step 1: Make sure you download the Adobe Lightroom CC Mobile App to your phone!
This is obviously the essential step before downloading your presets! This means you can actually install them to Lightroom itself! Once downloaded, it will ask you for your user name and password. This is the same user name and password as your desktop Lightroom account through Adobe!
IMPORTANT NOTE PLEASE READ: Since NOT everyone will be using the same device with the same browser there’s a chance that one of the next steps will look different for you or you will not get the “open with Lightroom” option. Please note that the .dng files with the preset names are ACTUAL image files that already have the preset applied to them. Which basically means, no matter what, you just need to DOWNLOAD the dng image file to your phone and then open up Lightroom app and then add that photo into your Lightroom. Once it is inside of your Lightroom app, you can continue with the instructions from step 4 below and onward!
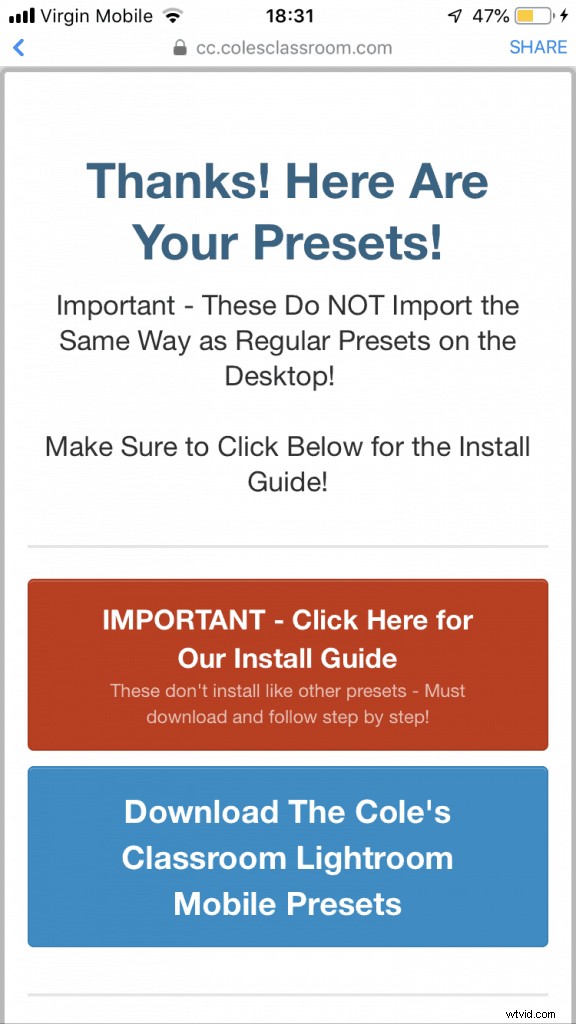
Step 2: Click on the download link given to you after you made your purchase.
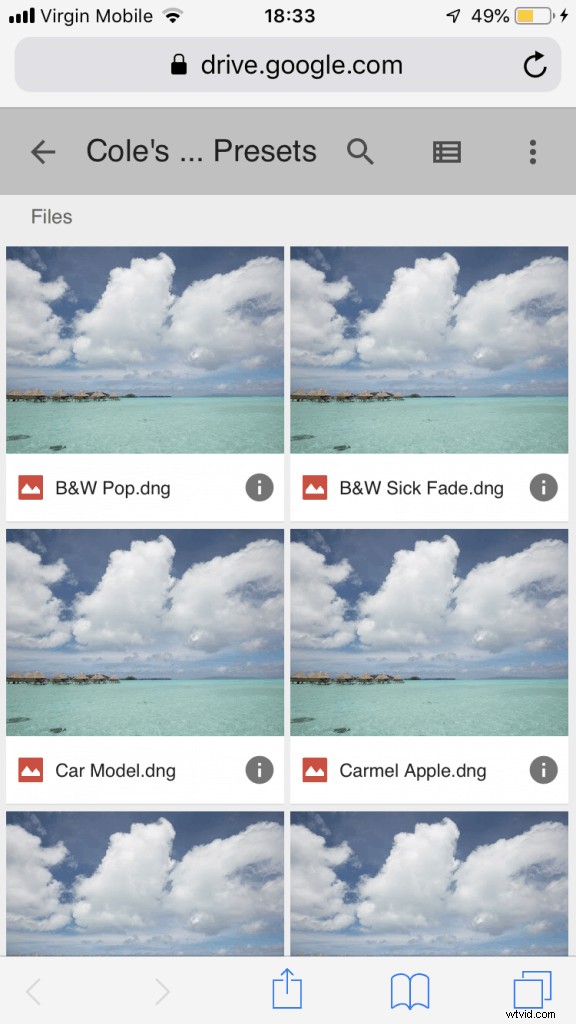
This will open a Google Drive folder with all of the presets. Make sure you open this in a NEW TAB!
You’ll then see all the presets, which will look like this…
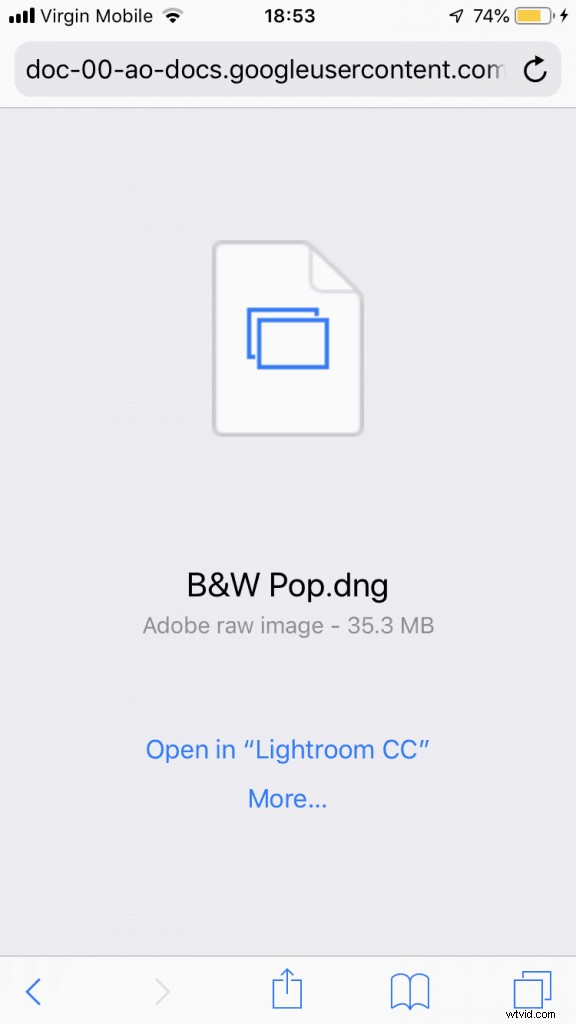
Step 3: Open the first preset, and select the option “Open in Lightroom CC”
Troubleshooting Note:
- If you’re seeing a blank screen, make sure to copy and paste the link into a NEW BROWSER TAB. This should be a simple fix!
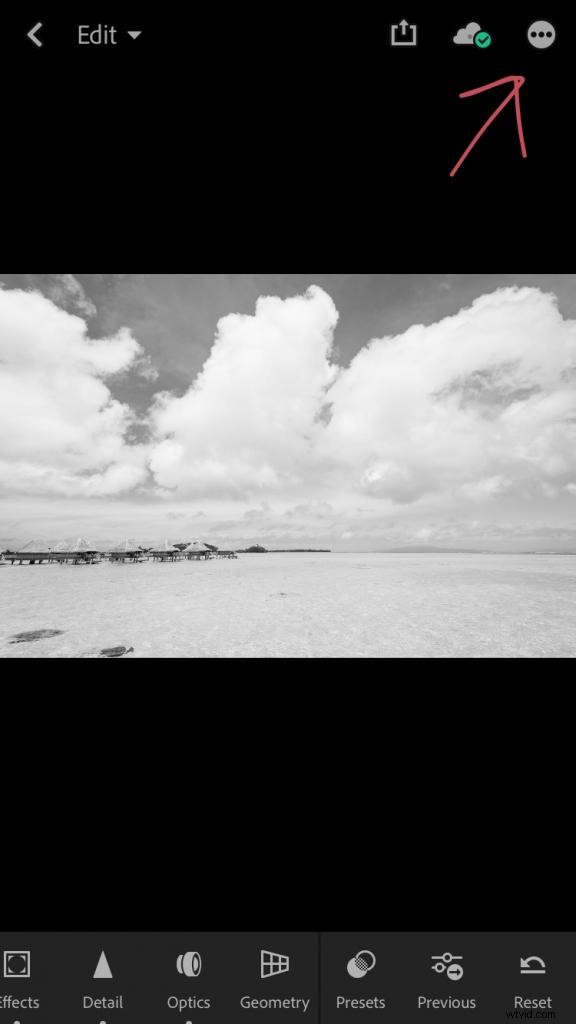
Step 4: Click on the top right corner where you see a circle with three small dots inside.
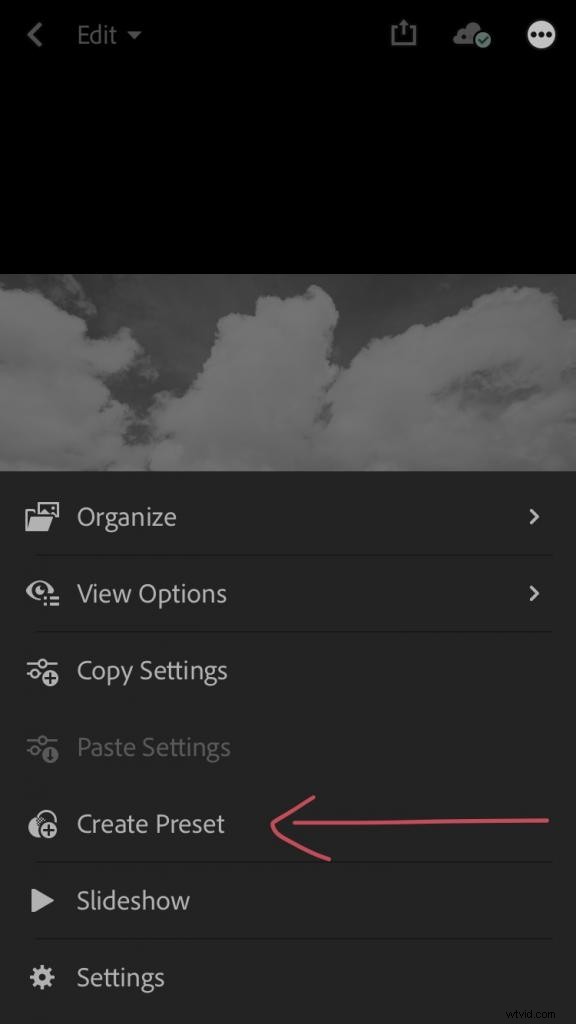
Step 5: Select the “Create Preset” option and then title the preset the given name. Make sure all the blue check marks are selected. Then save by clicking on the check mark at the top right-hand corner.
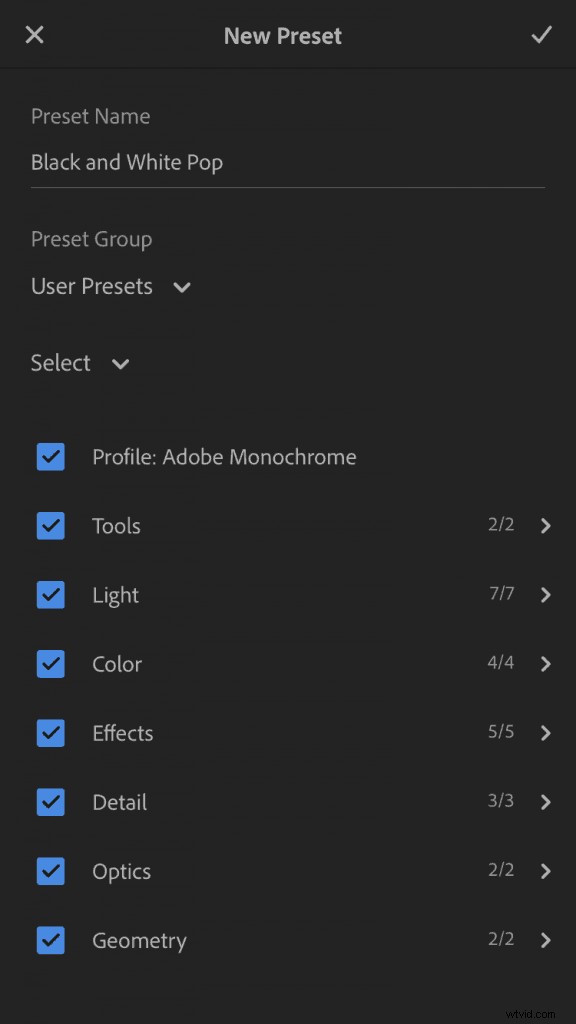
Note: If you get a message saying “some presets are incompatible with this version of Lightroom” just acknowledge and tell it to not remind you. There is nothing wrong with the presets as we’ve tested them thoroughly 🙂
Step 6: Repeat steps 3-5 until all presets are downloaded to your “User Presets” folder.
Step 7: Import your own photos by selecting the icon that shows the blue photo with a little + sign.
Watch our video tutorial here!