Do you want to cut videos on Linux but feel overwhelmed by terminal commands and package managers? Linux can be daunting for newcomers, especially those transitioning from Windows or macOS. The good news is that trimming and cutting videos on Linux is easier than you think. In this guide, we’ll walk you through installing a top‑rated, lightweight video cutter and introduce a more advanced editor that adds cropping and other features.
In this article
- Why finding a video cutter on Linux can be challenging
- Introducing VidCutter – the lightweight, free solution
- Installation methods: Snap, PPA, and Flatpak
- Using VidCutter to trim, cut, and merge
- When you need more: Filmora via Wine
- Conclusion and next steps
Finding Software for Cutting Videos on Linux Can Be Challenging
Discovering the right video editing tool on a Linux distro often involves sifting through the Snap Store, PPA repositories, or Flatpak libraries. Some applications are outdated, while others carry security warnings. Moreover, many premium editors are Windows‑ or macOS‑only, forcing Linux users to rely on compatibility layers or workarounds. Thankfully, you no longer have to navigate this maze alone – we’ve highlighted the fastest, most reliable options.
Introducing VidCutter for Cutting Videos on Linux
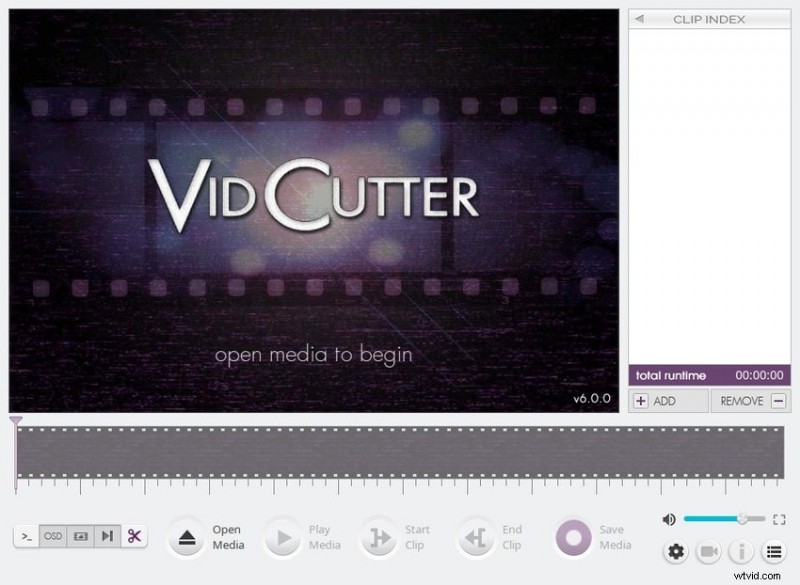
VidCutter is a free, open‑source tool that lets you trim, cut, and merge video clips without re‑encoding. Available on all major Linux distributions – as well as Windows and older macOS releases – it delivers a responsive, lightweight experience (under 200 MB download). Powered by FFmpeg, MediaInfo, libmpv, and Qt5, VidCutter offers a clean interface that’s ideal for quick edits.
Primary Features of VidCutter
- Trim videos using an interactive timeline and thumbnail preview.
- Cut, reorder, and merge multiple segments without quality loss.
- Enable SmartCut for frame‑accurate encoding at keyframes.
- Manage audio streams, subtitles, and other media tracks.
- BlackDetect filter for automatic scene‑change detection.
- OpenGL rendering via libmpv for hardware‑accelerated playback.
- Support for a wide range of formats: AVI, FLV, MKV, MOV, MP4, MPEG, WMV, 3GP, etc.
While VidCutter preserves the original file’s format, this limitation is outweighed by its ease of use and reliability.
How to Install VidCutter on Linux
You can install VidCutter using one of three methods: Snap, PPA, or Flatpak. Each offers a slightly different workflow, so choose the one that fits your distro and preference.
Method 1: Use the Snap Manager
Snap is pre‑installed on most Ubuntu‑based systems and provides automatic updates.
- Open a terminal and run:
sudo apt updateto refresh repositories. - Install Snap’s daemon with:
sudo apt install snapd. - Finally, install VidCutter:
sudo snap install vidcutter.
Method 2: Add a PPA Repository
PPAs give you direct access to the latest developer builds.
- Execute:
sudo add-apt-repository ppa:ozmartian/appsto add the official PPA. - Refresh packages:
sudo apt update. - Install VidCutter:
sudo apt install vidcutter.
Method 3: Use Flatpak
Flatpak works across all Linux distributions and even ChromeOS.
- Install Flatpak:
sudo apt install flatpak -y. - Add Flathub as a remote:
sudo flatpak remote-add --if-not-exists flathub https://flathub.org/repo/flathub.flatpakrepo. - Install VidCutter:
flatpak install flathub com.ozmartians.VidCutter -y(no sudo needed).
How to Trim and Cut Videos on Linux Using VidCutter
Below is a step‑by‑step walkthrough that works on any Linux distro.
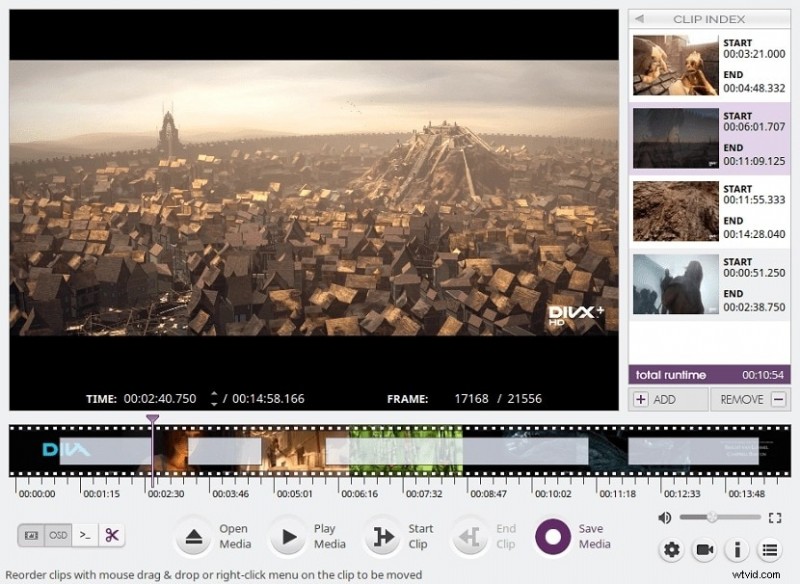
- Launch VidCutter and click Open Media (or drag a file into the window). Move the playhead to where you want the clip to start and press Start Clip.
- Move the playhead to the desired end point and press End Clip. Repeat for multiple segments and reorder them in the Clip Index via drag‑and‑drop.
- Play the preview to confirm the selection, then click Save Media and choose the destination folder and file name.
- If you made several cuts, VidCutter merges them into a single output file. After the success message, click Play to open the result in your default player.
Bonus: Advanced Cutting, Trimming, and Cropping with Filmora via Wine
VidCutter is perfect for quick edits, but if you need cropping, zoom, or AI‑powered effects, consider Filmora. Though it’s a Windows/macOS app, Wine or PlayOnLinux lets you run it on Linux.
- Install Wine from the WineHQ repository following their detailed terminal instructions.
- Download Filmora’s installer and launch it with Wine.
- Once installed, open Filmora, create a new project, and import your video.
- Drag the clip onto the timeline. Use the Scissors button to split, then Export Selected Clips for each segment.
- For trimming, use the Player panel’s Mark In/Out and then export.
- To crop or zoom, right‑click the clip, select Crop & Zoom, choose an aspect ratio (e.g., 16:9 for YouTube), or set a custom frame, then apply and export.
Conclusion
VidCutter offers a reliable, no‑re‑encode solution for trimming, cutting, and merging on Ubuntu, Debian, Mint, Fedora, Arch, Manjaro, and more. For those who crave a full suite of editing tools—including cropping, overlays, speed ramps, and AI enhancements—Filmora, accessed through Wine, is a compelling choice. Both options keep your workflow efficient, secure, and up to date. Try VidCutter for quick edits and upgrade to Filmora when your projects demand more sophistication.