White balancing video footage is crucial to make it consistent between sequences of edits you are putting together. However, adjusting it by hand using color wheels can be quite cumbersome especially for those who don’t see colors all that well. Using DaVinci Resolve 14 beta you can, however, make this adjustment incredibly fast and easily. Let’s see how with Dave Andrade from The Post Color Blog.
DaVinci Resolve is without a doubt the industry standard for video color grading. It offers so much that sometimes we forget the most simple things such as the white balance assisting tools. There are multiple ways of adjusting your white balance.
The first and most obvious is using the white balance picker. It can be found in the Color editing tab right below the Color Wheels. Press on it, and then move your cursor to any zone that should be neutral on your image. By neutral, I mean any area that shouldn’t have any color (white, black, or gray). Click and let DaVinci Resolve do the color correction work for you.
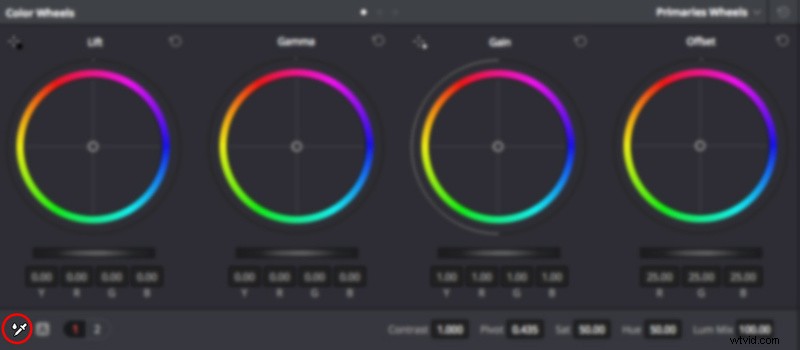
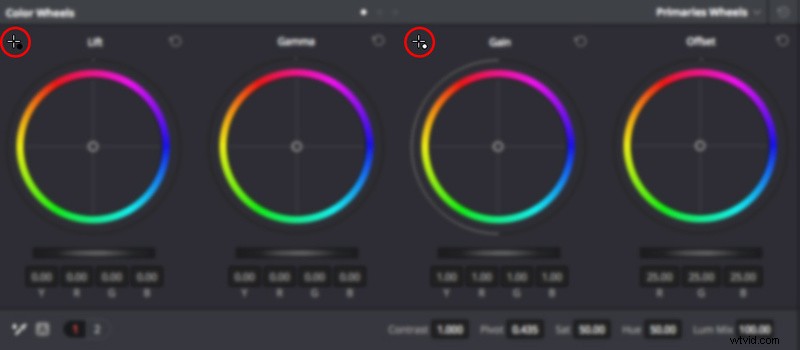
Sometimes, the color cast is in either the shadow or highlights, but not on the whole image. Or you may want to also adjust the contrast of the image by setting a pure white and pure black point. To achieve this, in the Color Wheels tool you can use the Black Point and White Point pickers. They are located right above the Lift and Gain wheels (it works similarly if you use Primaries Bars or Log). Select what point you want to adjust and then, just like with the white balance picker, move the cursor to your footage and click on the point that should be pure black or white, depending on what picker you are using. Resolve will then adjust the color wheel accordingly.
There's nothing more complicated than that. It’s always handy to have such simple features that can make our work easier. Starting with properly balanced sequences that don’t have any color cast and have a similar black and white point can make a whole world of a difference. Color grading a full edit when each clip is color balanced differently is a real pain, so don’t forget to color correct it beforehand.
For more tips and tricks on how to grade your footage, be sure to check The Post Color Blog YouTube channel.