What is exposure compensation and how can this important feature on your camera help you capture important detail in difficult lighting?
This is one of the questions we often hear from new photographers, and in this quick guide we hope to demystify to one of your camera’s most powerful tools and give you the confidence you need to use it in any situation.
Sometimes it’s not always possible find a metering mode that will give you the exposure you need for the image you want to take. In these situations your camera’s Exposure Compensation tool can be a godsend, as it bypasses your camera’s meter reading to to help you achieve your desired exposure.
When to use exposure compensation
You will need to employ your Exposure Compensation control when the scene you’re trying to shoot doesn’t conform to the mid-grey average from which your camera’s metering modes are trying to make an exposure.
So what’s that mean in practice? Here’s a real world example.
Say you’re shooting a scene that consists mostly of light tones, such as a snowy winter landscape. A scene like this will often confuse your camera’s metering modes.
To capture this scene as you’d like to see it – accurate colours and detail in the highlights – you’re probably going to need to dial in exposure compensation of +1 or +2EV.
Conversely, subjects or scenes that are comprised of mostly darker tones will need a bit of negative exposure compensation applied.
SEE MORE: How to use spot metering for more accurate exposures
How to set exposure compensation?
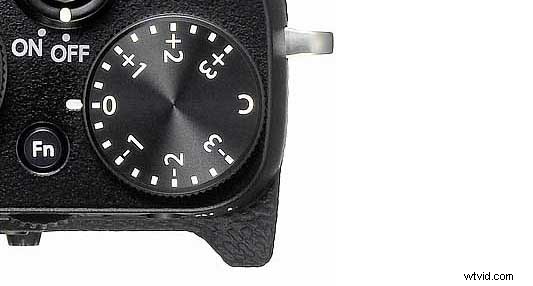
On most cameras these days you’ll see a direct control for exposure compensation. On some cameras, such as Fuji’s X-series, you’ll see a dedicated exposure compensation dial on the top plate.
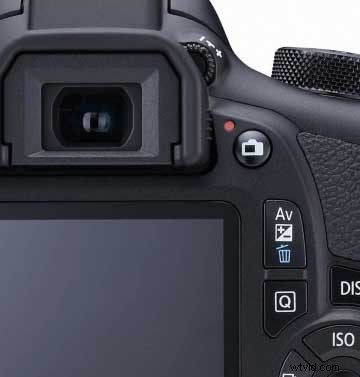
On other cameras, the button associated with this tool will be marked ‘+/-‘, and typically when you press it you’ll see the exposure compensation scale appear on your camera’s LCD screen.
A good rule of thumb to remember is that pushing the scale to the right increases exposure and makes your images brighter.
Pushing the exposure compensation scale to the left decreases exposure and makes your photos darker.
To put it in real terms, an exposure compensation setting of +1EV gives you one stop more exposure, which allows twice as much light reach the sensor. An exposure compensation setting of +2EV quadruples the amount of light that enters.
Depending on your camera’s display, the amount of positive or negative exposure compensation you dial in will be shown on your camera’s LCD screen, as well as in the viewfinder.
It’s also worth noting that you can access your exposure compensation feature via your camera’s menu system.
And once you’ve dialled in exposure compensations, it’s worth reviewing the resulting image in your histogram. Based on what we said above about right – bright and left – dark, you’ll be able to see quite quickly where your exposure has gone wrong. You can then re-shoot it to achieve the effect you’re after.
In our opinion, the easiest way to correct an exposure is to repeat the same settings you dialled in the last time (ie the same exposure and metering modes) – however this time add some exposure compensation to fine tune the image.
SEE MORE: What is manual exposure: 7 ways to get off auto mode
What are some common subjects that need exposure compensation?
01 Silhouettes
They key to striking silhouettes is to get your shadow areas strong and dark. So when you’re shooting into the light, try dialling in exposure compensation of around -1.5EV.
02 Translucent subjects
To get the full effect when shooting things like leaves and stained-glass windows you’ll want increased saturation. And you’ll get these heavier tones by setting your exposure compensation to around -0.5EV.
03 Bright whites
Subjects that are white or very bright will need an increased exposure. So in these instances dial your exposure compensation up to +1EV.
04 Interior windows
If you’re aiming your camera at a window from within an interior, the light on the glass can confuse your camera’s light meter. For an accurate exposure, set an exposure compensation of about +1.5 stop and this will give you much-needed detail in the room.
READ MORE
What is off-camera flash: explain it like I’m 5
What is a histogram in photography? Common questions answered
Save