Are you looking to add shapes other than a boring old circle or square to your designs? You can add a ton of Photoshop custom shapes to your photos.
In this article, I’ll even show you how to make your own custom Photoshop shapes.
How to Use the Custom Shape Tool in Photoshop
Let’s add a standard Photoshop Custom Shape first.
1. Add a Custom Shape
Usually, the Photoshop Custom Shape tool is hidden behind the Rectangle tool in the toolbar on the left.
Click and hold the Rectangle tool. This will reveal other shapes.
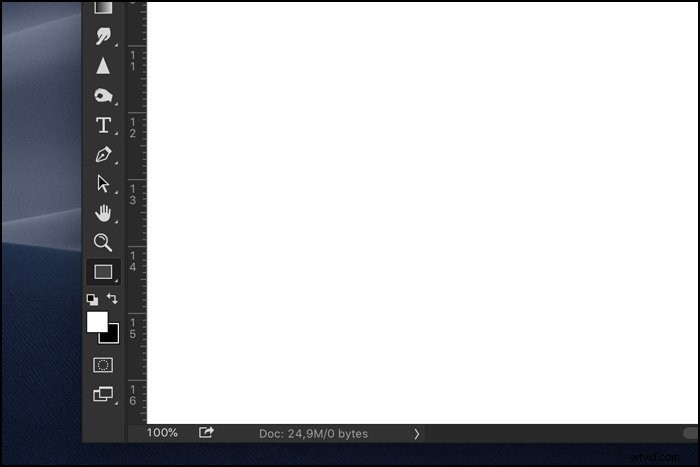
Select the Custom Shape tool.
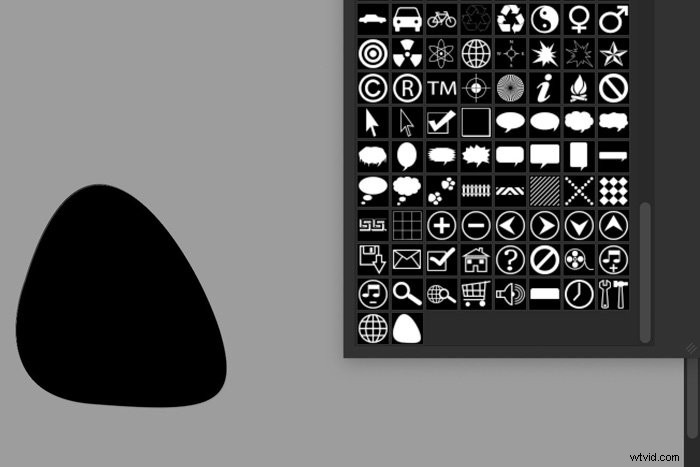
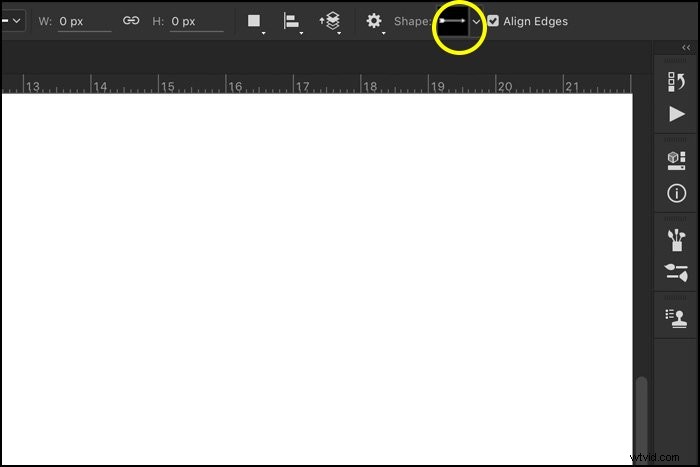
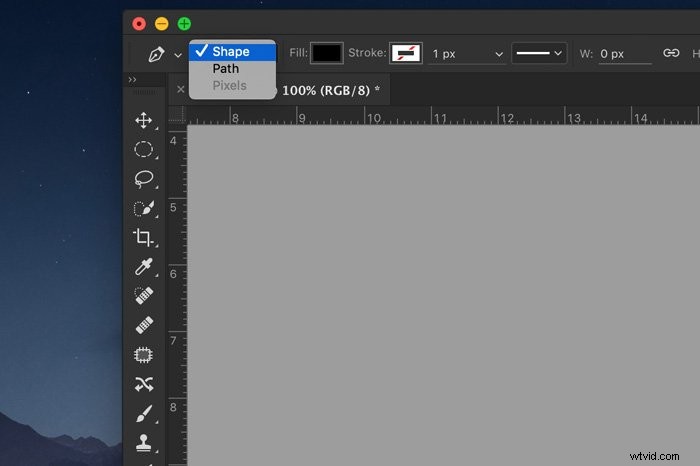
Make sure the tool is set on “Shape”. Open the Shape dropdown menu.
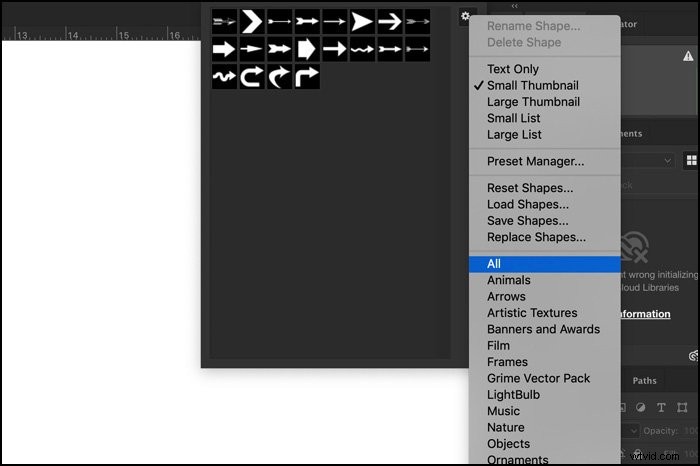
Open the menu by clicking on the cogwheel and choose “All”. Now you can see all the Custom Shapes available in Photoshop.
Pick a shape and click and drag anywhere in your workspace to add the custom shape. Hold the Shift key to constrain proportions.

2. Change Color
Double-click on the shape layer thumbnail. This will open the Color Picker window.
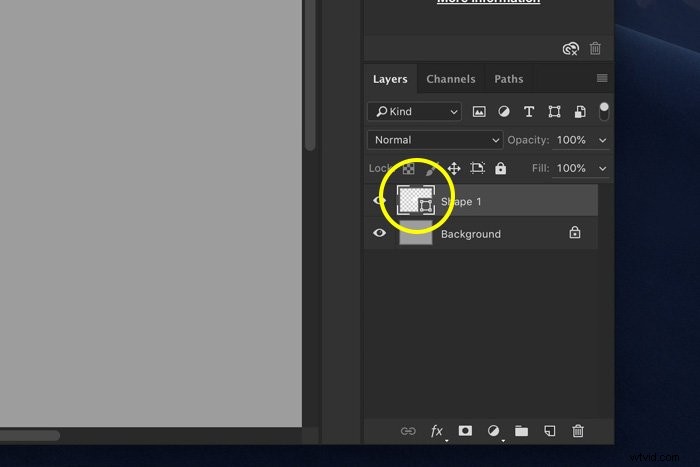
Select a color and click OK.

3. Move and Resize
You can move the shape at any moment with the Move tool.
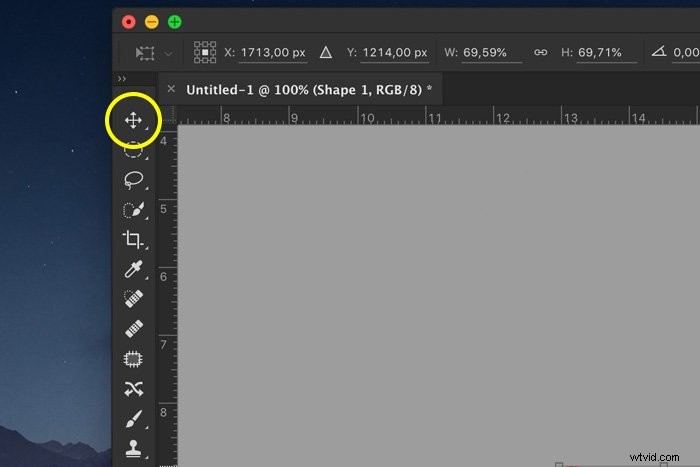
To resize the shape, just hit Cmd + T (Ctrl + T for Windows). Make sure the Shape layer is selected. Drag one of the corners and hold the Shift key to constrain proportions.

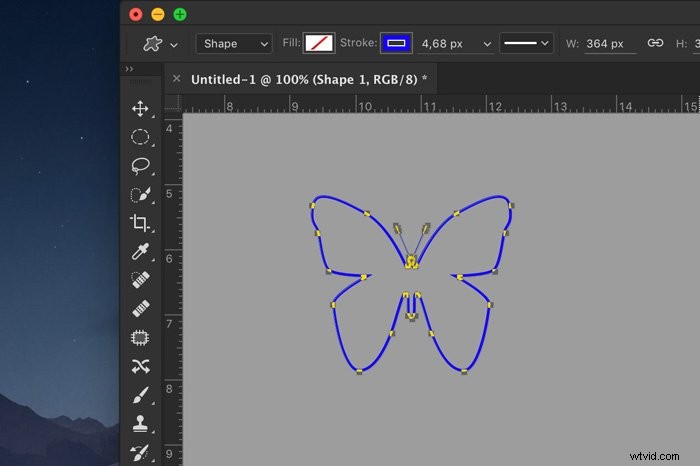
4. Outlines Only
To create an outlined shape, select the Custom Shape tool again. Set the Fill color of your shape to transparent and pick a color for the stroke.
How to Create Your Own Custom Shape
If you can’t find what you’re looking for, just create your own custom shapes in Photoshop. It’s really easy and there are a few ways to do it. I’ll show you two.
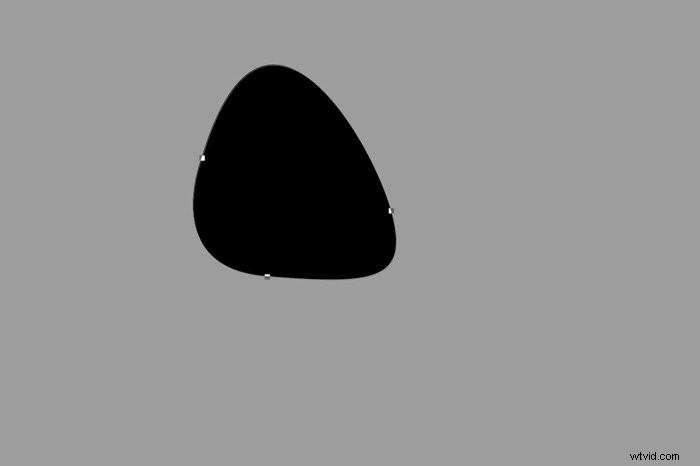
Step 1: Draw With the Pen Tool
Select the pen tool.
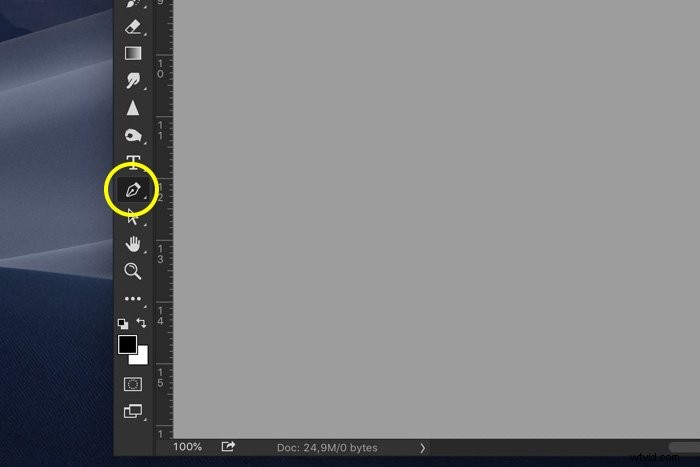
Set it to “Shape”.
Start drawing any shape you want.
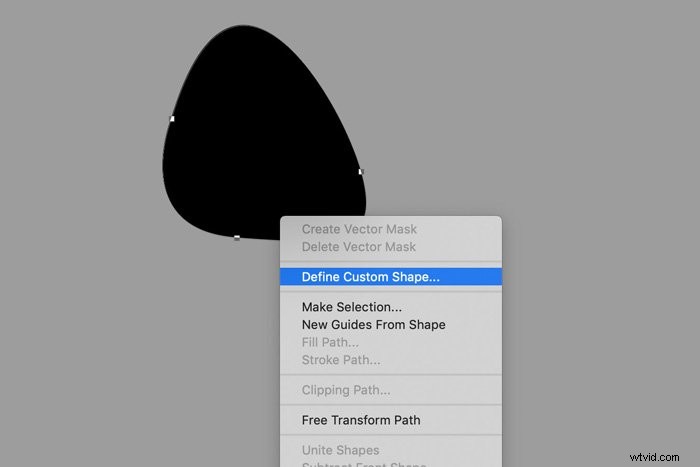
Step 2: Define Custom Shape
Now we need to add this shape to the list of custom shapes.
Right-click on the shape and select “Define Custom Shape”. You can only do this with the Pen tool active!
Give the shape a name and click OK.
Select the Custom Shape tool again and check the list. Photoshop adds your custom shape at the end of the list.
If you don’t want to draw a shape yourself, there’s another way to create your own custom shapes. All you need to do is find a black and white icon that you want to use as Custom Shape.
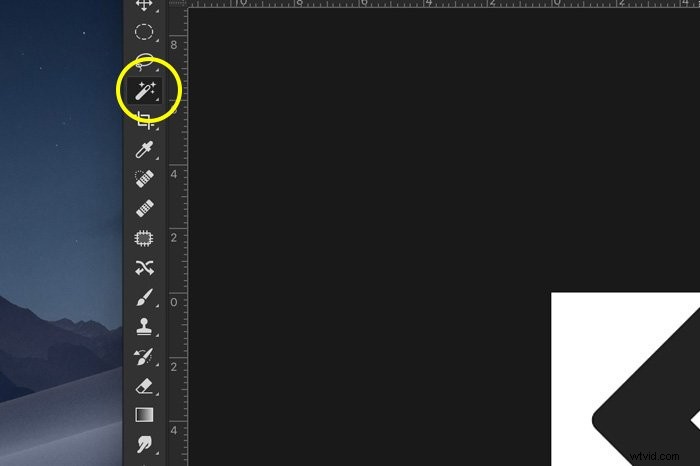
Step 1: Make a Selection
Open the image you want to use. Make a selection of the image using the Magic Wand tool.
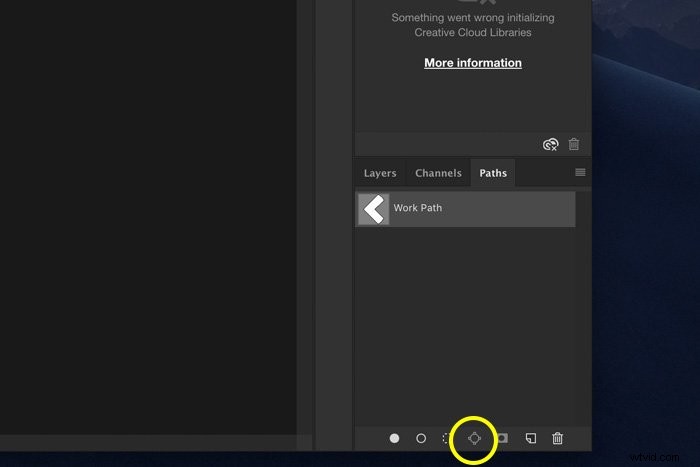
Step 2: Create a Path
Go to the Paths panel and click the “Make work path from selection” icon.
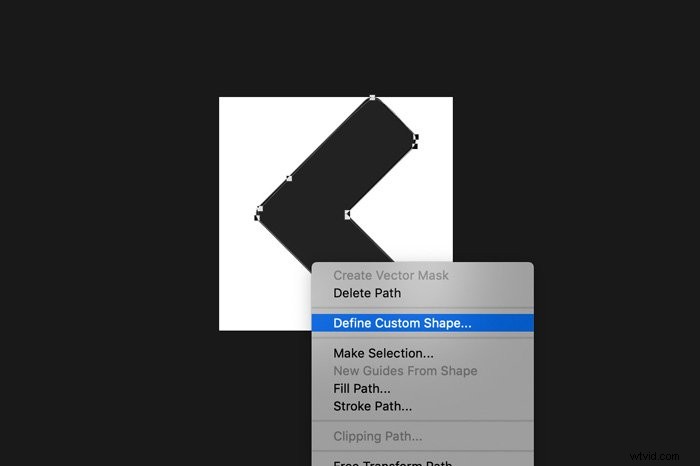
Step 3: Define Custom Shape
Select the Pen tool again.
Right-click on the path you’ve created and select “Define Custom Shape”. Name the shape and click OK.
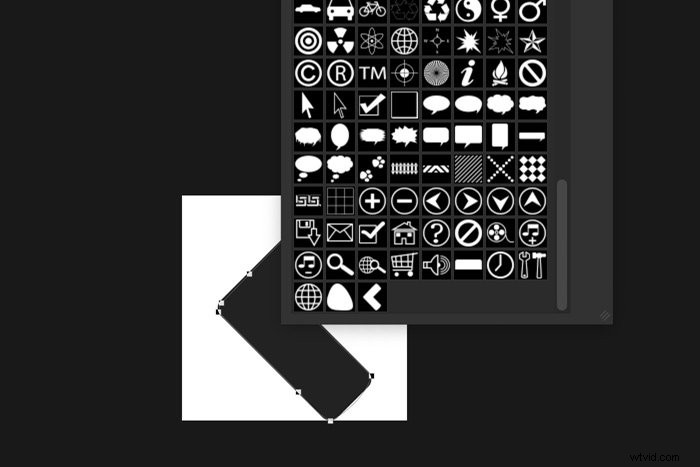
The shape is now added to the list of Custom Shapes.
Conclusion
Adding Photoshop custom shapes to your images is super easy. You can easily create logos or layouts for business cards and posters in Photoshop.
Just open one of your favorite photos and add text combined with Photoshop Custom Shape layers.
Check our posts on how to use color dodge or create a vignette in Photoshop next!