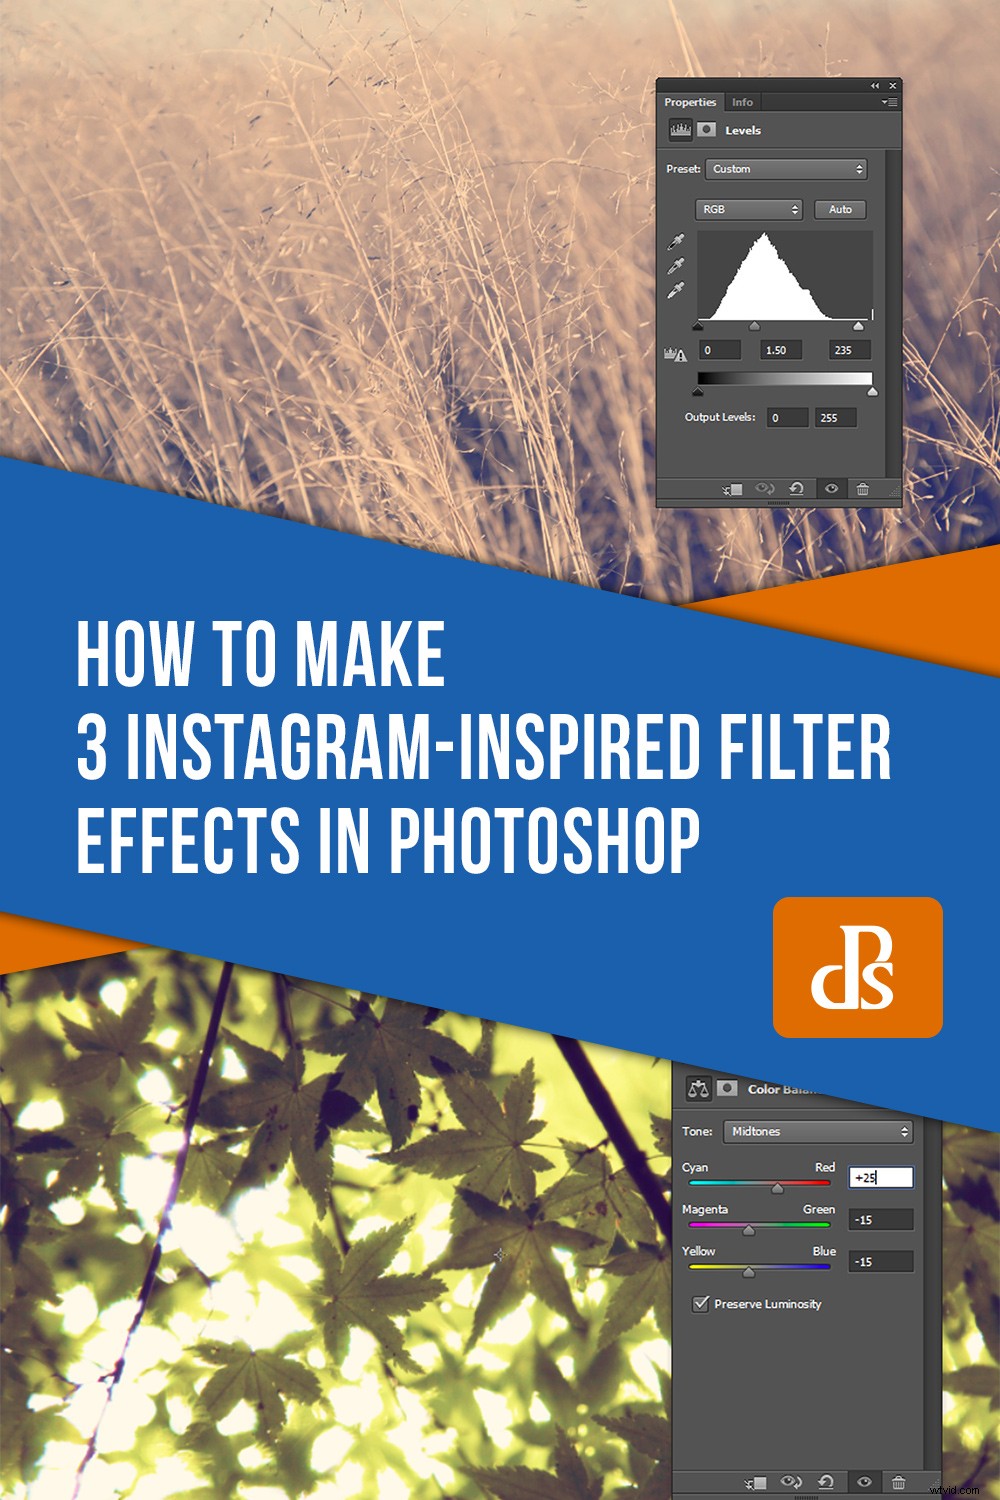
Instagram has taken the world by storm. The image-based social media platform allows users to post images and videos, and receive feedback from others across the globe.
Instagram also offers a large number of filters, giving users the option to customize their media before uploading to Instagram.
However, there are downsides to leaning on Instagram for image-editing. Uploading to Instagram sacrifices resolution and the ability to share filtered images to other media is limited.
In this tutorial, we’ll apply Nashville, Amaro and Brannan-Instagram-inspired filter effects to your photographs in Photoshop that are non-destructive and can be used anywhere. Plus they look good too!
Nashvillle
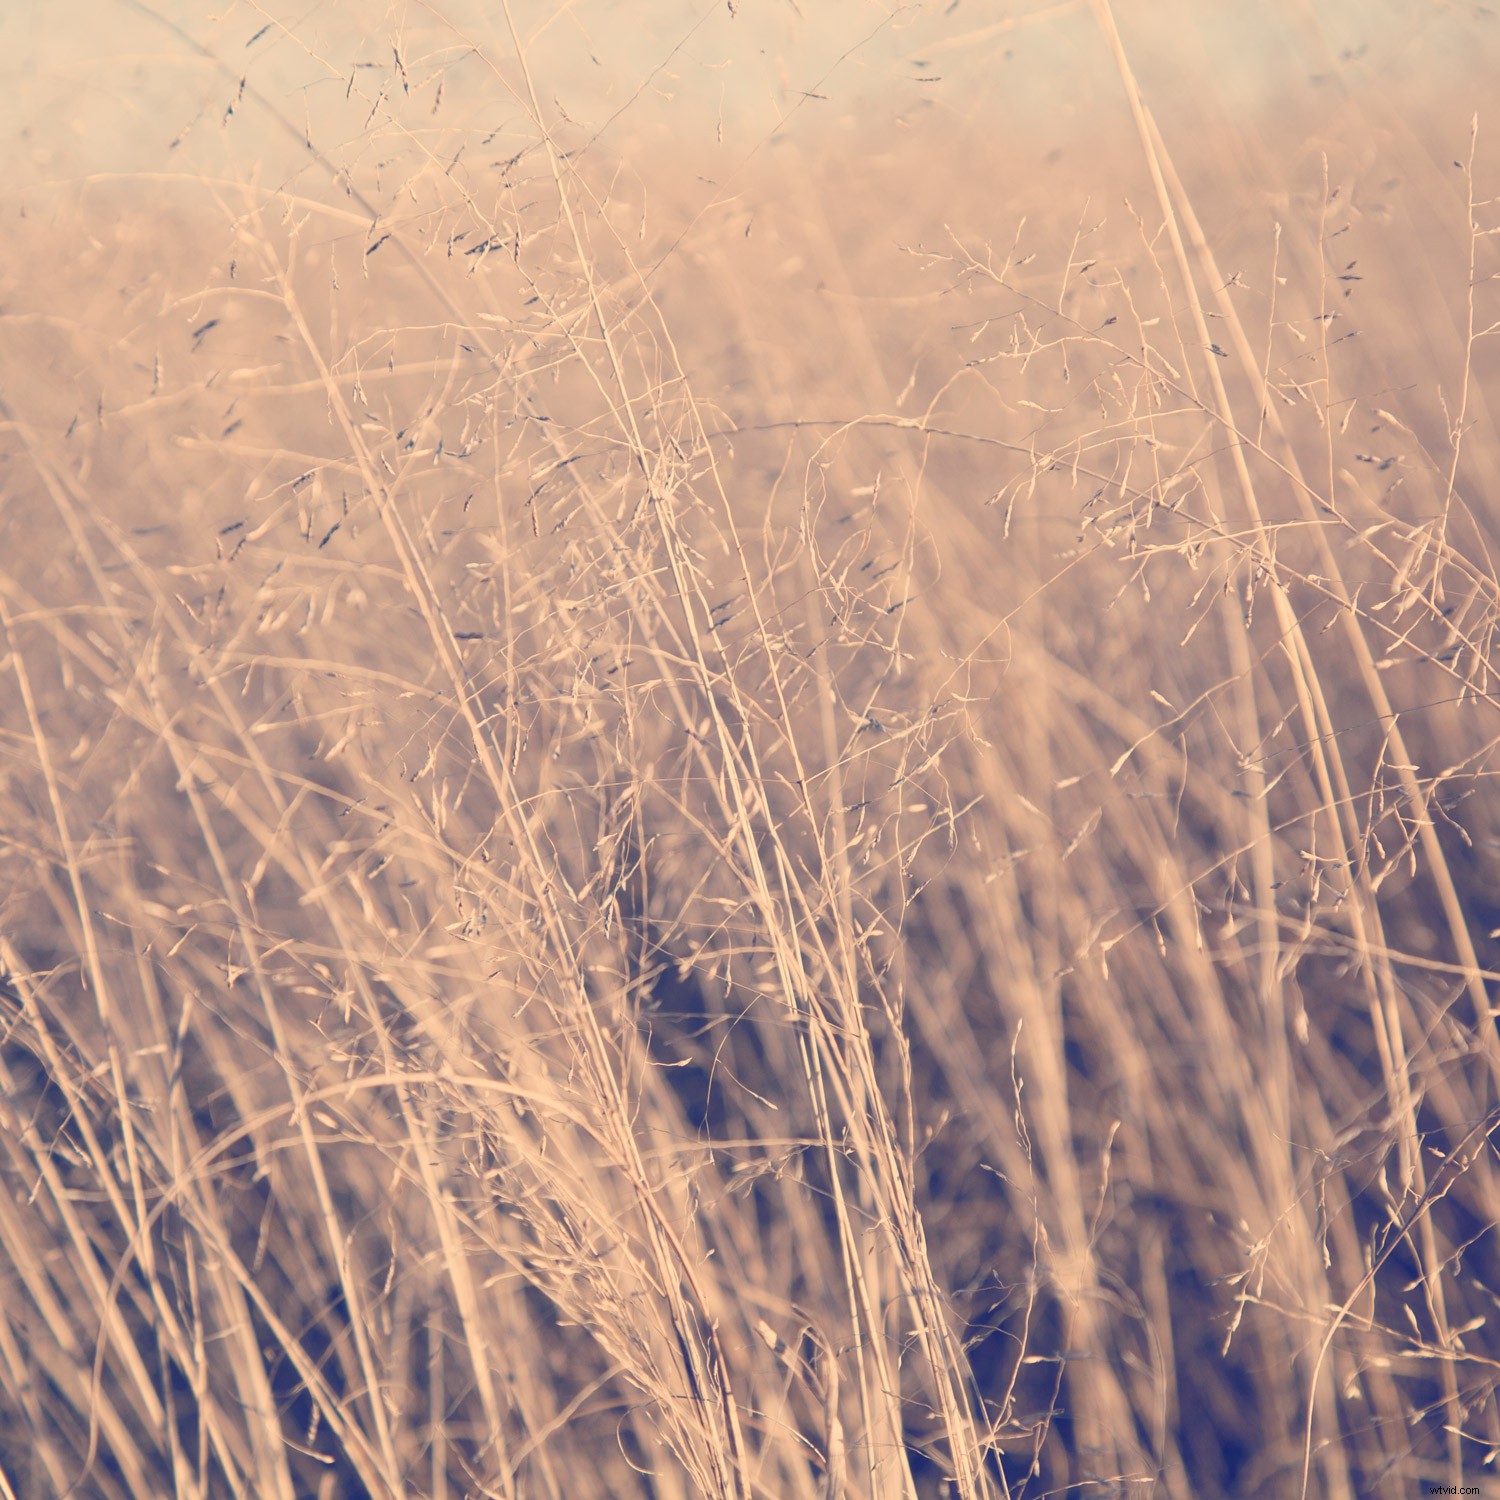
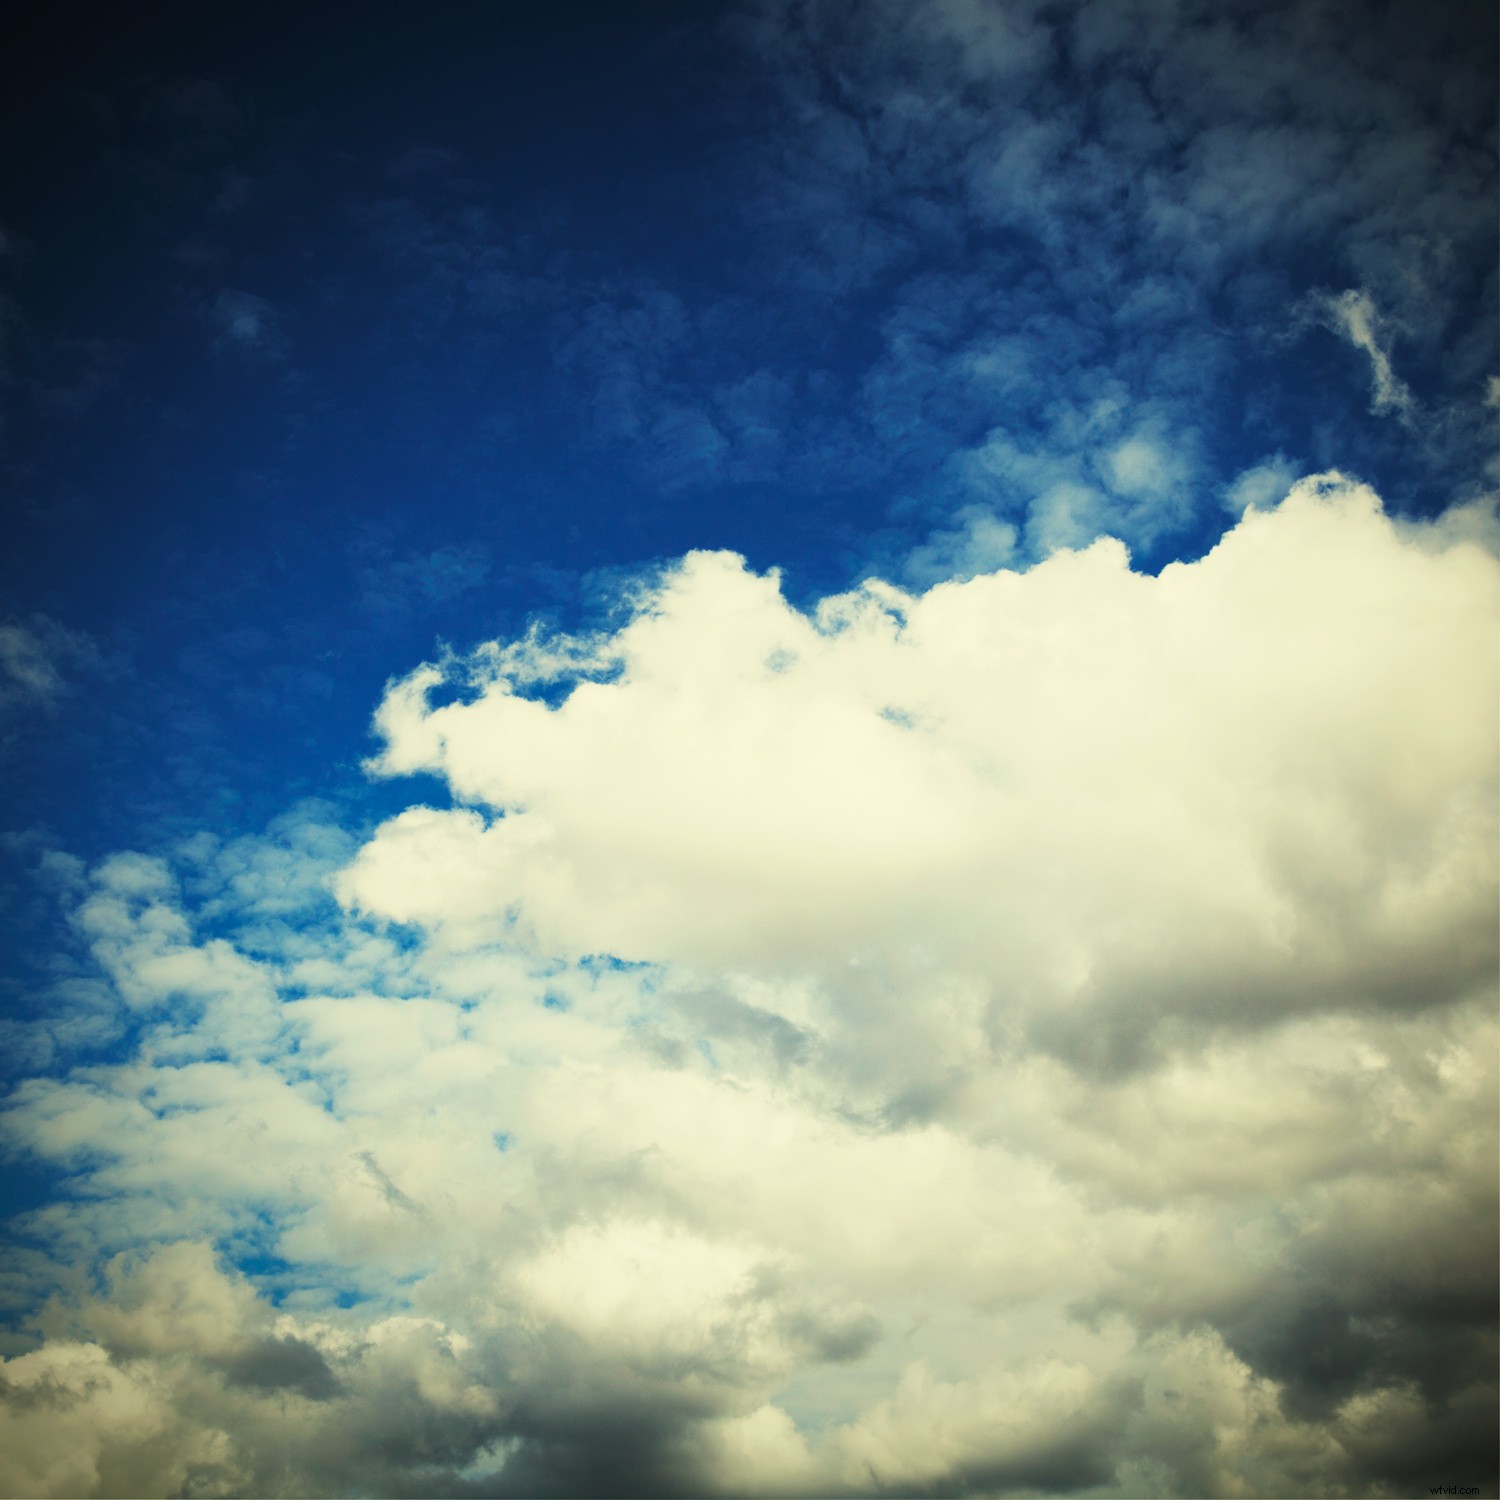
The Nashville filter warms highlights and adds a blueish tint to darker areas of an image. It also decreases contrast and increases exposure.
Step one:
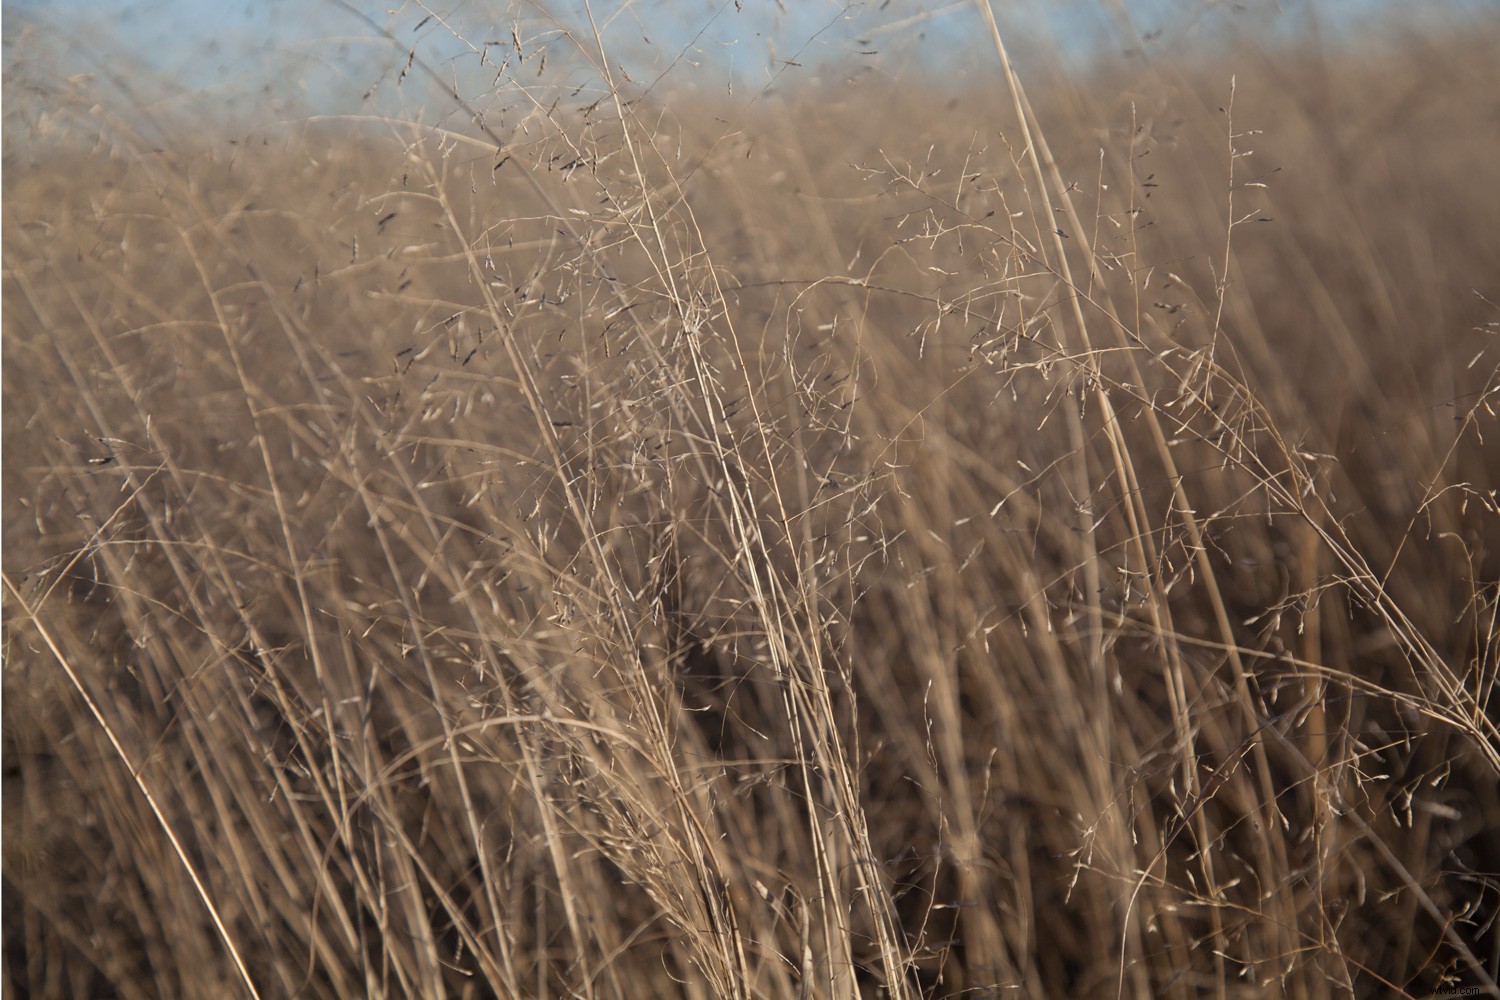
First, open your image.
Keep in mind that throughout this tutorial, the efficacy of each Instagram-inspired filter can differ from image-to-image. While I’ve provided specific settings as a guide, don’t be afraid to experiment a little for optimum results.
Step two:
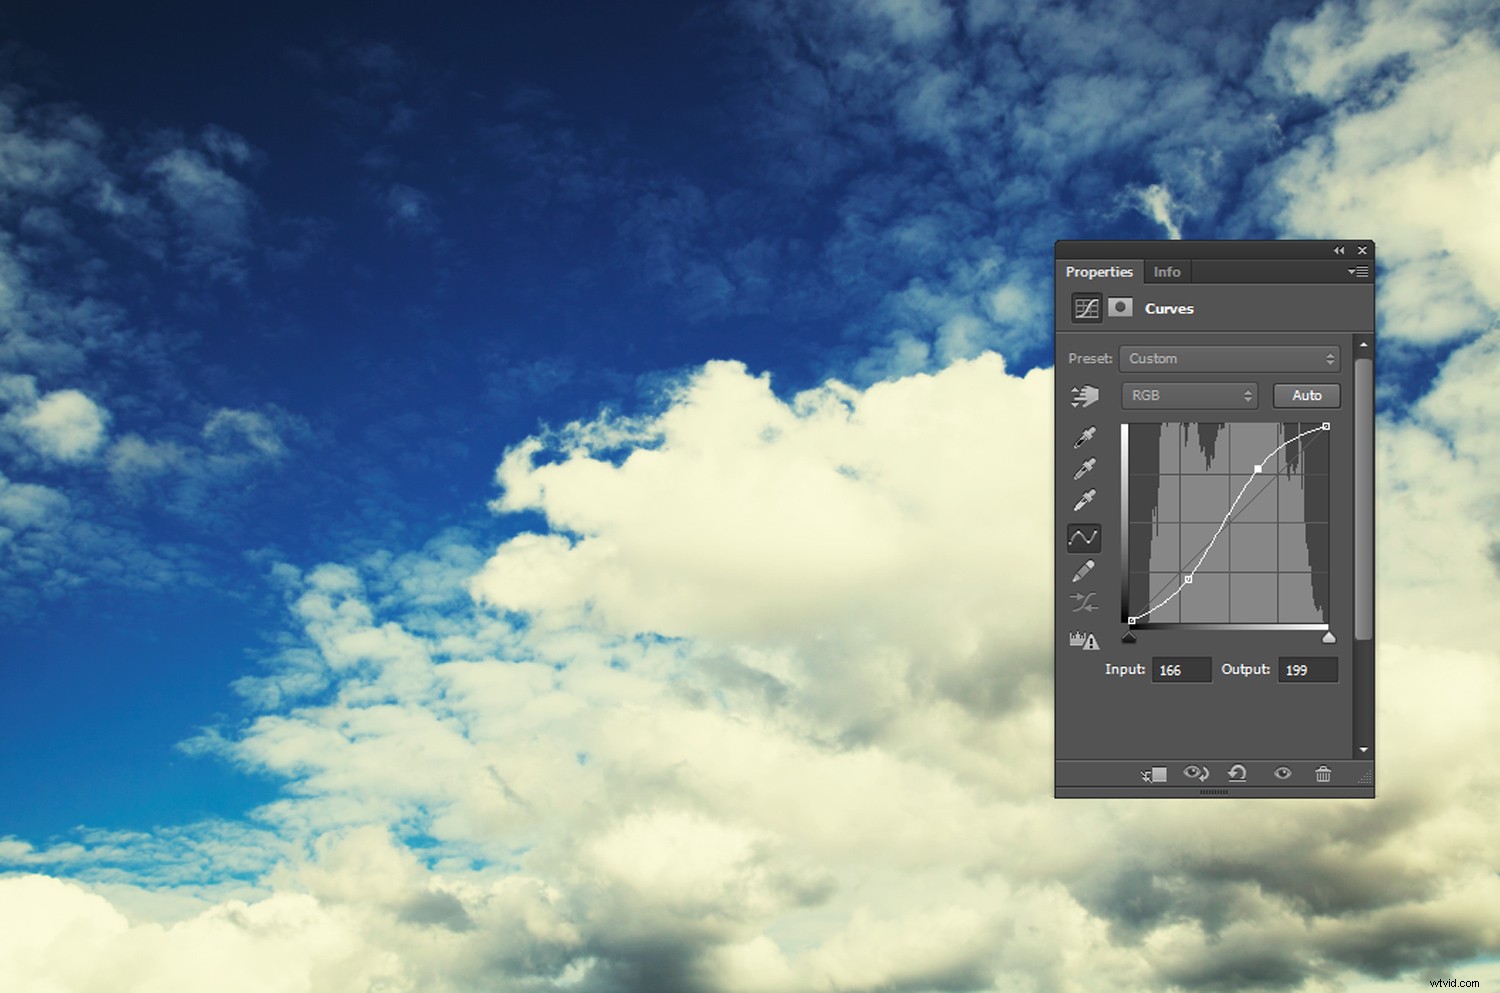
Create a Curves Adjustment Layer by clicking on the Curves icon in the Adjustments panel. If you aren’t sure what icon means what, rest your mouse over an icon and a description will appear. If you can’t see an Adjustment panel at all, click on Window -> Adjustments to bring it up.
In the Curves Adjustment Layer panel, select the Green channel from the RGB dropdown menu and set the Input to 15 and the Output to 40 (you may need to click on the Curve line to activate the text boxes).
Then select the Blue channel and set the Input to 84 and the Output to 140

Step three:
Go to Layer->New Fill Layer->Solid Color.
Click OK at the first prompt.
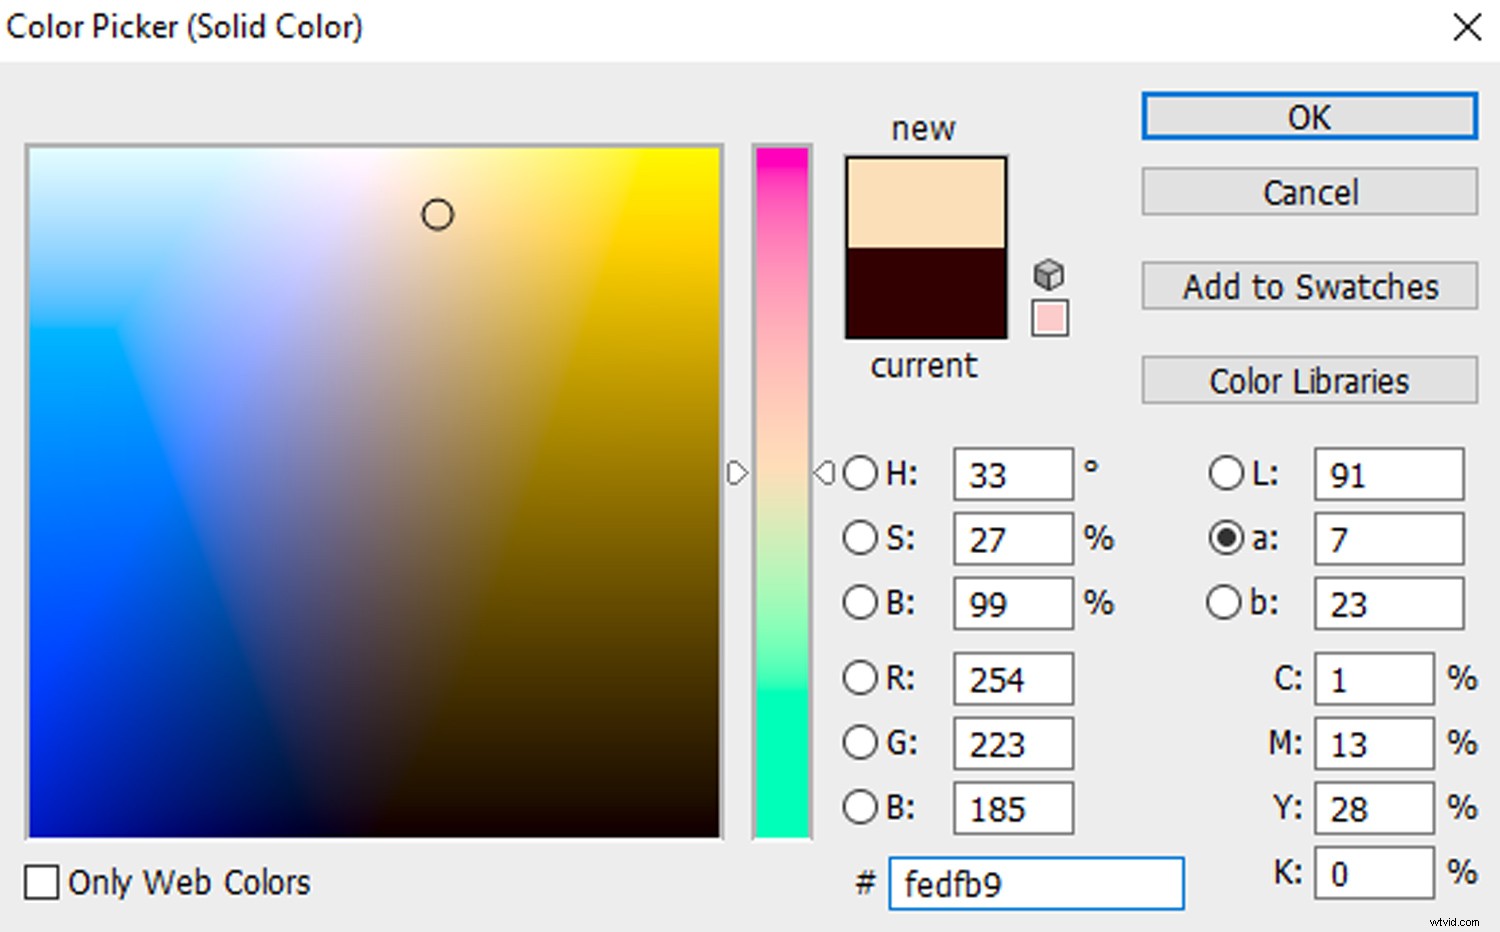
In the Color Picker window, select a cream tone. For this image, I used the HEX code #fedfb9, which produces nice a warm glow. You can copy the HEX code I selected by clicking on the lowest text box in the Color Picker (next to the hash symbol) and entering “fedfb9.”
Click OK and change the Blending Mode of the Color Fill layer to Multiply. Blending Modes are located in a drop-down menu in the Layers pallet, next to the Opacity drop-down menu.
Step five:
Create a Brightness/Contrast Adjustment Layer and set the Brightness slider to 5 and the Contrast slider to 90.
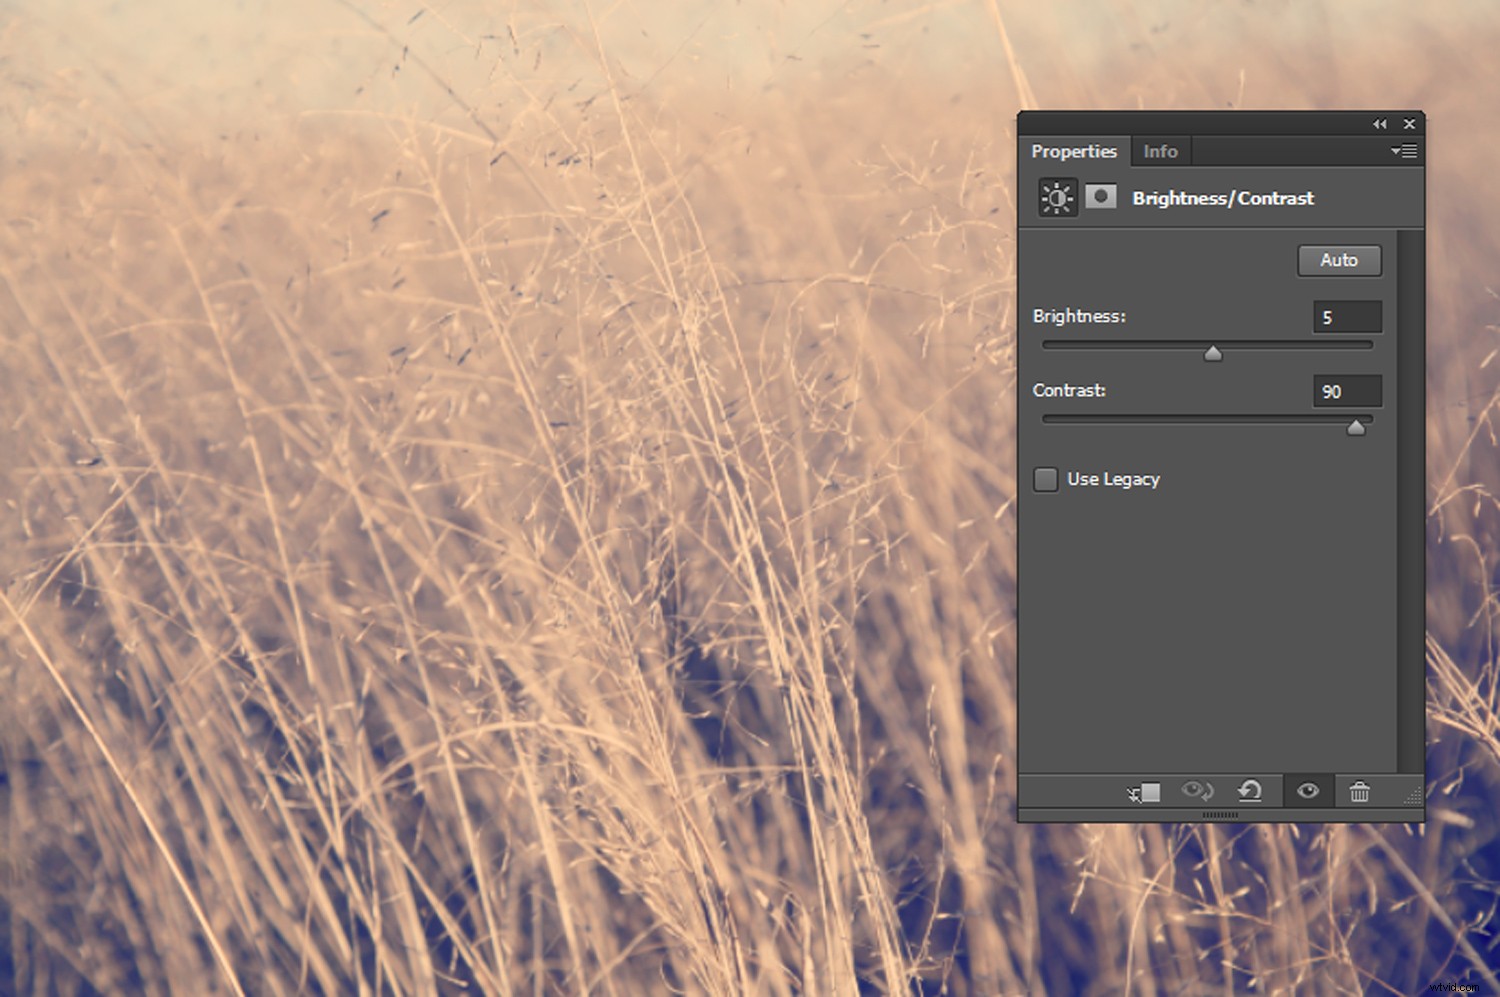
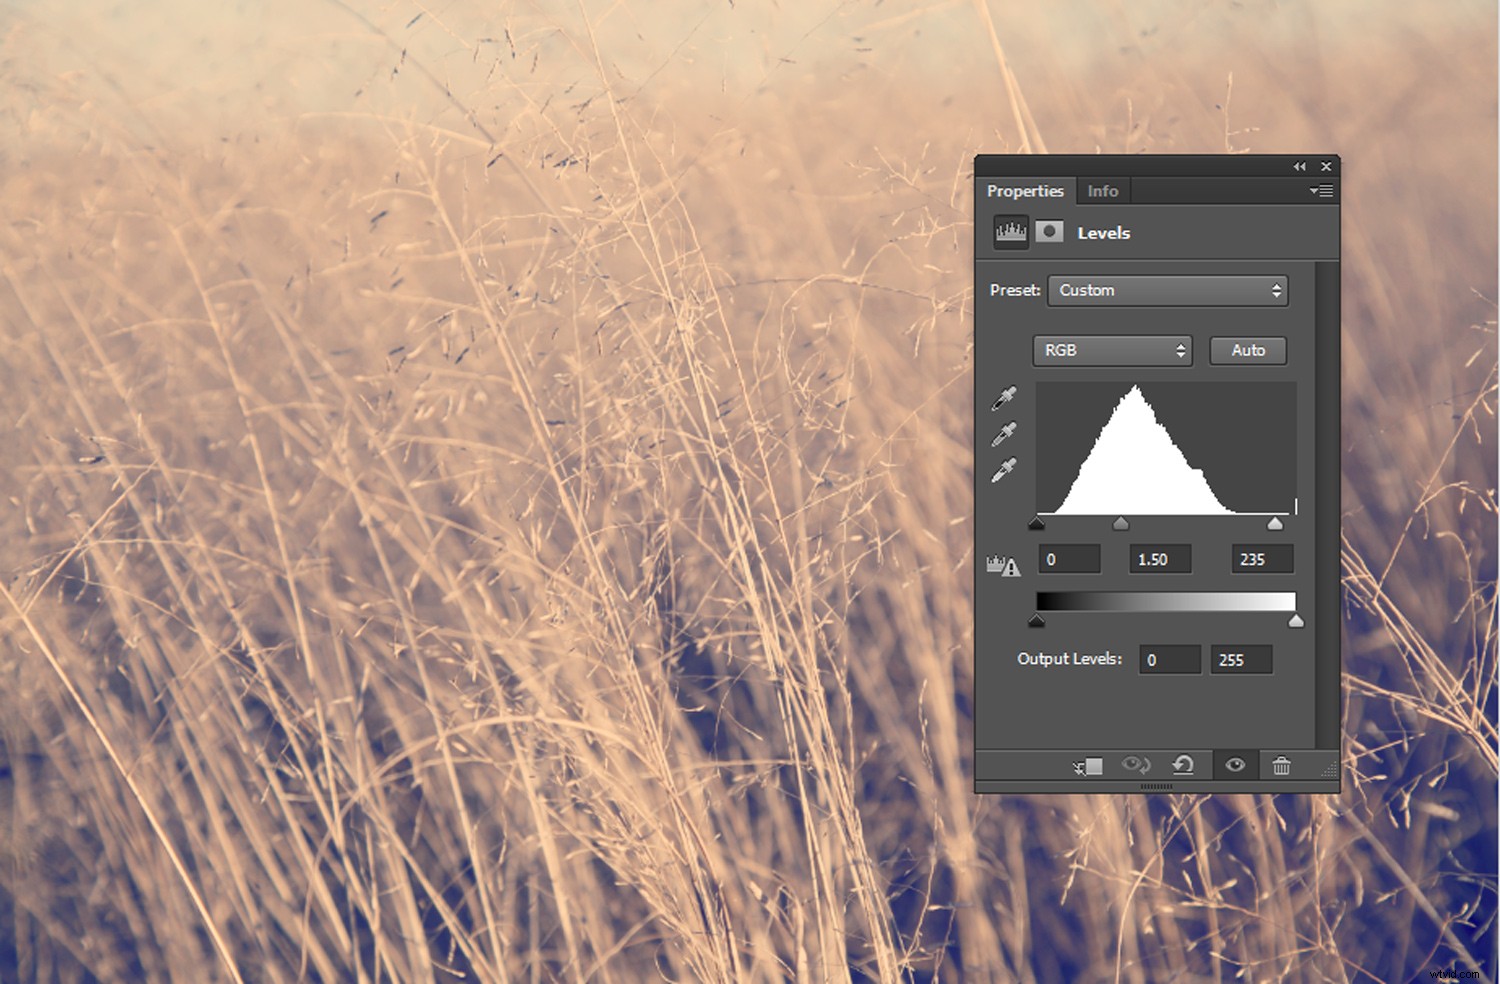
Finally, create a Levels Adjustment Layer and enter 1.50 in the Midtone text box and 235 in the Highlights text box.
And there you go!
You can crop your image to a square format for an extra level of Instagram authenticity, or leave as is.
Amaro
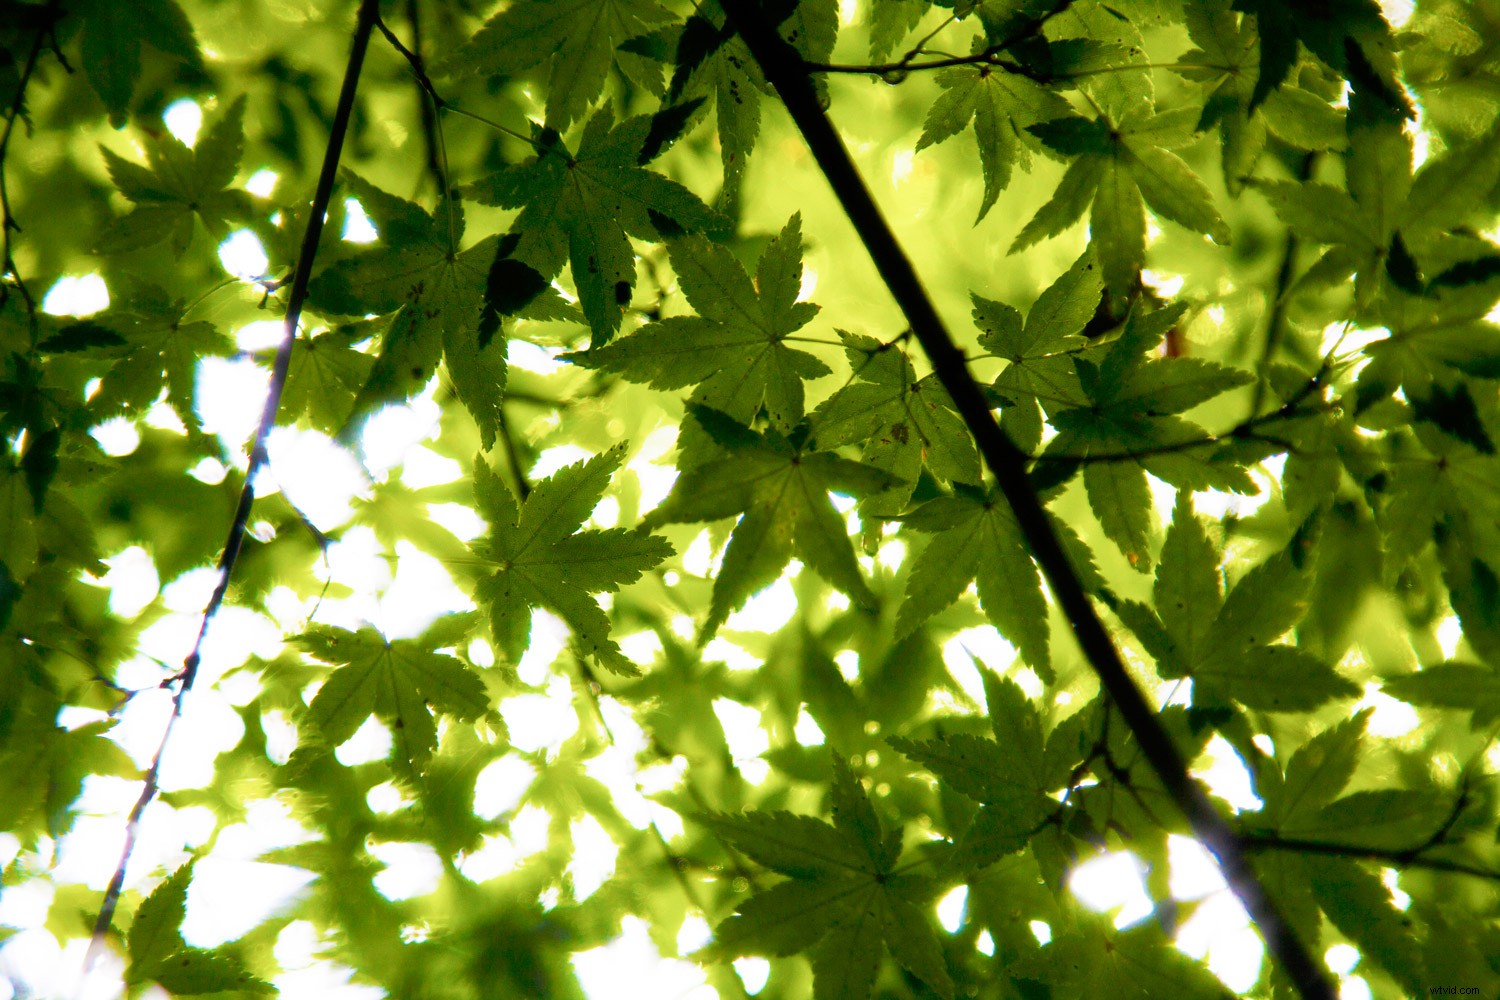
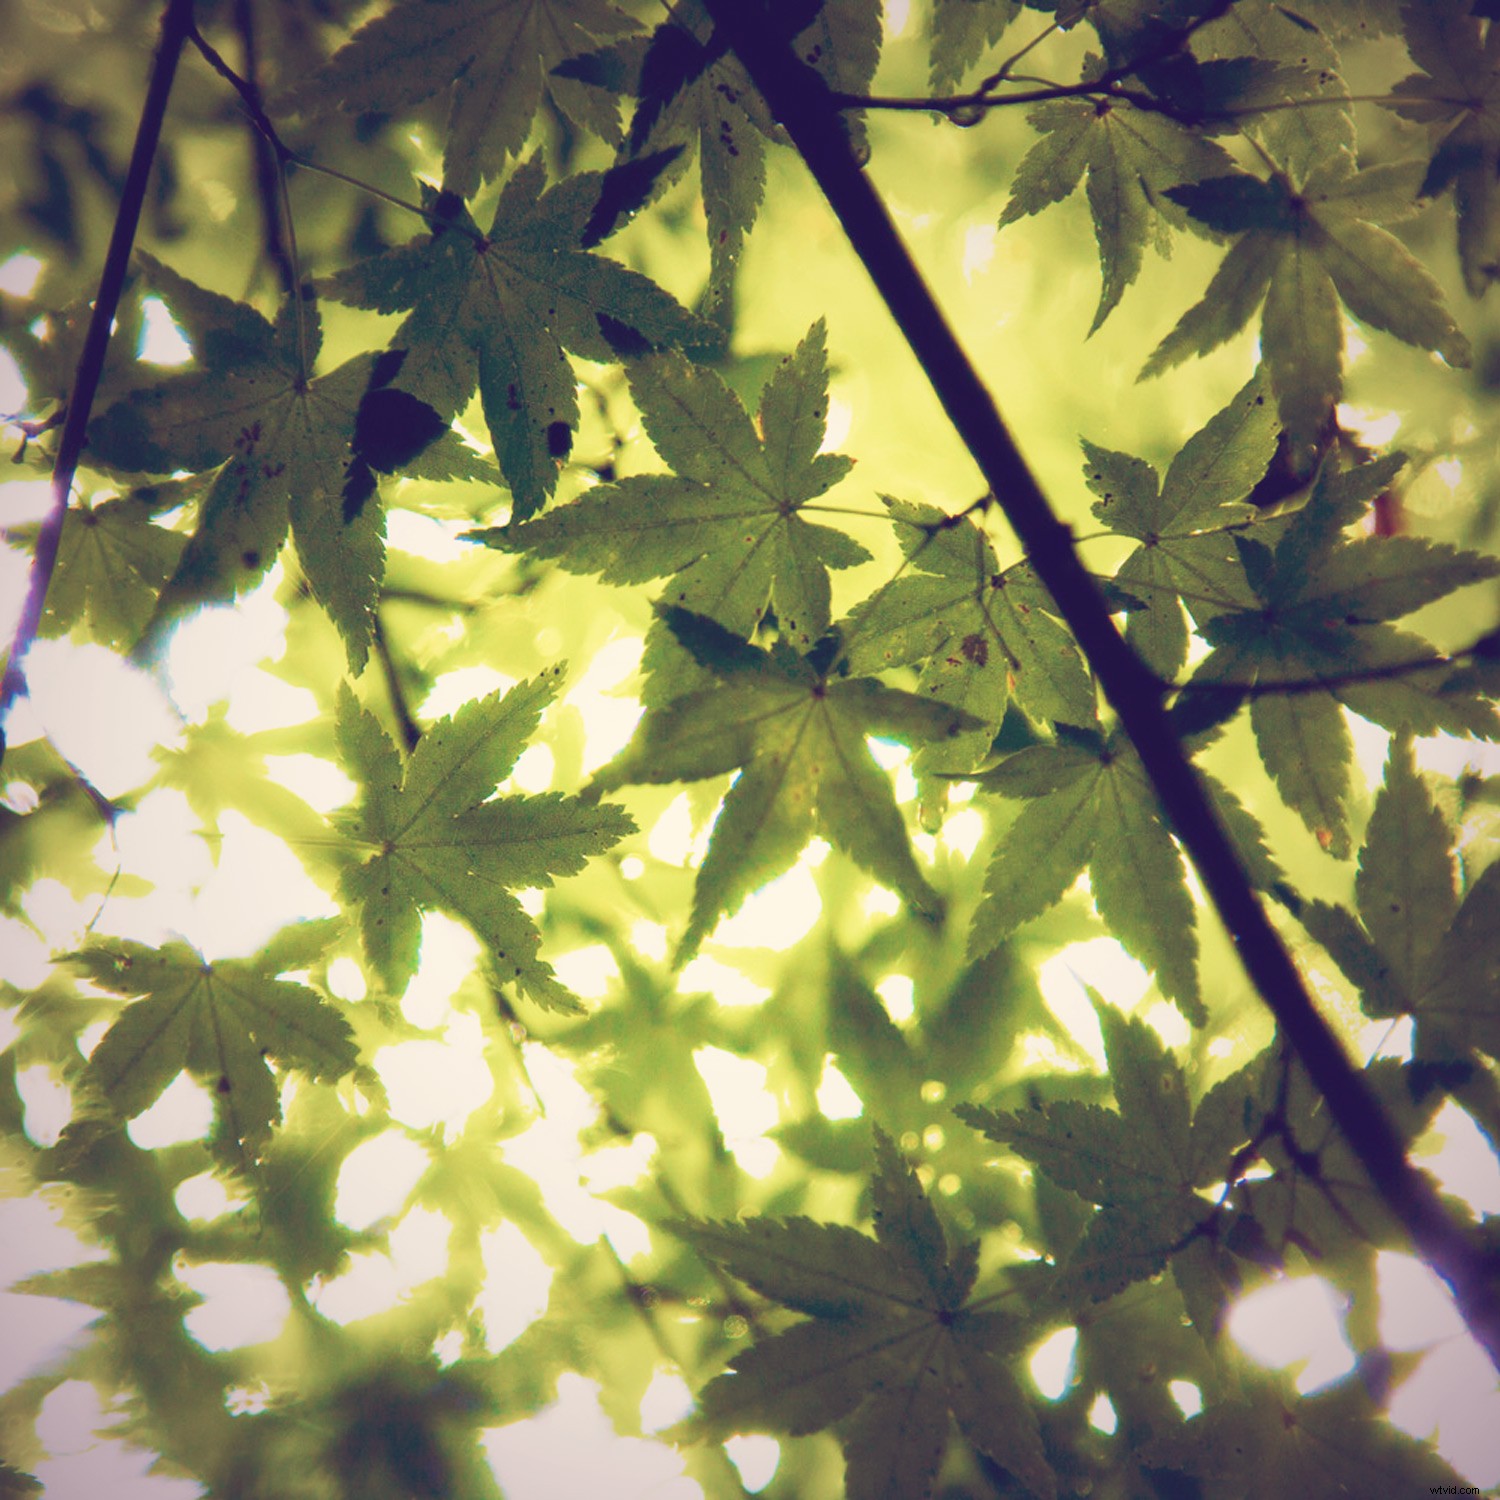
Amaro is a popular filter with a film-inspired appearance and a dark vignette to draw attention to the center of an image.
Step one:
Open your selected image in Photoshop.
Step two:
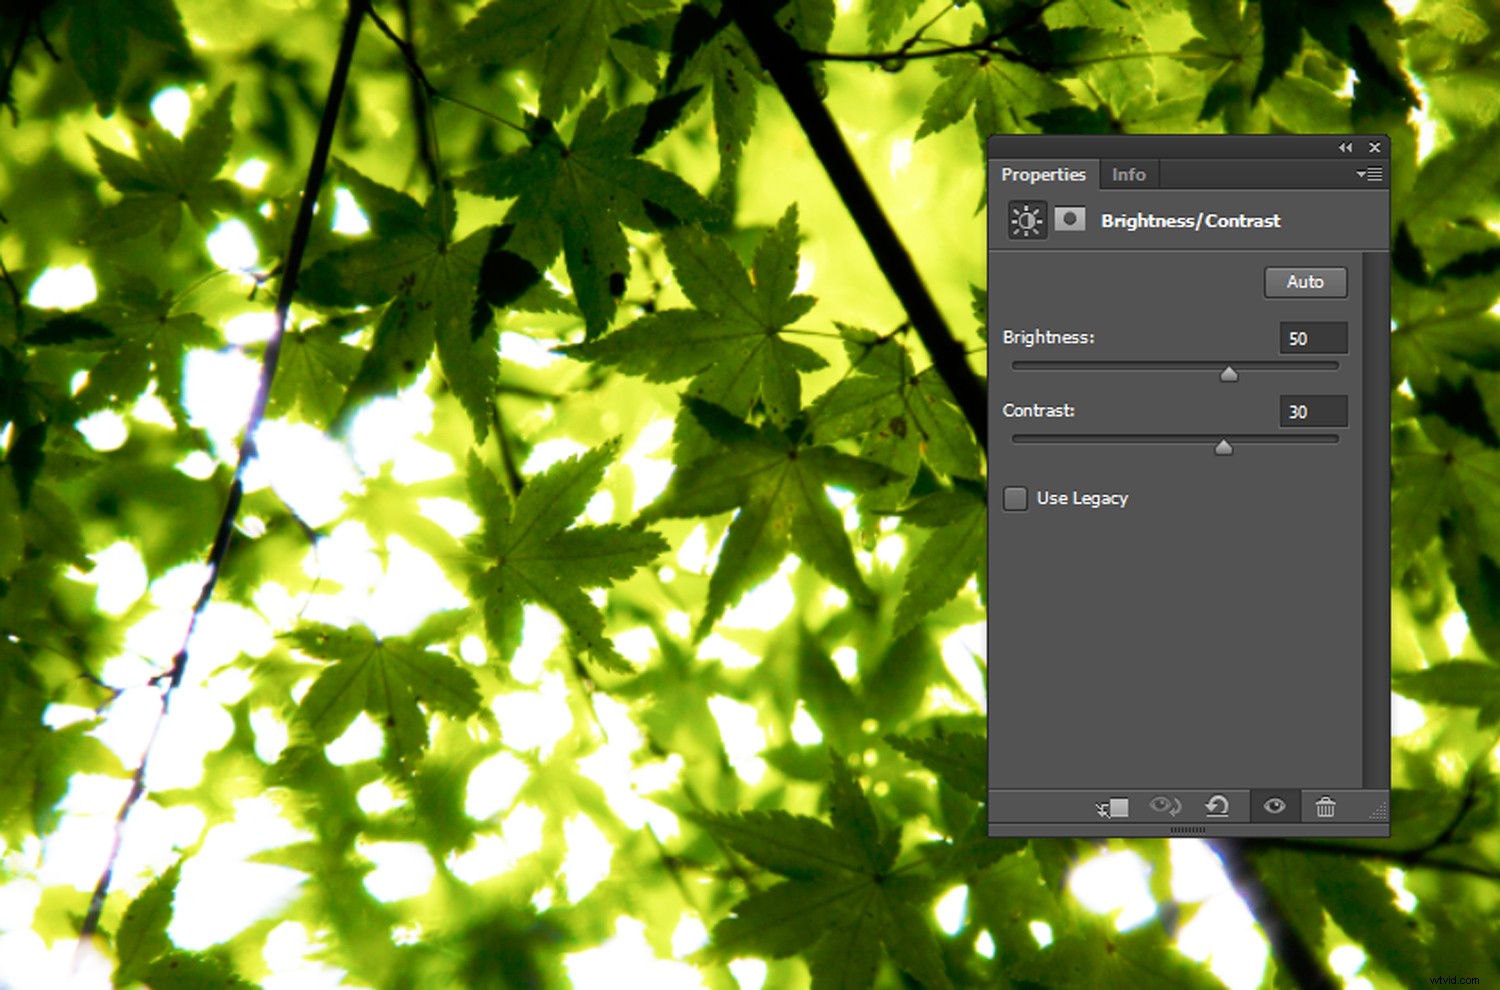
Create a Brightness/Contrast Adjustment Layer and set the Brightness value to 50 and the Contrast to 30.
Step three:
Next, go to Layer->New Fill Layer->Solid Color and click OK at the first prompt.
In the Color Picker, select a cream tone. For my image I used #fef7df. Click OK and set the Blending Mode of the color fill layer to Multiply.
Step four:
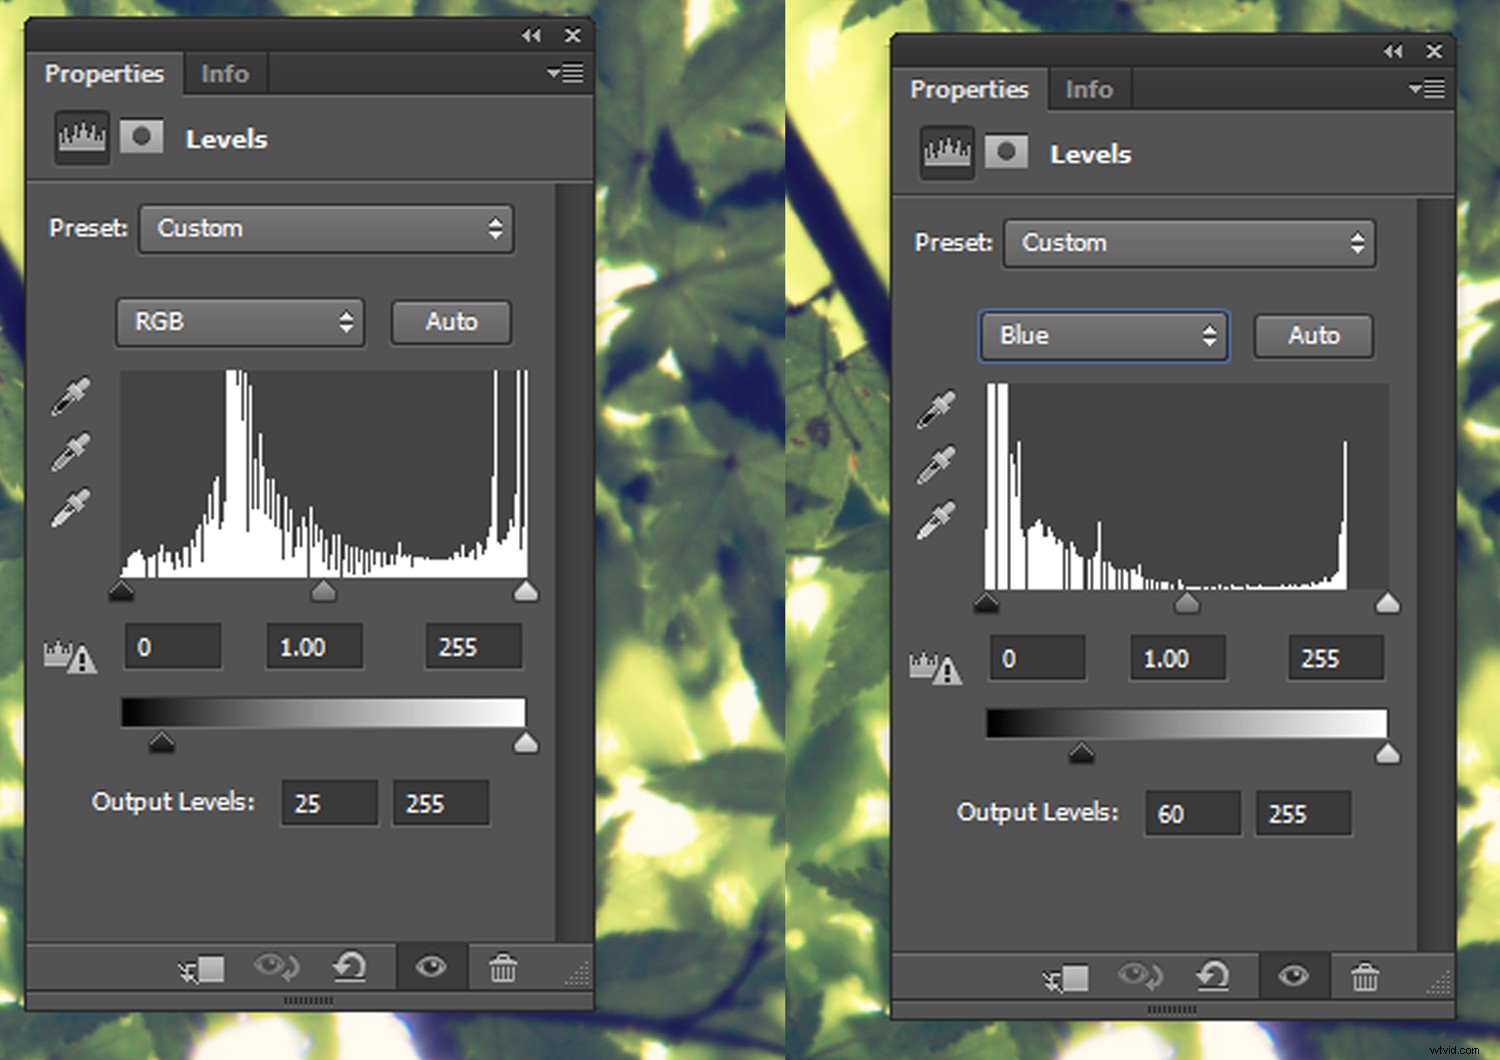
Create a Levels Adjustment Layer and in the default RGB channel, enter 25 into the left Output Levels text box. In the Blue channel, enter 60 into the left Output Levels text box.
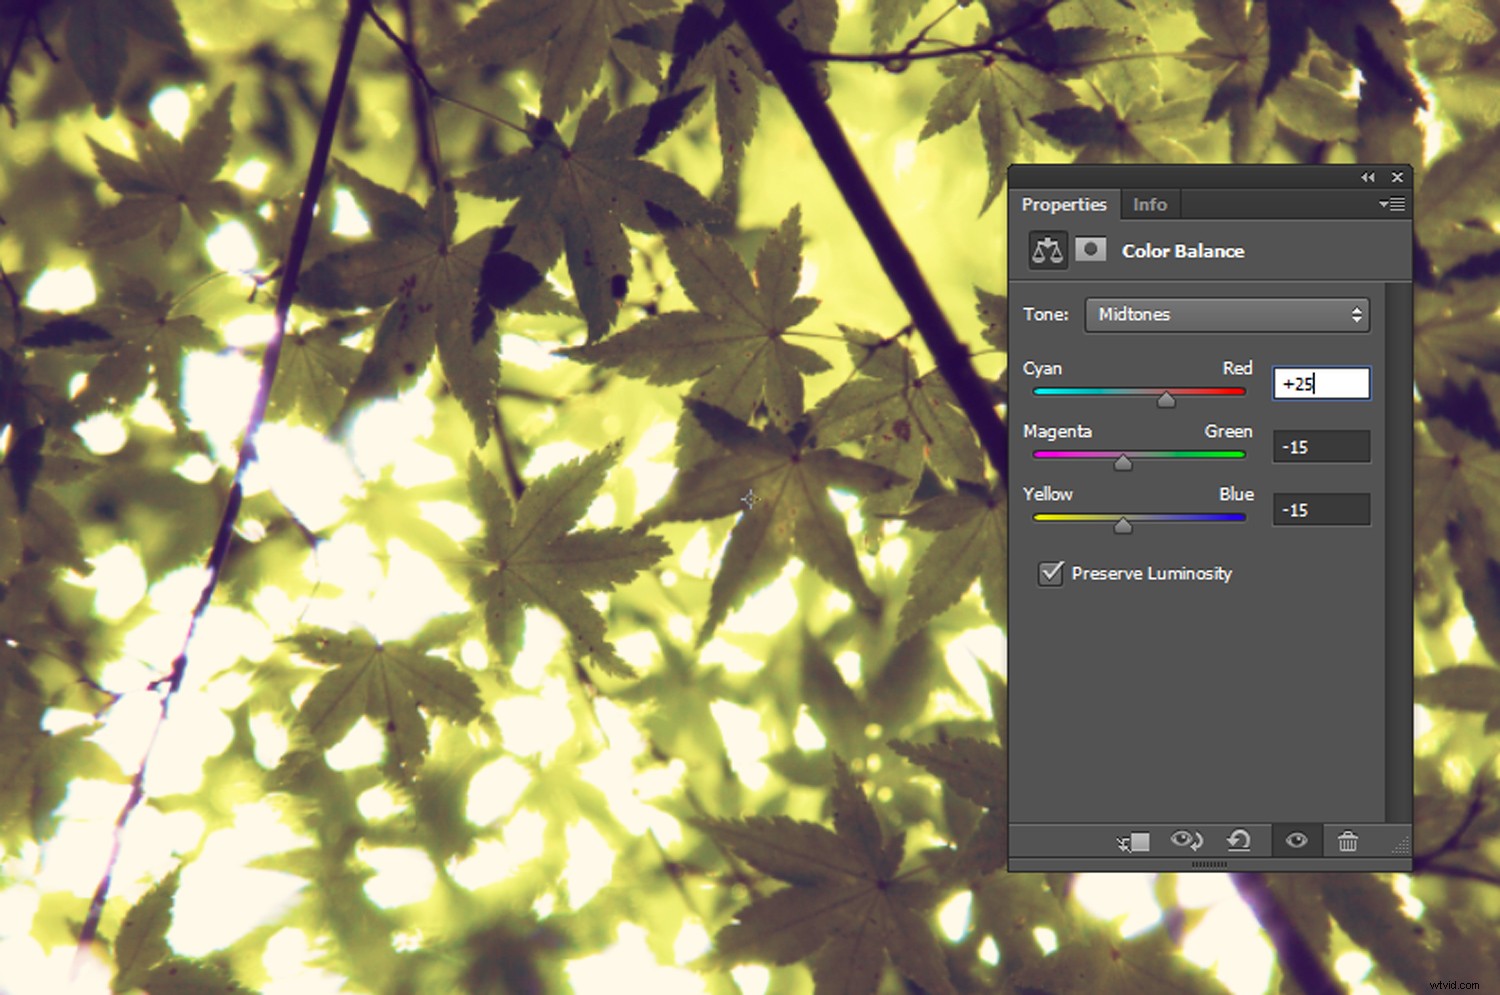
To adjust the intensity of your colors, open a Color Balance Adjustment Layer. Under Midtones, increase the Red slider to 20. You can also decrease the Green and Blue values to around -15.
Crop your image if you like.
Step five:
Then, to add a vignette, right-click on your image layer and select Duplicate Layer.
With your duplicated layer selected click Filter->Lens Correction->Custom and adjust the Vignette sliders.
For my image, I set the Amount slider to +65 and the Midpoint to +23.
Click OK and you’re done! 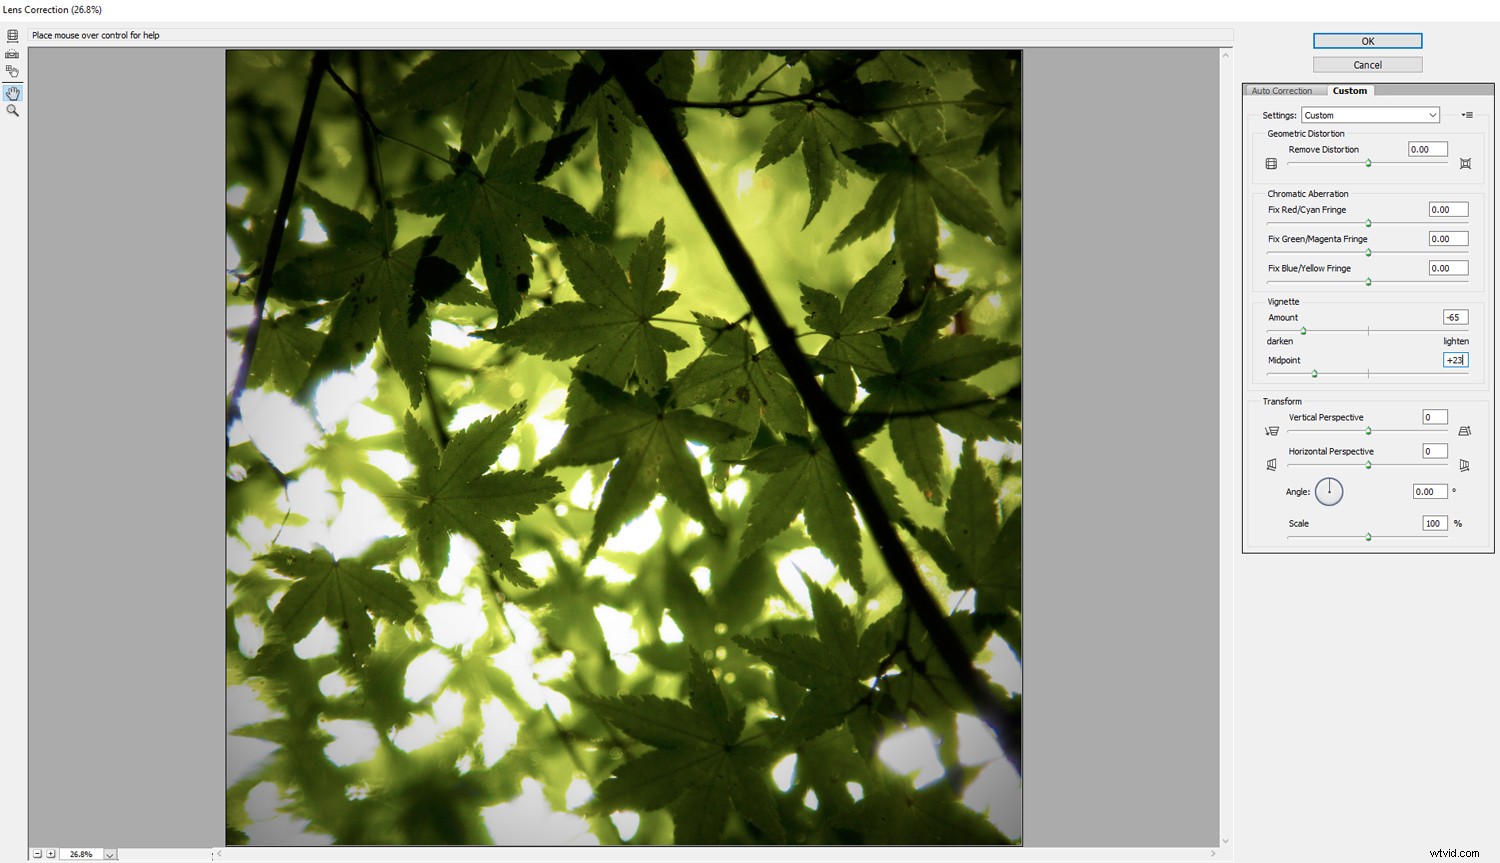
Brannan
Brannan boosts contrast and exposure, adding a yellow tint to an image.
Step one:
Begin by opening your image.
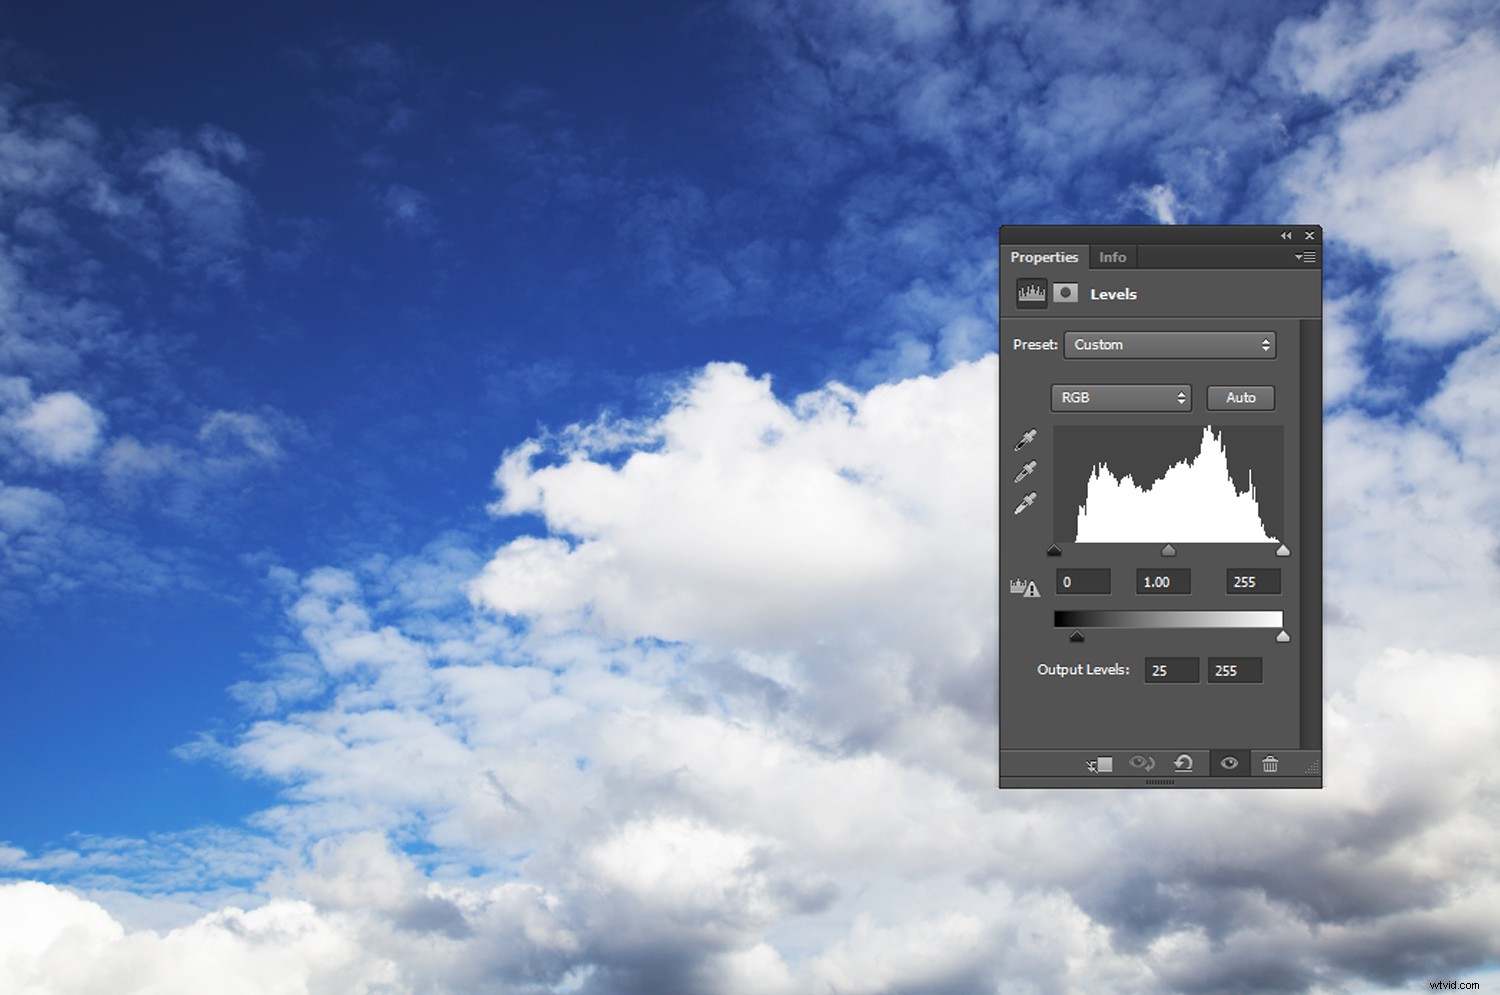
Open a Levels Adjustment Layer. In the RGB channel, set the left Output Level text box to 25.
Step two:
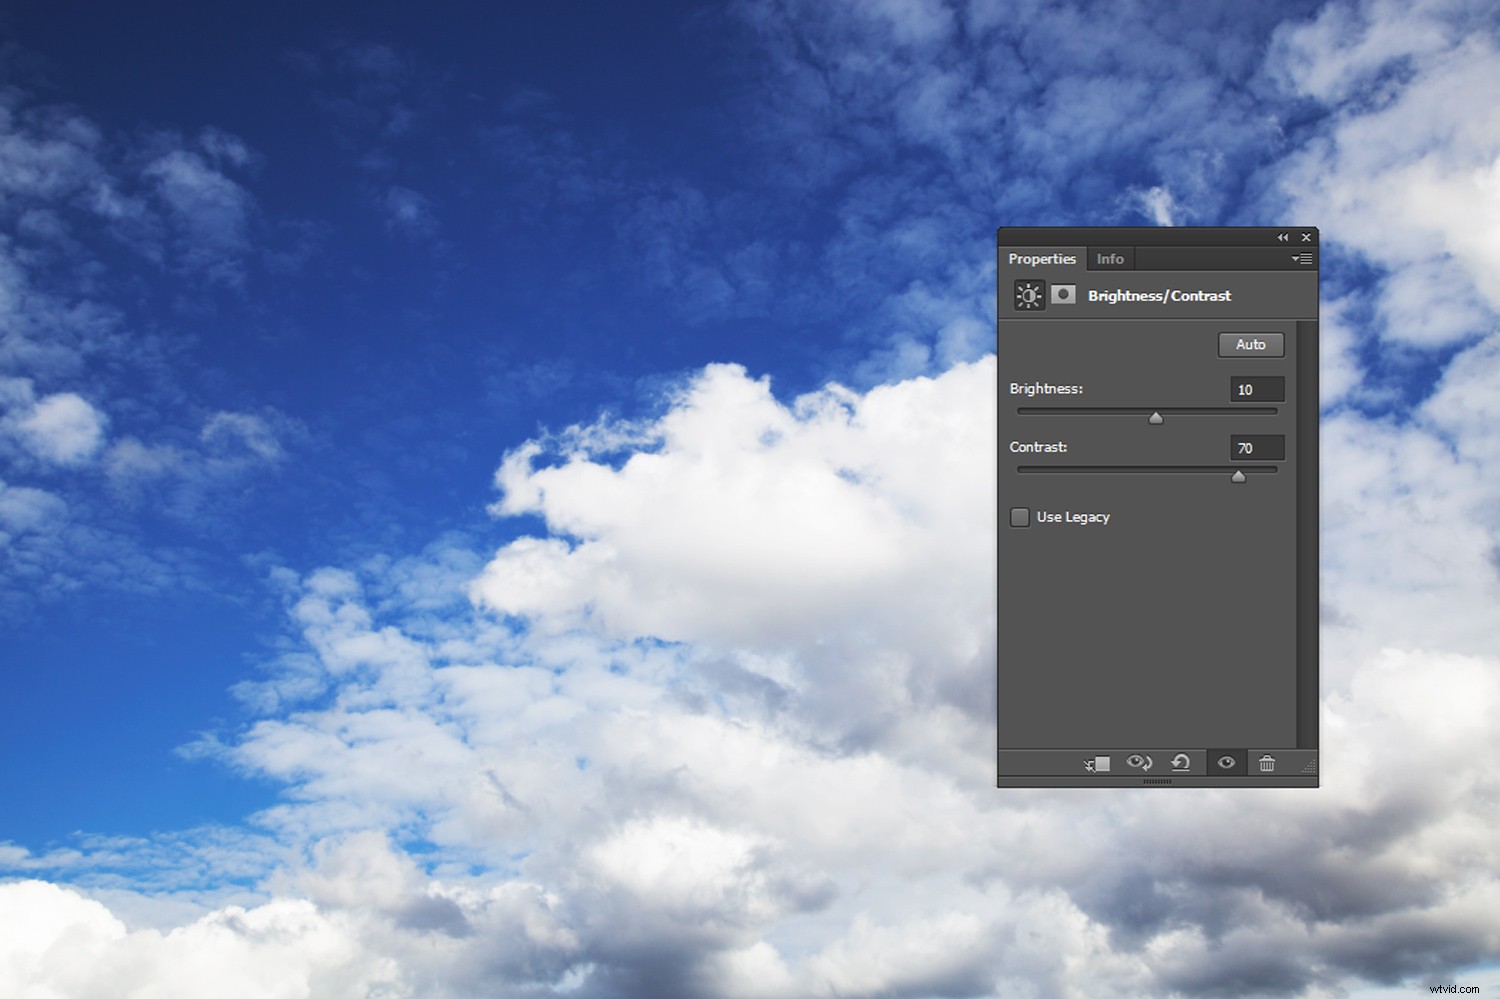
Open a Brightness/Contrast Adjustment Layer. Set your Brightness to 10. Then set your Contrast from around 70 to 100.
Step three:
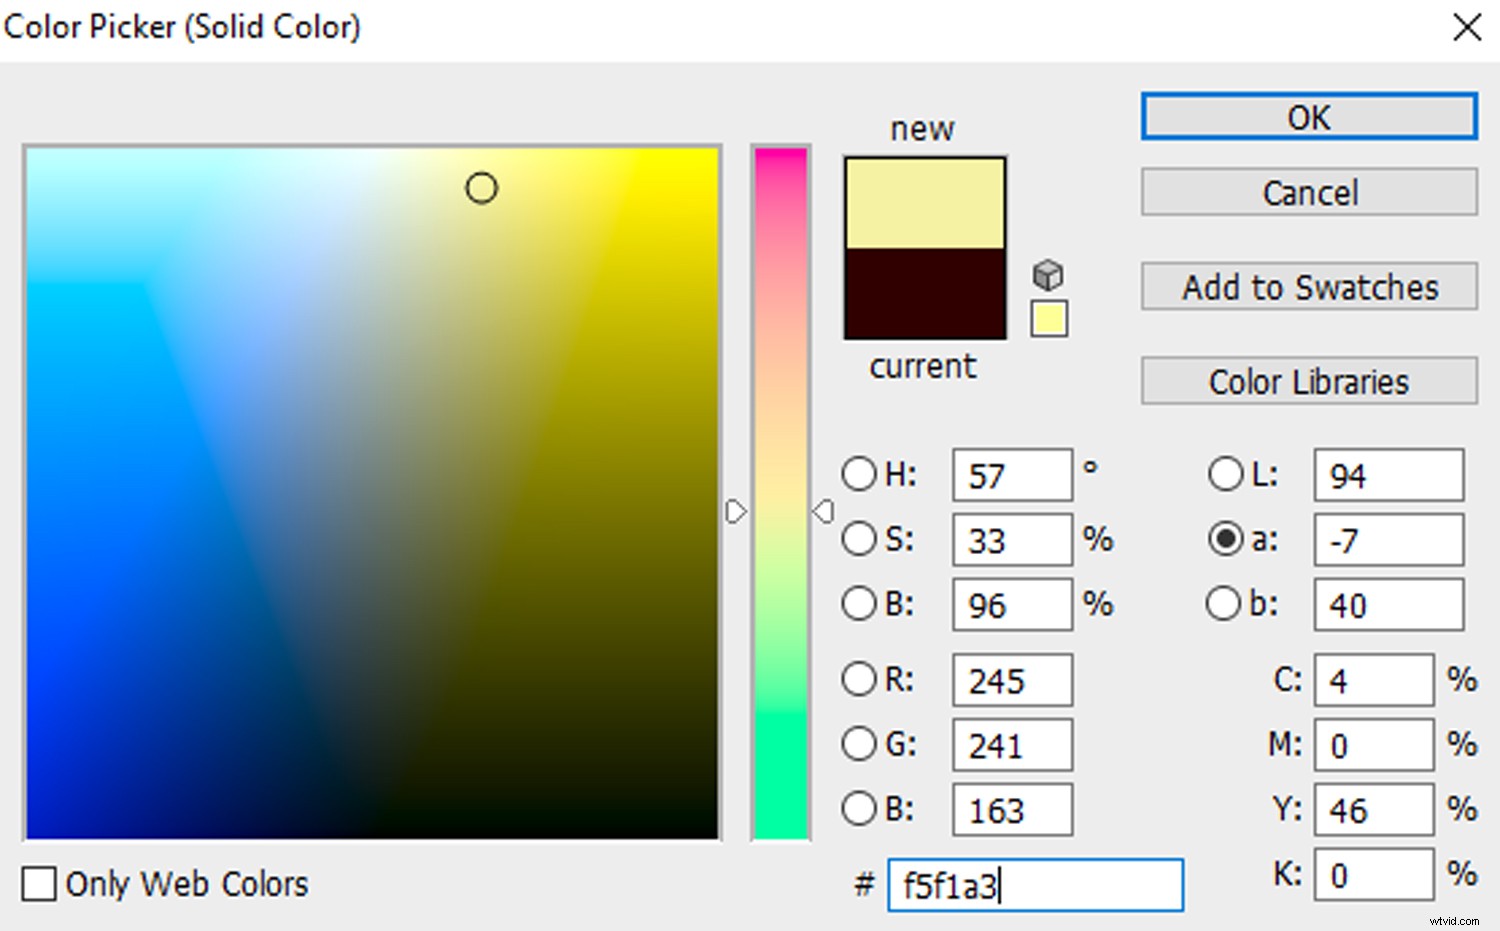
Go to Layer->New Fill Layer->Solid Color… Select a soft yellow color. I used the HEX code #f5f1a3.
Step four:
Change the Blending Mode of the Fill Layer to Multiply. Then set the yellow layer’s Opacity to around 50 or 60%.
Brannan is a high-contrast filter. Depending on your image, an additional Curves Adjustment Layer may be required to boost your contrast further.
Step five:
Crop the image to a square if you like and add a vignette by duplicating your image layer, selecting Filter->Lens Correction->Custom and adjusting the Vignette sliders.
Then, you’re done!
Conclusion
Filters add a new dimension to any Instagram photograph. By applying Instagram-inspired adjustments to your images in Photoshop, you can emulate the Instagram feel of a filter without compromising on flexibility or image quality.
Go out and try some of these Instagram-inspired filter effects and share with us in the comments below.