For me, one of the biggest advantages of Lightroom over Photoshop is the ability to use Develop Presets on your images. Here are some of the benefits:
- You can create several virtual copies of an image and use different Develop Presets to see how they come out. Doing so uses virtually no extra hard drive space as the changes are stored in the Lightroom Catalog in the form of text commands.
- Develop Presets fit in neatly with your Lightroom workflow – there’s no need to export your images to Photoshop or other software.
- It’s easy to see how Develop Presets work. If you download someone else’s Develop Presets it is easy to go to the Develop module and see which settings have been altered. You can tweak them to suit your photo, and (best of all) you get to see how the photographer achieved the effect. It’s a great way to learn how to use Lightroom.
Lightroom comes with some built-in presets, and there are plenty of websites that either give Develop Presets away for free or sell them. One of my favourites are the Signature Collections from OnOne Software. They are free (click the link for details) and give you a range of creative effects you can add to your images.
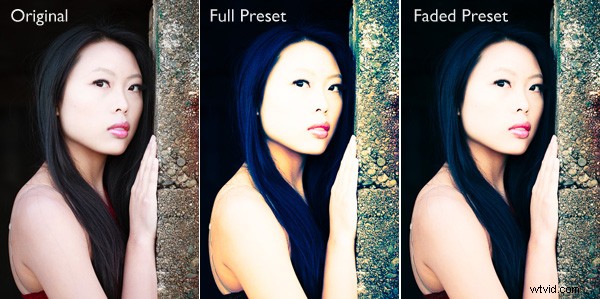
The only thing with downloaded Develop Presets is that most of them are not subtle. Here’s an example:
If only there was a way of fading the effect – a kind of opacity slider in Lightroom. Maybe it will come in a future version. But at the moment there isn’t, so we have to find a way around that.
One method is to export two versions of your image, one with the preset applied and the other without. You place one on top of the other in Photoshop and use the Opacity slider to fade the effect. Easy enough – but it does take you out of Lightroom, something that’s good to avoid where possible. Those exported files take up valuable hard drive space. Plus, you may want to do something else to the image afterwards back in Lightroom.
As a smart Lightroom user you probably want to save time as well as hard drive space. That’s where a Lightroom plug-in called The Fader comes in.
The Fader does exactly what its name suggests. Once installed, you can activate it, select the Develop preset you want to apply from the drop down menu, and use an Opacity slider to fade the effect. This clever plug-in calculates the changes the Develop preset made to the image, and fades them all at the same time.
It’s simple, and it works wonderfully well. It isn’t free, but it’s relatively inexpensive at $10 (plus 24% VAT if you live in the European Union). You can download it, and test it out, with Lightroom’s built-in Develop presets at no cost. Paying the registration fee lets you use it with all your Develop presets.
You can download The Fader plug-in from the Capture Monkey website.
Installing The Fader plug-in
1. Go to this page on the Capture Monkey website and download The Fader plug-in. Select a folder to store it in (creating a folder called “Lightroom Plug-ins” in your Documents folder seems logical). Double-click the zipped folder to extract the files.
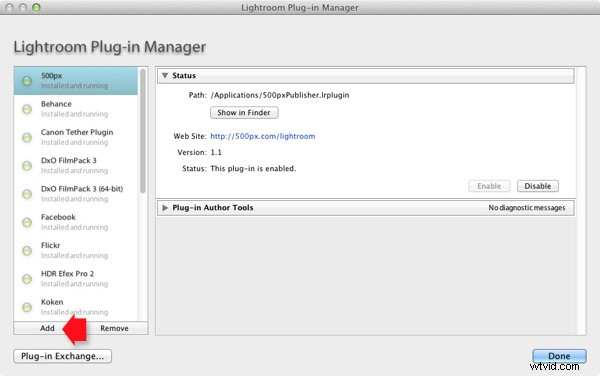
2. Open Lightroom and go to the Plug-In Manager (File > Plug-in Manager). Click the Add button in the bottom left-hand corner and navigate to the folder where you saved The Fader folder. Open the folder and double-click on the file called TheFader.lrplugin to complete the installation:
Using The Fader
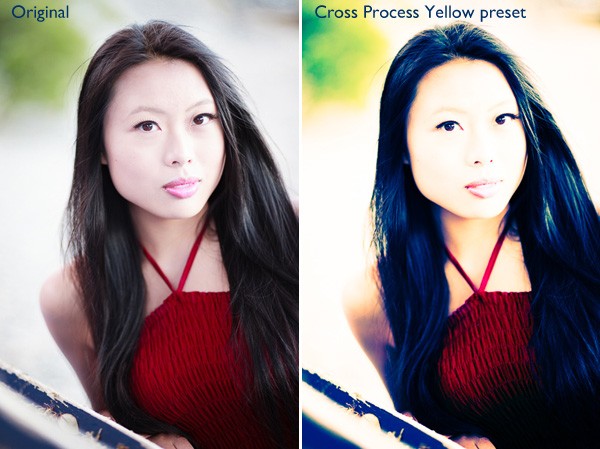
1. Open the photo you want to process in the Develop module. If you are using Develop Presets like the ones in OnOne Software’s Signature Collection, then you should process your file first in Lightroom and then apply the Develop Preset afterwards. Don’t expect the preset to do all the developing for you, it doesn’t work that way:
Original images before preset
Then go to File > Plug-in Extras > The Fader and select the Develop Preset you want to apply. In this case I’ve chosen the Cross Process Yellow preset from OnOne Software. The effect is dramatic:

Preset applied
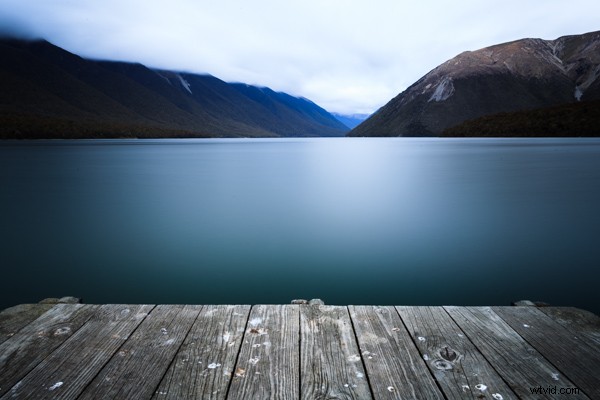
2. Now use the Opacity slider to reduce the intensity of the Develop Preset:

Fader applied at 40%
Here, I set Opacity to 40% for a more subtle effect:
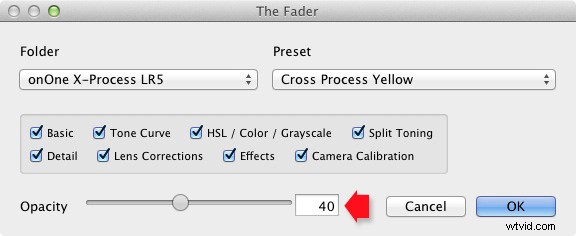
The Opacity slider has a range of -50 to 150. Values above 100 increase the intensity of the Develop Preset. The effect of minus values varies according to the preset used, but it is unlikely you will ever use them.
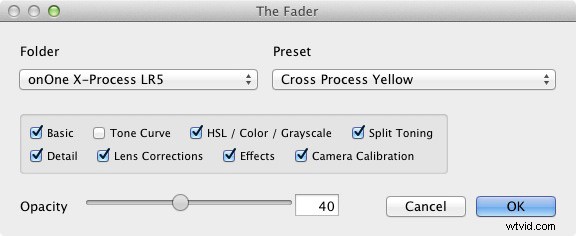
3. Finally, you can fine-tune the fade even further by selecting which parameters to apply to your photo. For example, if the Develop Preset you selected applies a Tone Curve to the photo, you can disable that part of the preset by unticking the Tone Curve box. Then you can use the Opacity slider to fade out the rest of the Develop Preset.
Mastering Lightroom Book One: The Library Module
 My latest ebook Mastering Lightroom Book One: The Library Module is a complete guide to using Lightroom’s Library module to import, organize and search your photo files. You’ll learn how to tame your growing photo collection using Collections and Collection Sets, and how to save time so you can spend more time in the Develop module processing your photos.